What?! Your greenhouse doesn’t have a letterbox?
Hi all,
It’s been a manic week in the garden. Often a first-class procrastinator, there’s something about warmer weather that makes me suddenly able to activate my ‘high achiever’ mode and kick the gardening activity up a few gears.
I’ve been super busy erecting new creative projects, renovating entire patches of the perennial border, shoveling dirt and mulch, all while wrangling two grumbling, mumbling teenagers. I’ve felt somewhat legendary, but also somewhat old and decrepit, as my manic works take their toll on my middle-aged body. It just doesn’t ever seem to get used to the idea of so much gardening.
It appears the era where my muscles would get used to continuous activity is long gone. Now they protest vociferously at the end of each gardening episode, as if offended by the impertinence of my life choices.
But, there’s nothing quite like sitting on the couch in the evening feeling closer to 90 than 50 to reinforce how much gardening you achieved on any given day. The pain is my ‘reward’. 😩 And my full-time job during the week is my ‘recovery’ time!

The warm and fuzzy mulching method
Now, today’s topic may sound slightly eccentric, even by my standards, but stick with me.
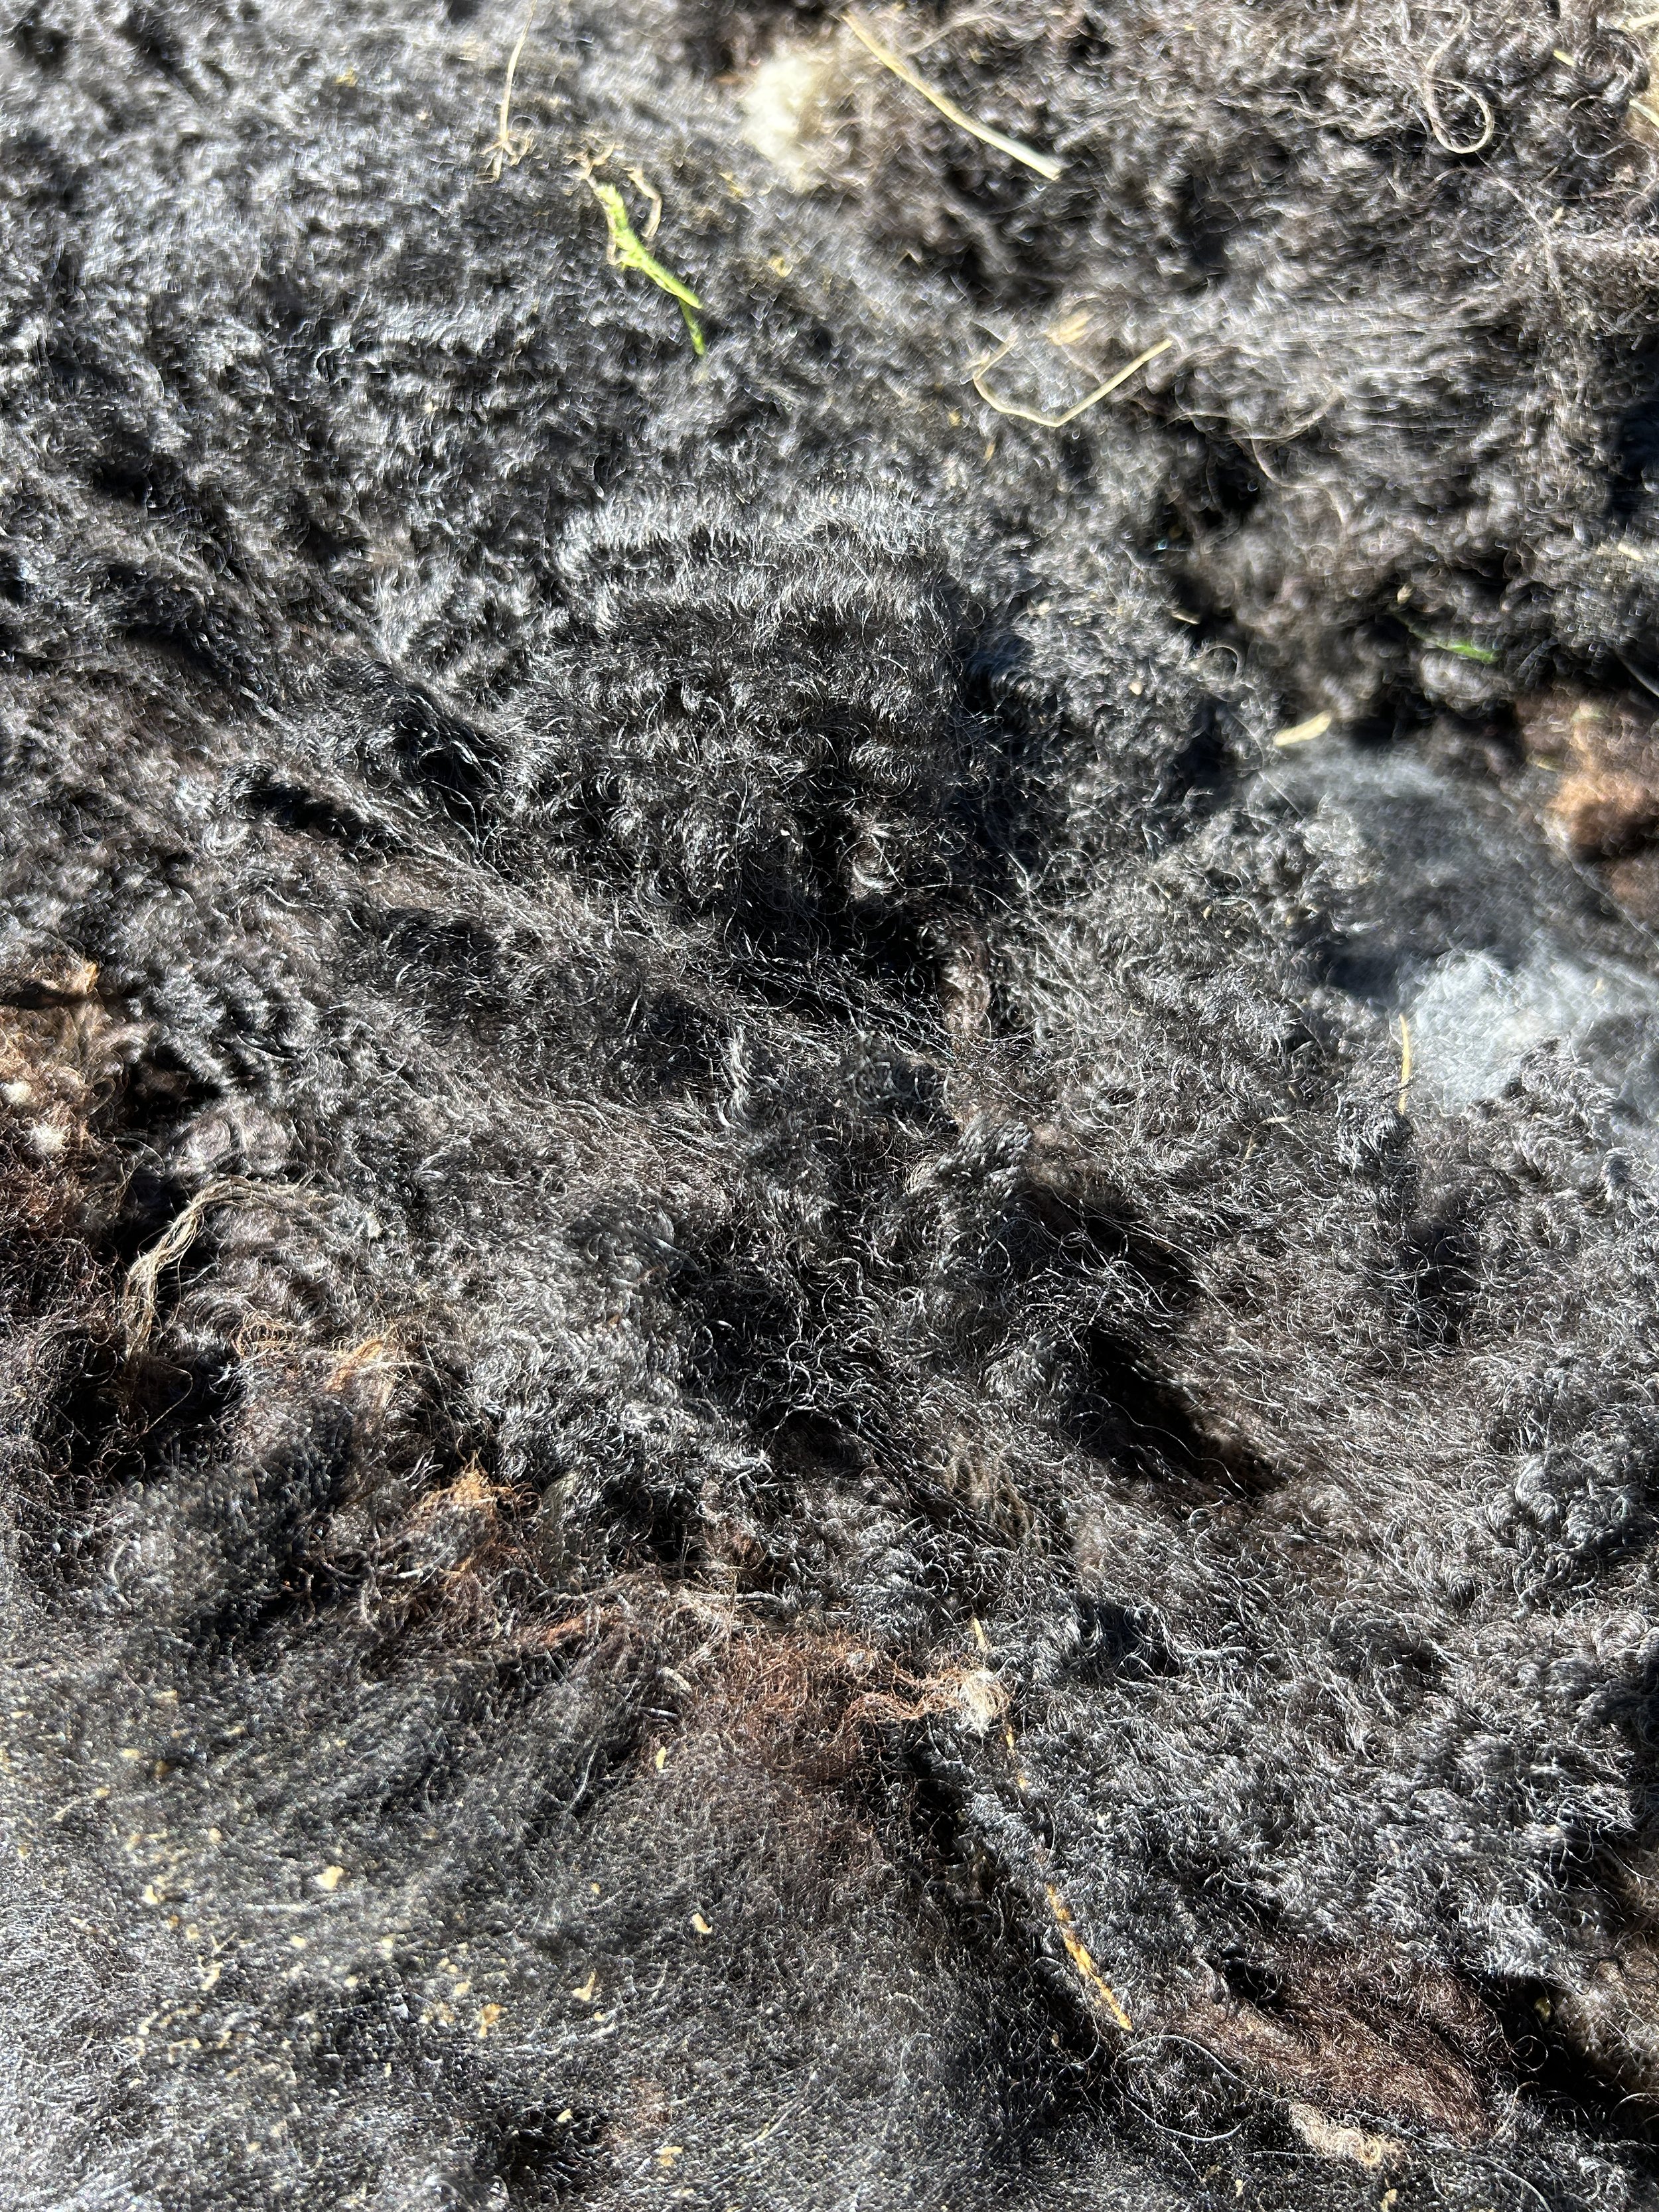
Mulching. With wool.
Yes, wool.
“Huh?” I hear you thinking.
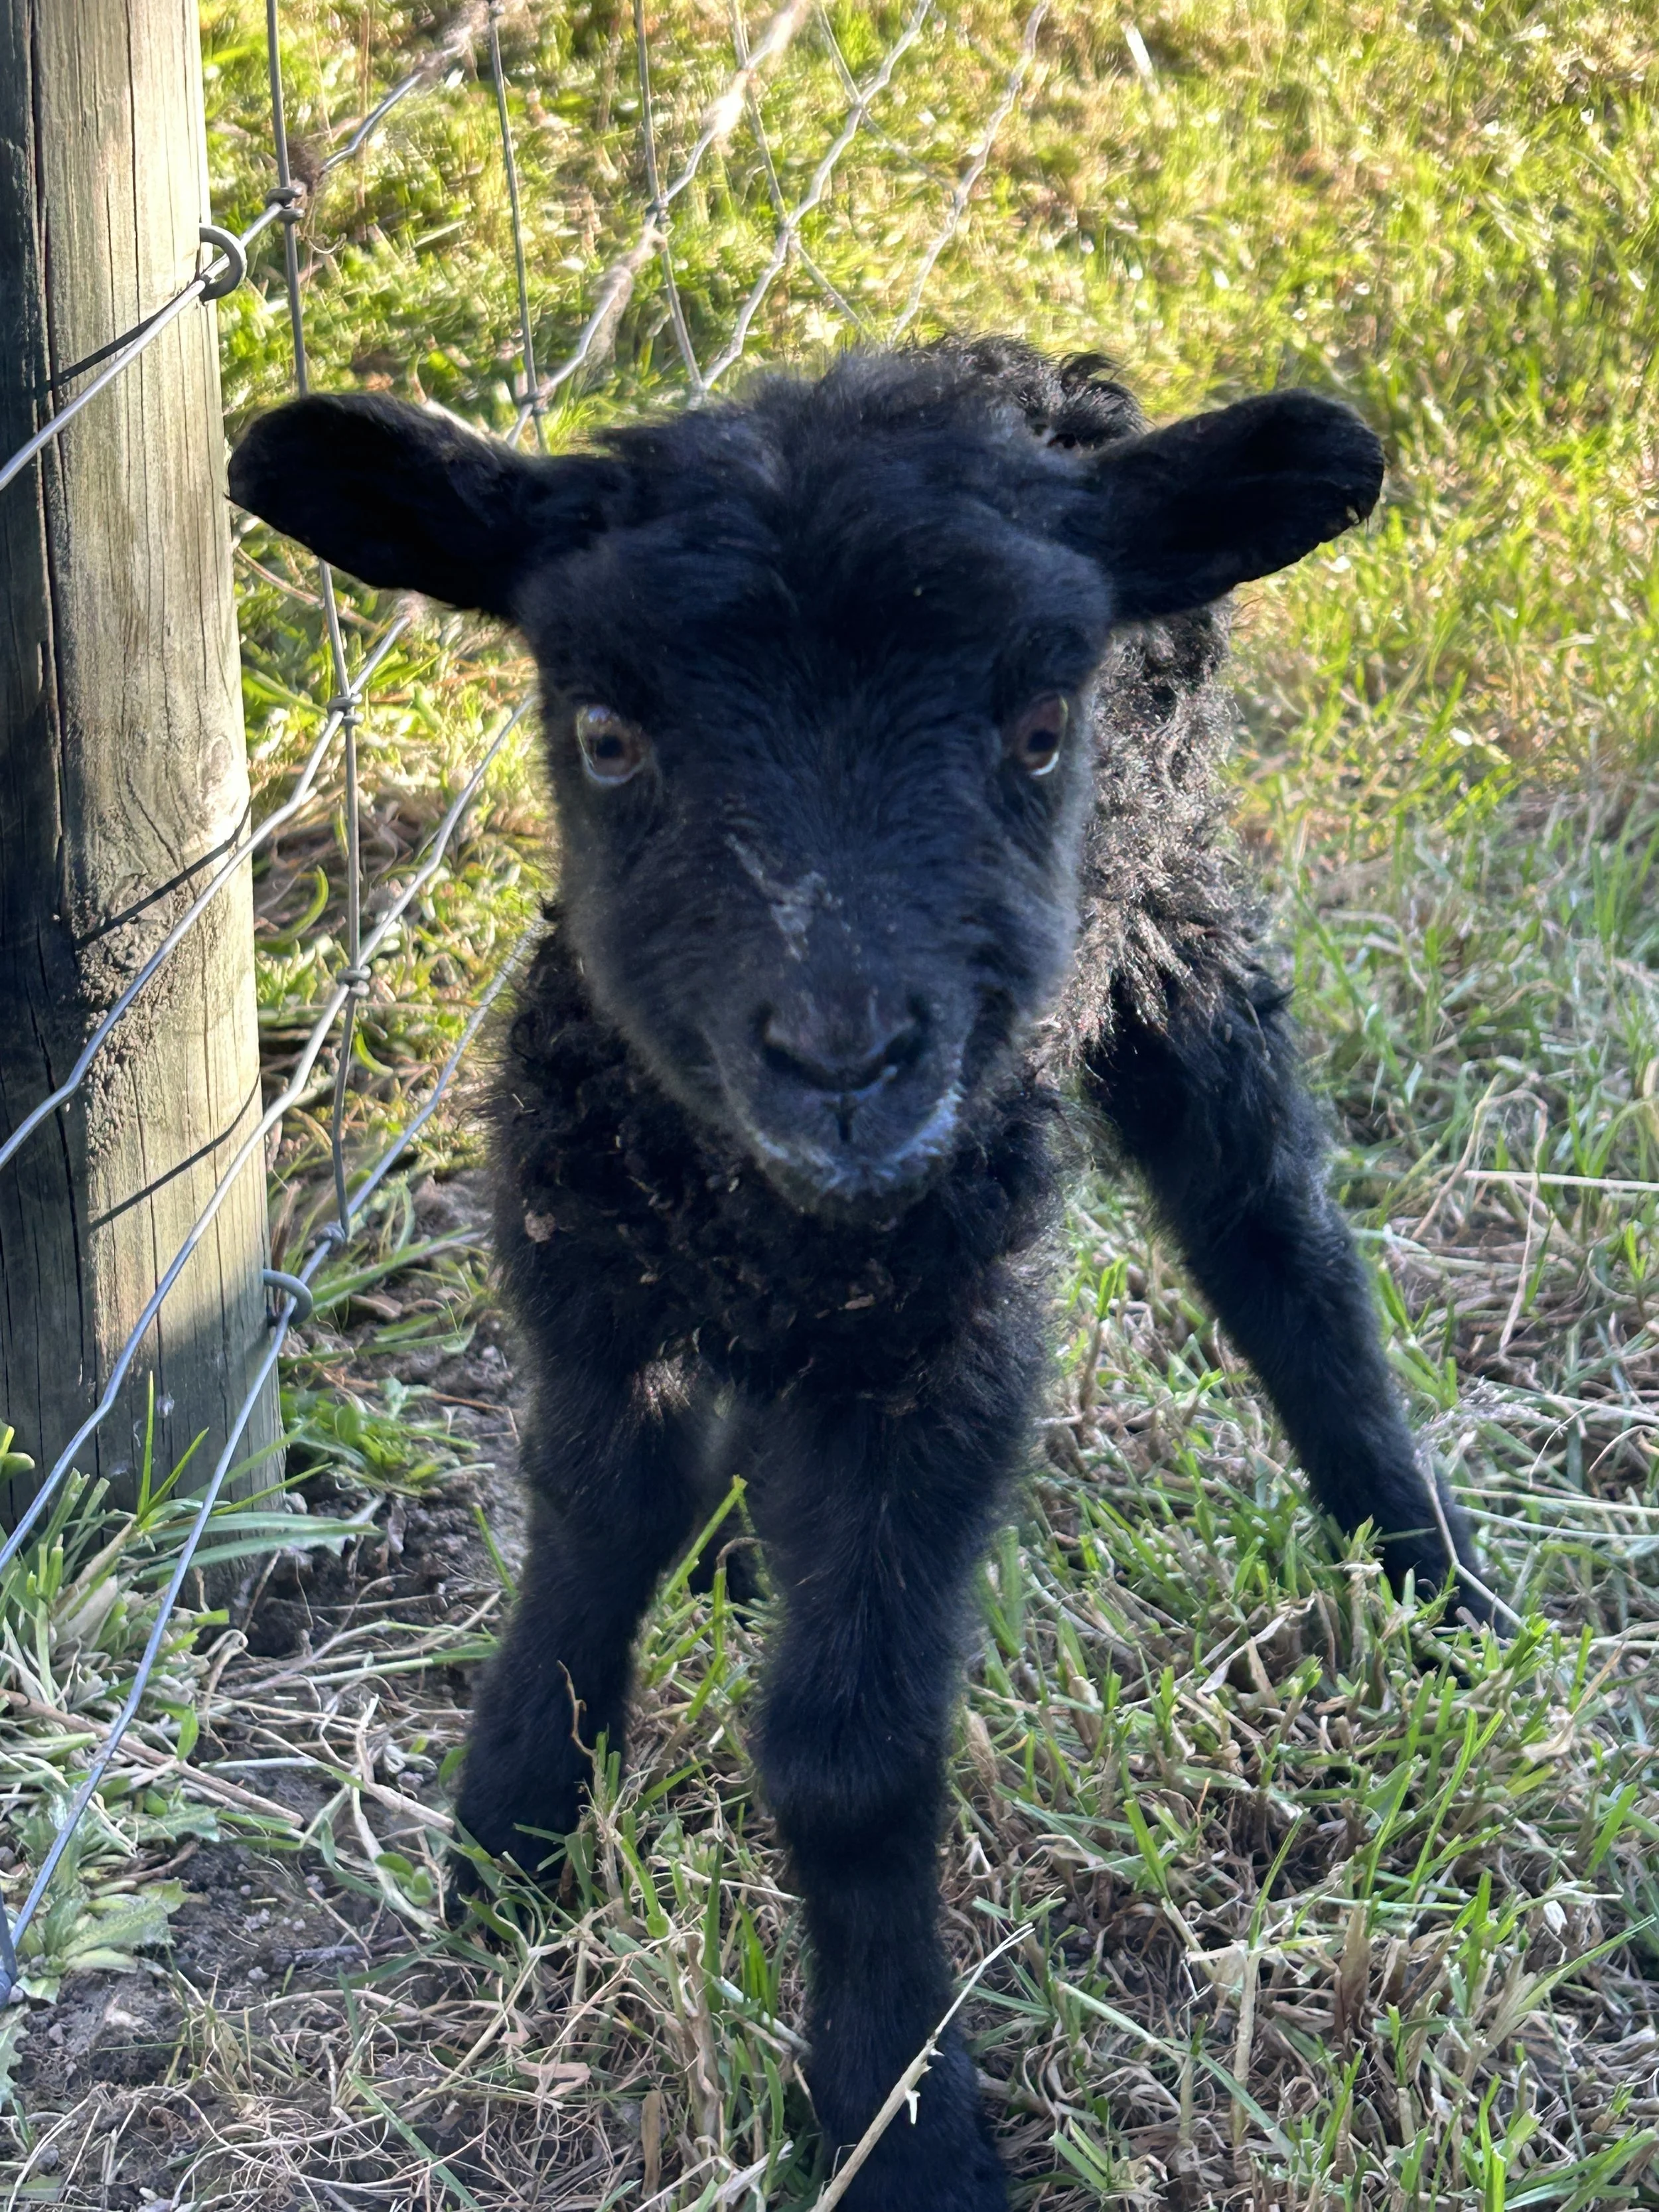
We live on a 10-acre lifestyle block: two acres of garden, eight acres of paddock, and 17 very opinionated sheep (plus five new lambs this year). They get shorn twice a year, which leaves me with a small mountain of fleece that’s far too little to sell properly and far too much to just ignore.
![IMG_7602[1].JPG](https://images.squarespace-cdn.com/content/v1/68a501cca58fdb69735e8c43/1762805120642-KDBPGSACPDPO0G69T80Y/IMG_7602%5B1%5D.JPG)
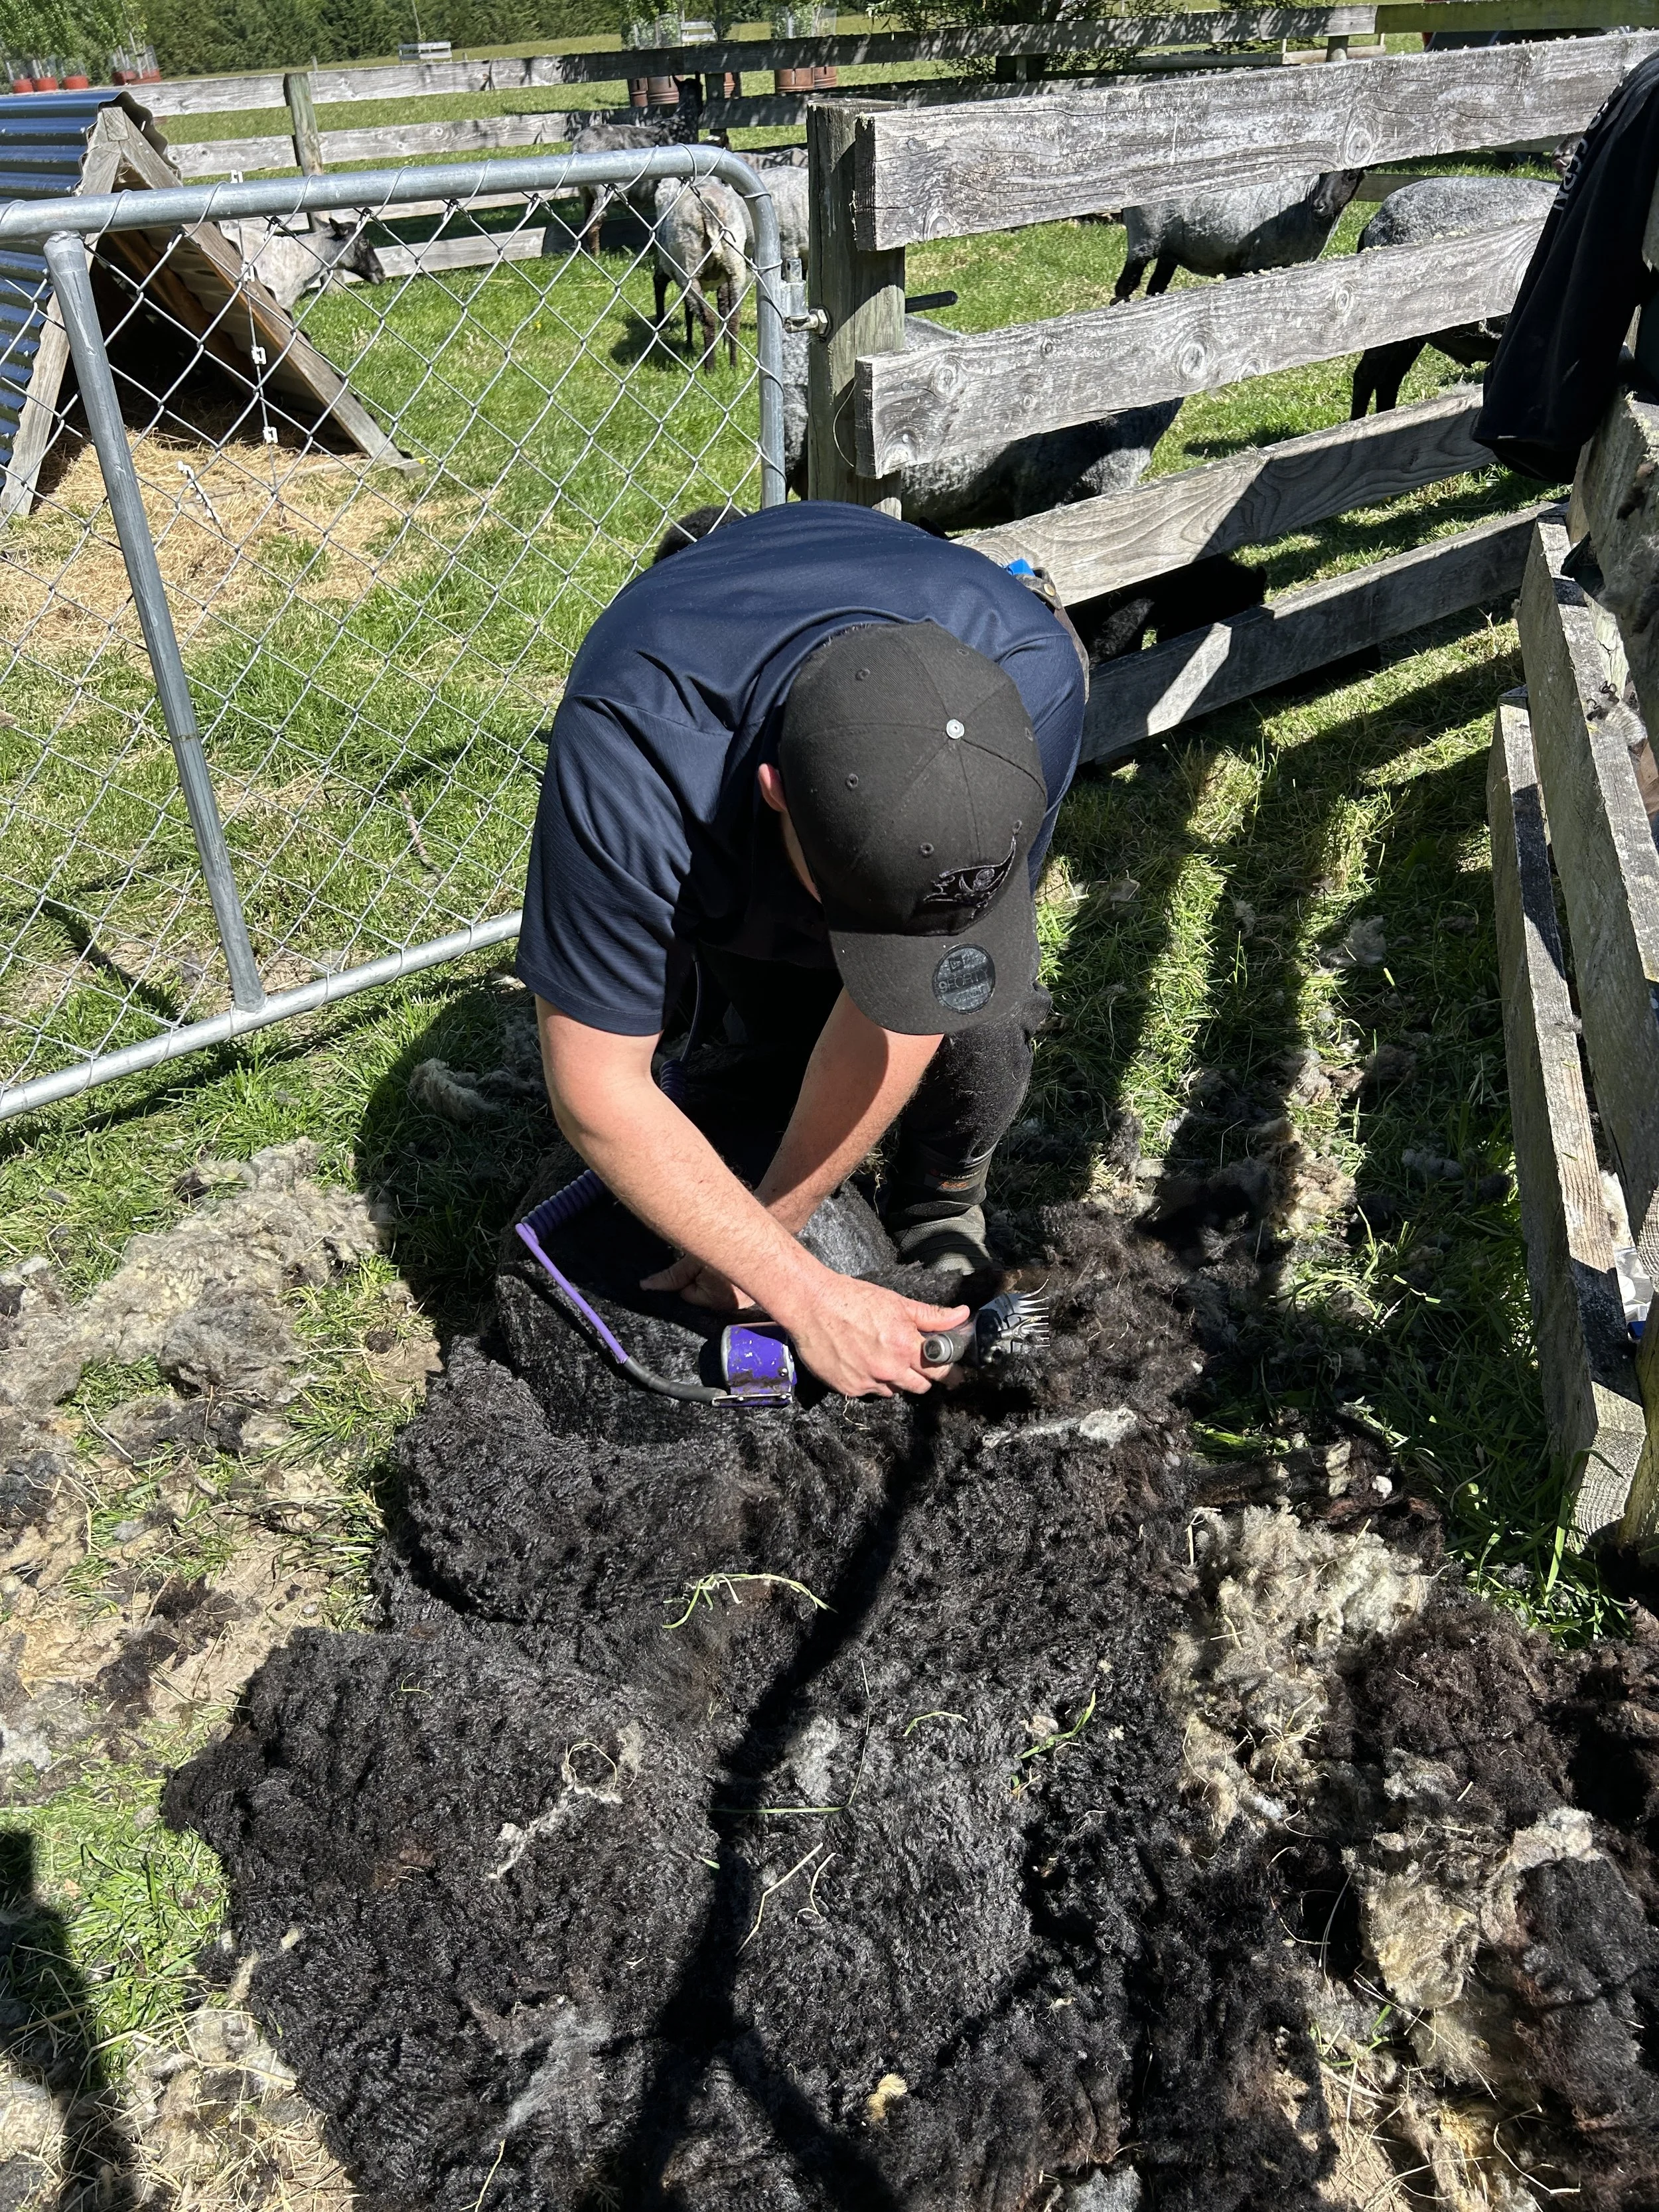

Photos: Little Beep was the only surviving triplet born to Patricia. Her sister and brother were stillborn, and she was heading down a precarious path, so I had to intervene with a bottle. Once she got a taste of that, there was no going back onto mum unfortunately, so I entered into a co-parenting relationship with Patricia; I usually get two fadges full of wool from my sheep during the spring shear, and one from the summer shear. The wool is used around trees and shrubs and takes about two years to break down completely; fortunately shearers are happy to travel around and shear small flocks for lifestylers; Blanche with her babies, Sooty and Teddy (I wanted to name them Sooty and Sweep, but the local teenagers didn’t understand the reference to some of my childhood heroes!).
In the early days, I didn’t know what to do with it. We actually dumped some. I know, I know! And it makes me wince now because it turns out I was literally throwing away premium-grade garden gold. Wool is one of the most sustainable, moisture-hugging, weed-smothering, soil-improving materials you could hope for.
So I started tucking it around my roses and fruit trees, and it worked a treat. Keeps the moisture in, the weeds out, and breaks down over a couple of seasons to improve your topsoil. The only real issue? Loose fleece has a tendency to take flight on windy days, and the birds love to play football with it.
Given that I never have enough to cover my entire garden (turns out 17 sheep don’t go far when you’ve got 2 acres of plants), I went looking for something similar. Having become a fully converted wool-mulch evangelist, I approached a New Zealand company that makes wool weed mats. In the interests of transparency, I have a ‘paid partnership’ with a company that sell this stuff, but I’m not promoting them here. I’m not telling you all this with the intent of making a sales pitch for that company, who I shan’t name on purpose so as to prove my point. But I AM telling you this with the intent of making a sales pitch for the concept of wool as a sustainable gardening option because it’s SO good and useful and eco-friendly and…and…and…
The company I approached kindly sent me some to trial, and now it’s in all sorts of places, like around my strawberries, under fruit trees, and tucked into perennial borders. I use it in two main ways:
On its own, pegged down so it doesn’t try to escape on a breezy day (lasts longest when used on its own)
Under wood chip mulch, where I’d usually have used cardboard (breaks down faster with other mulch on top, but lasts longer than cardboard)
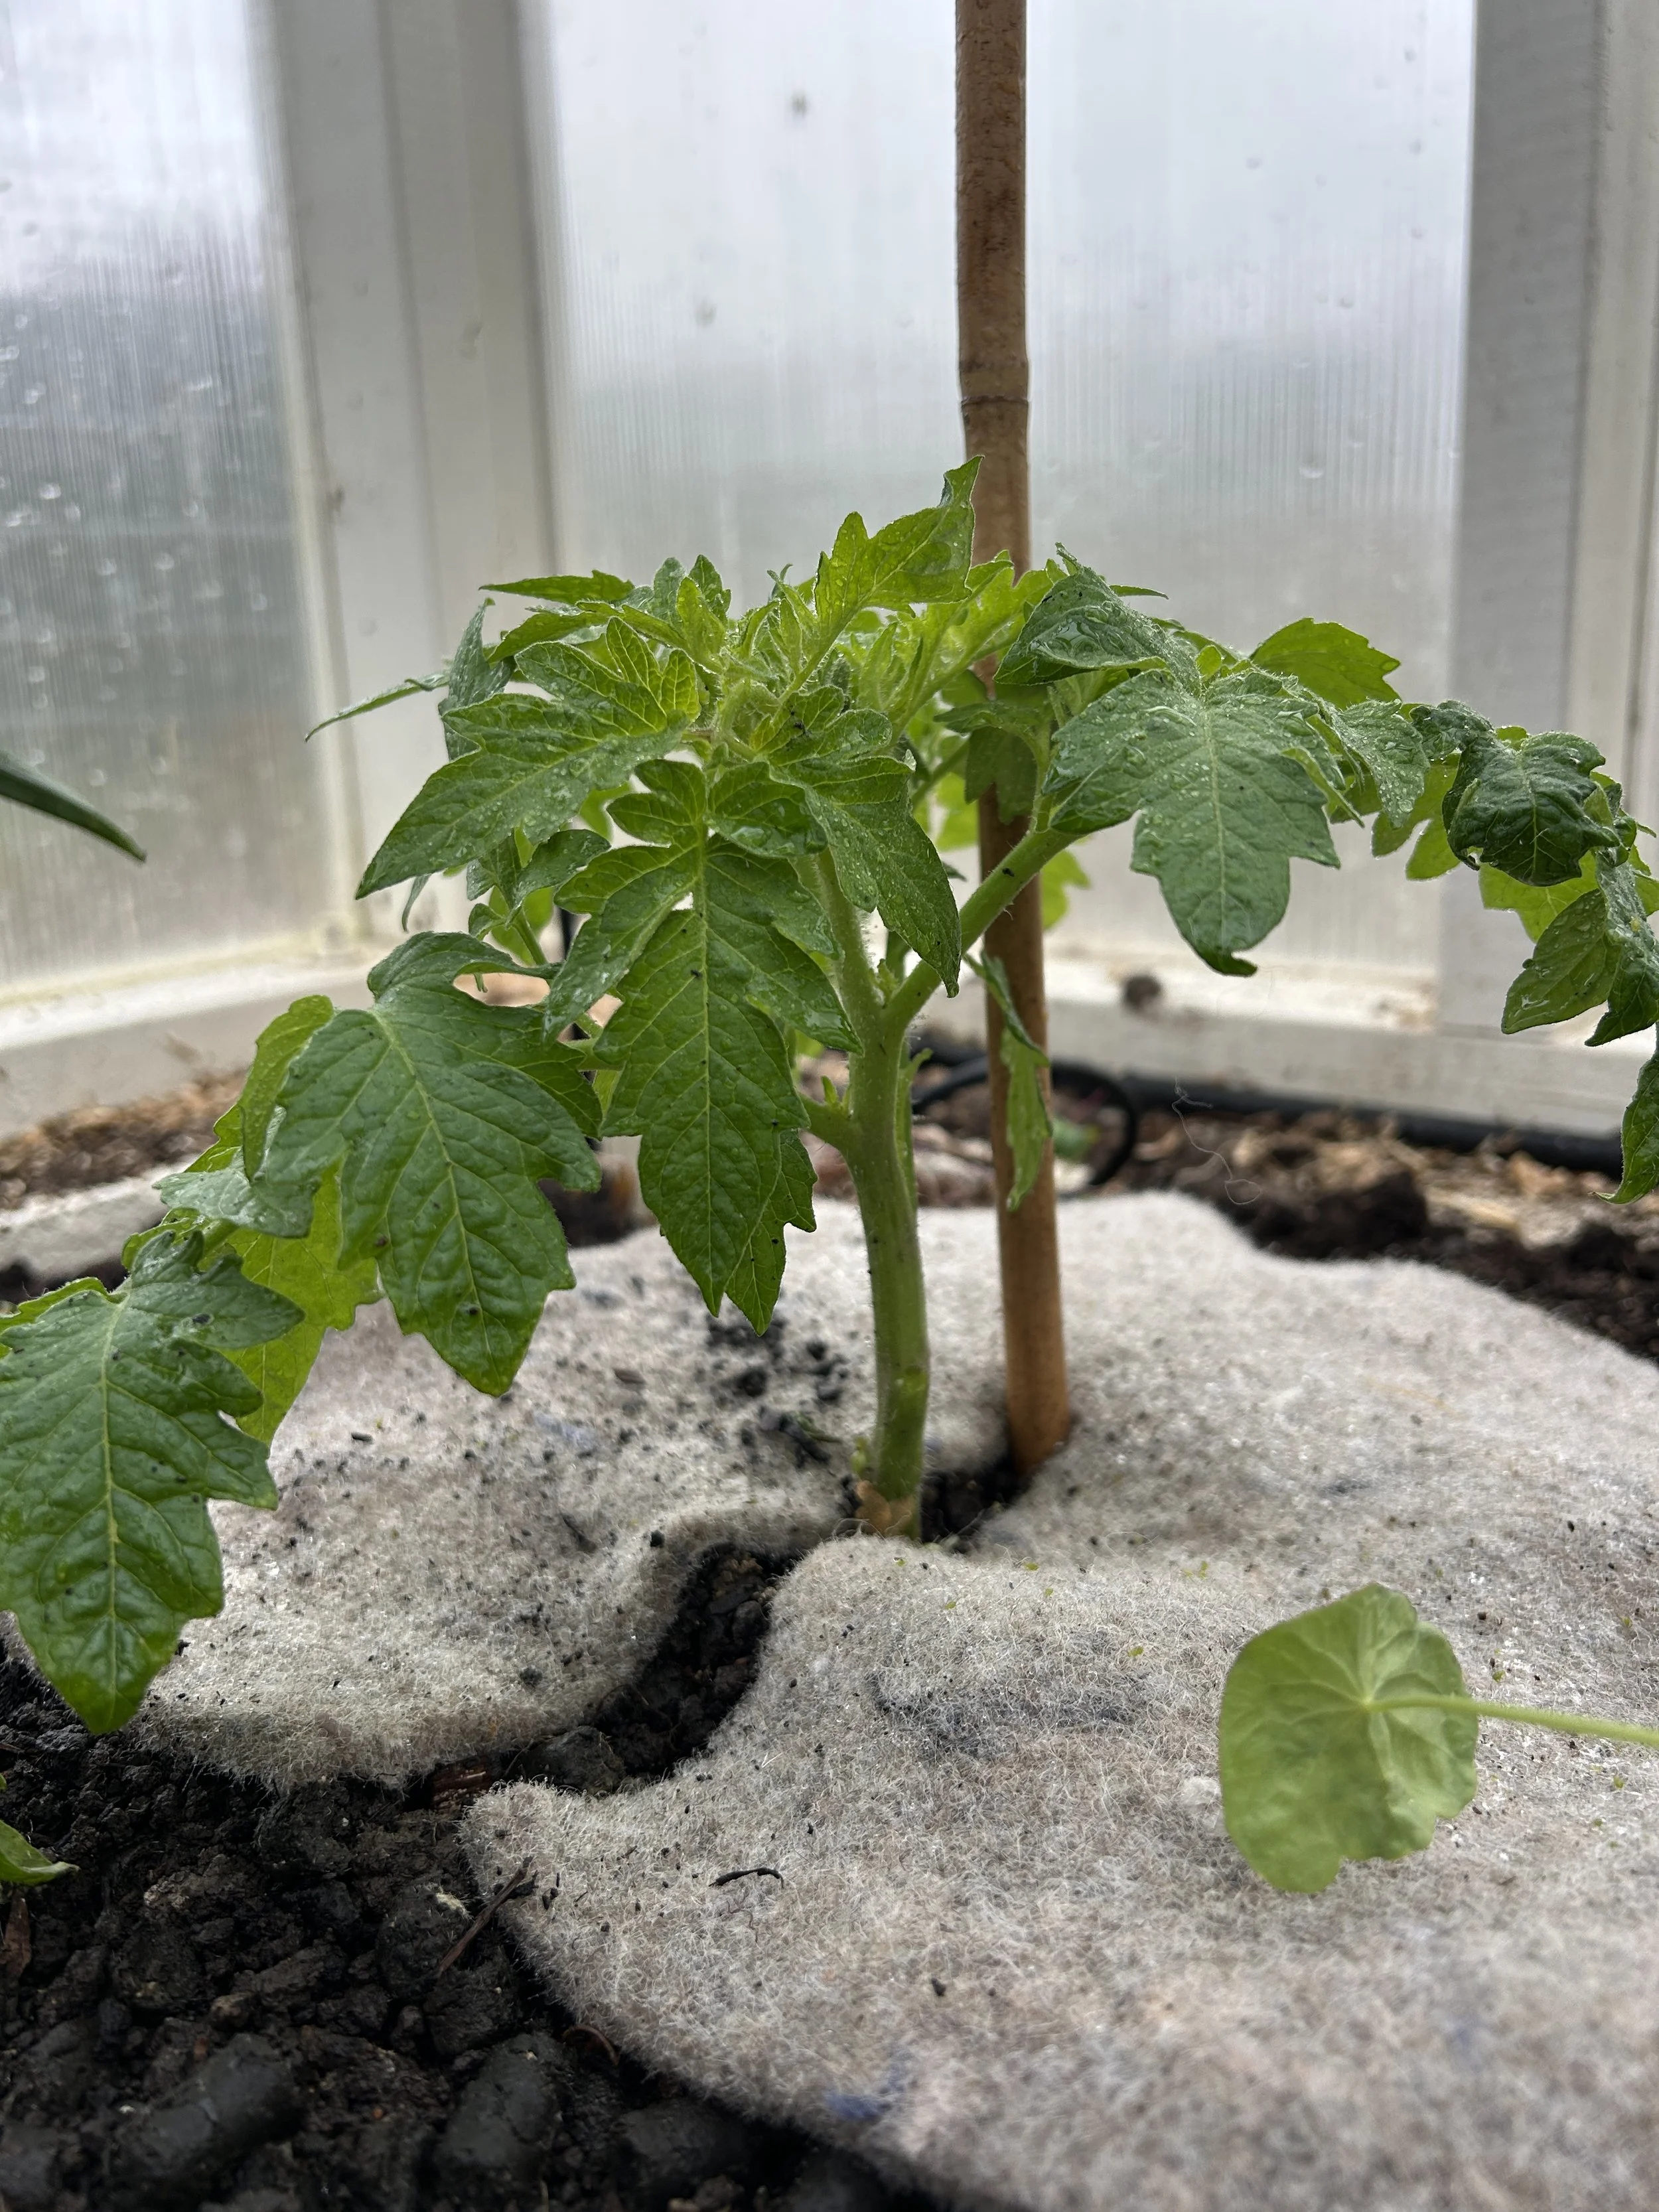
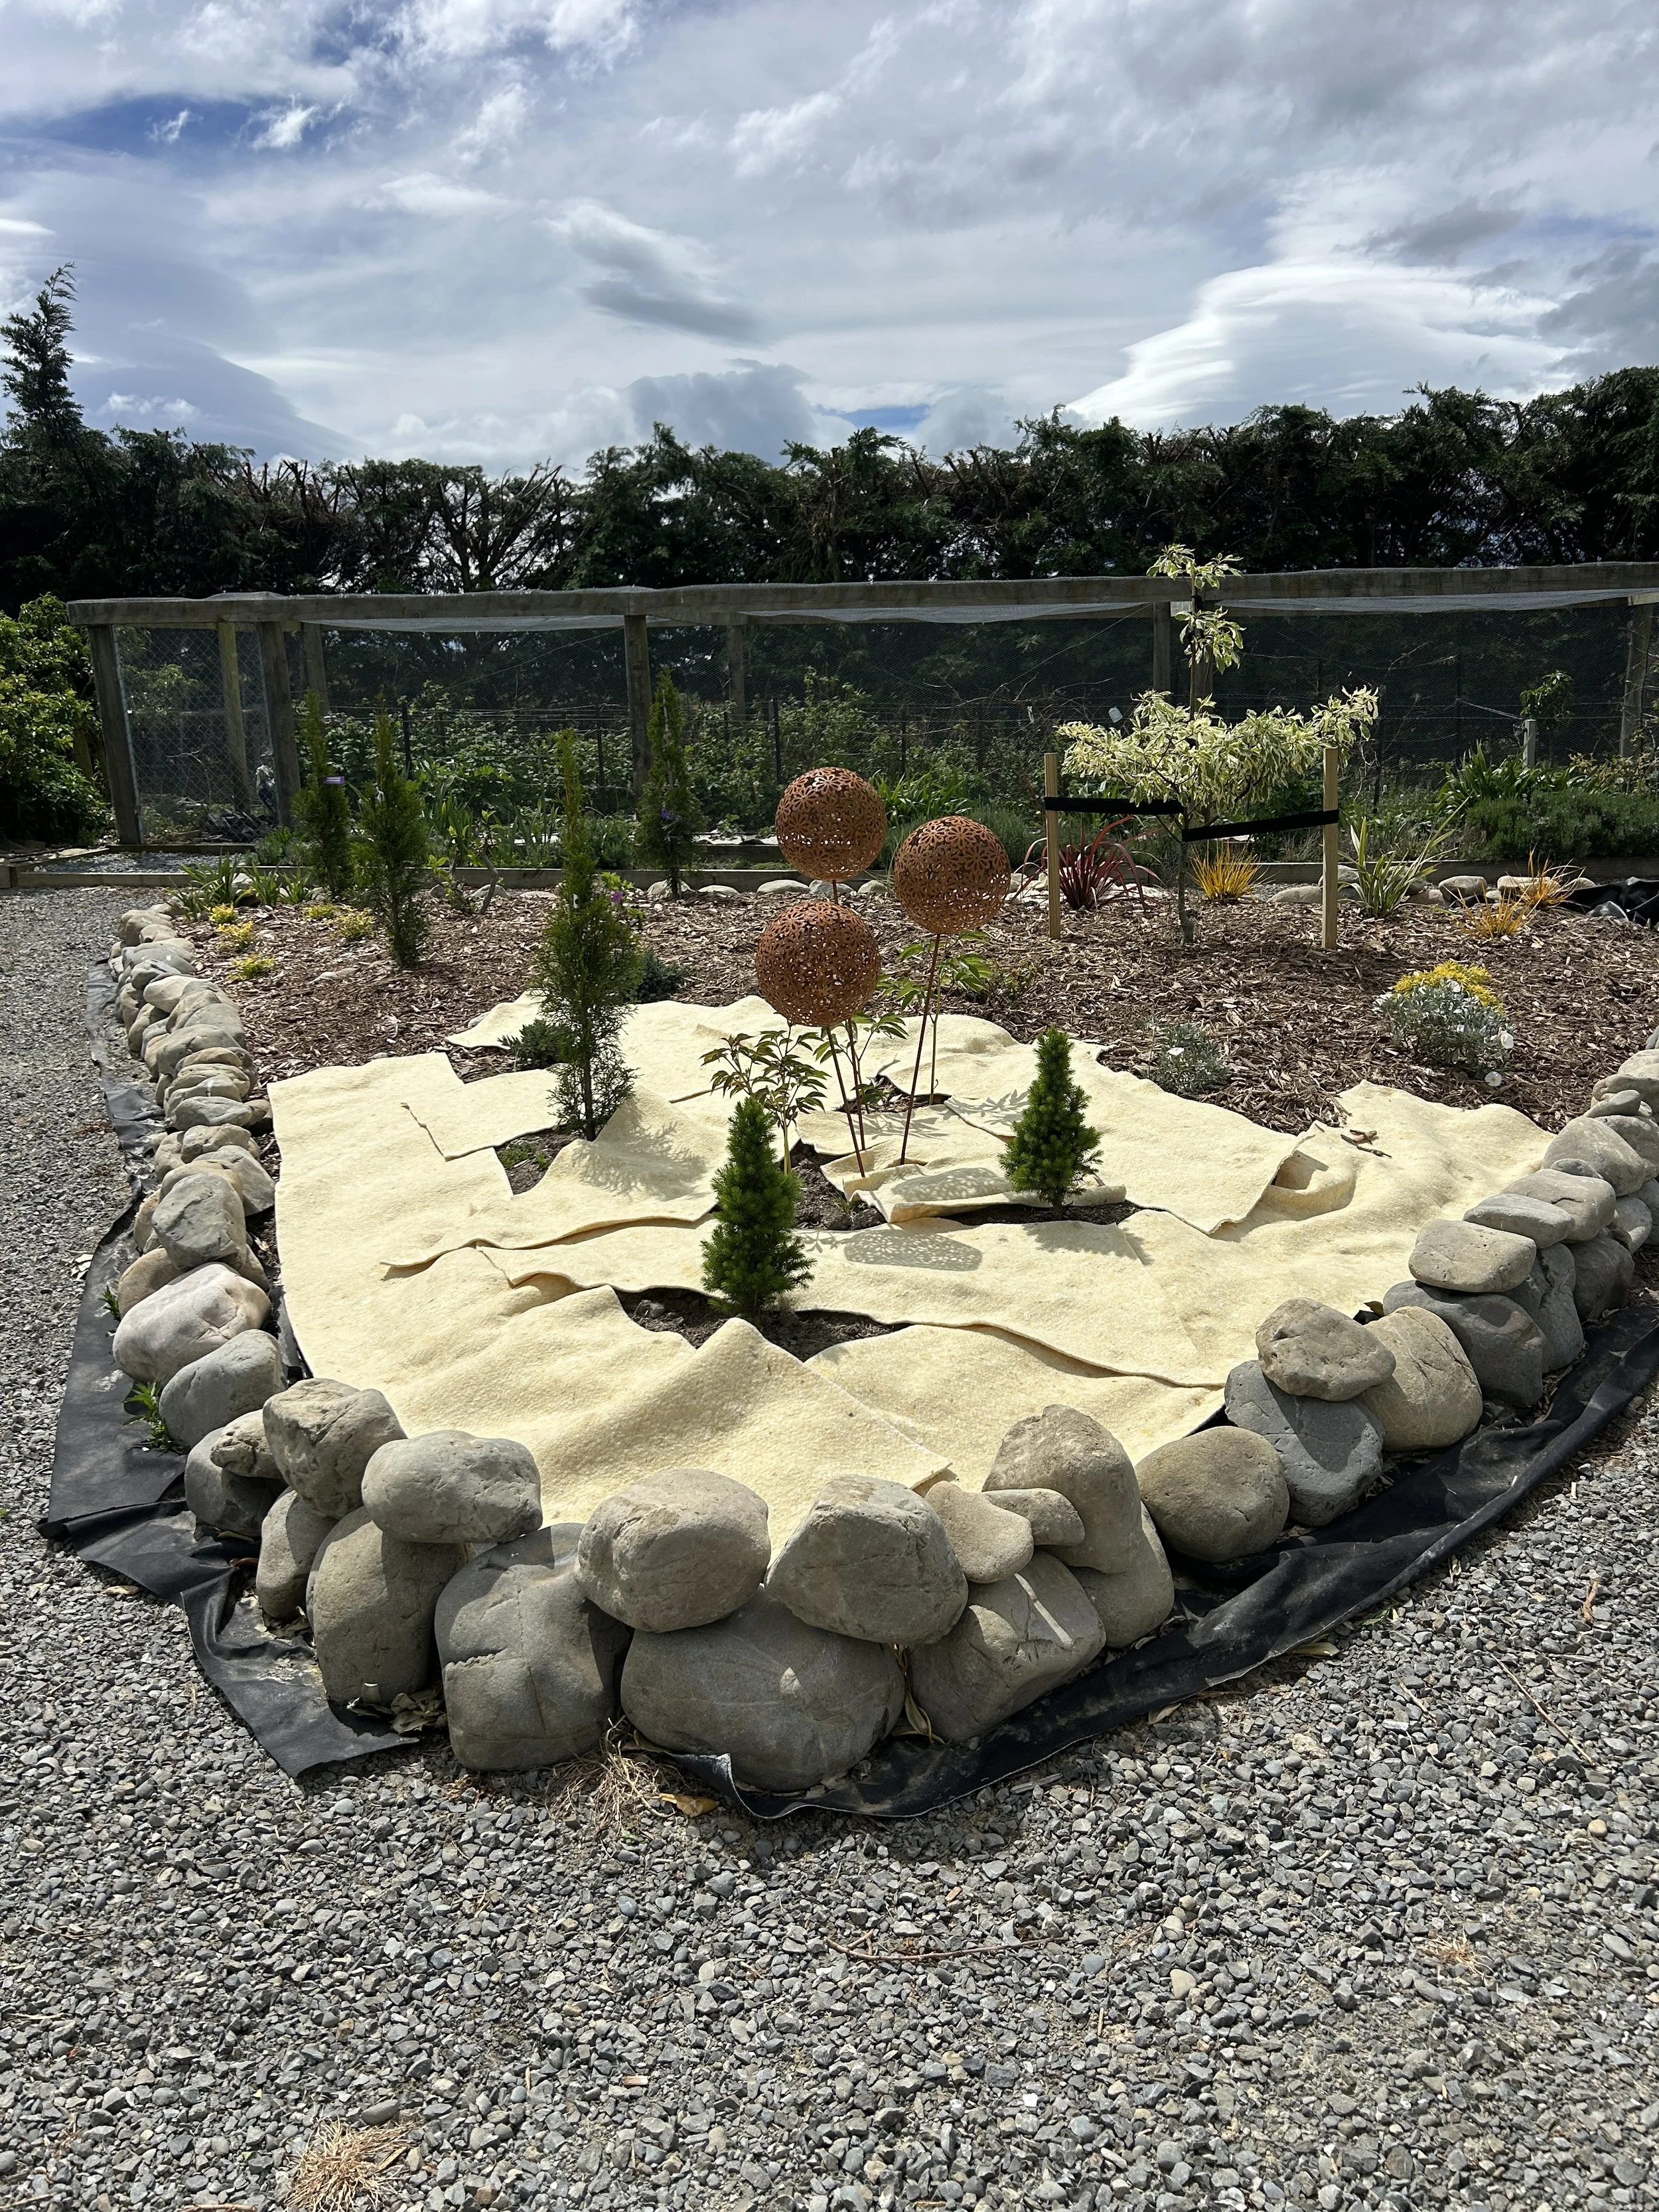
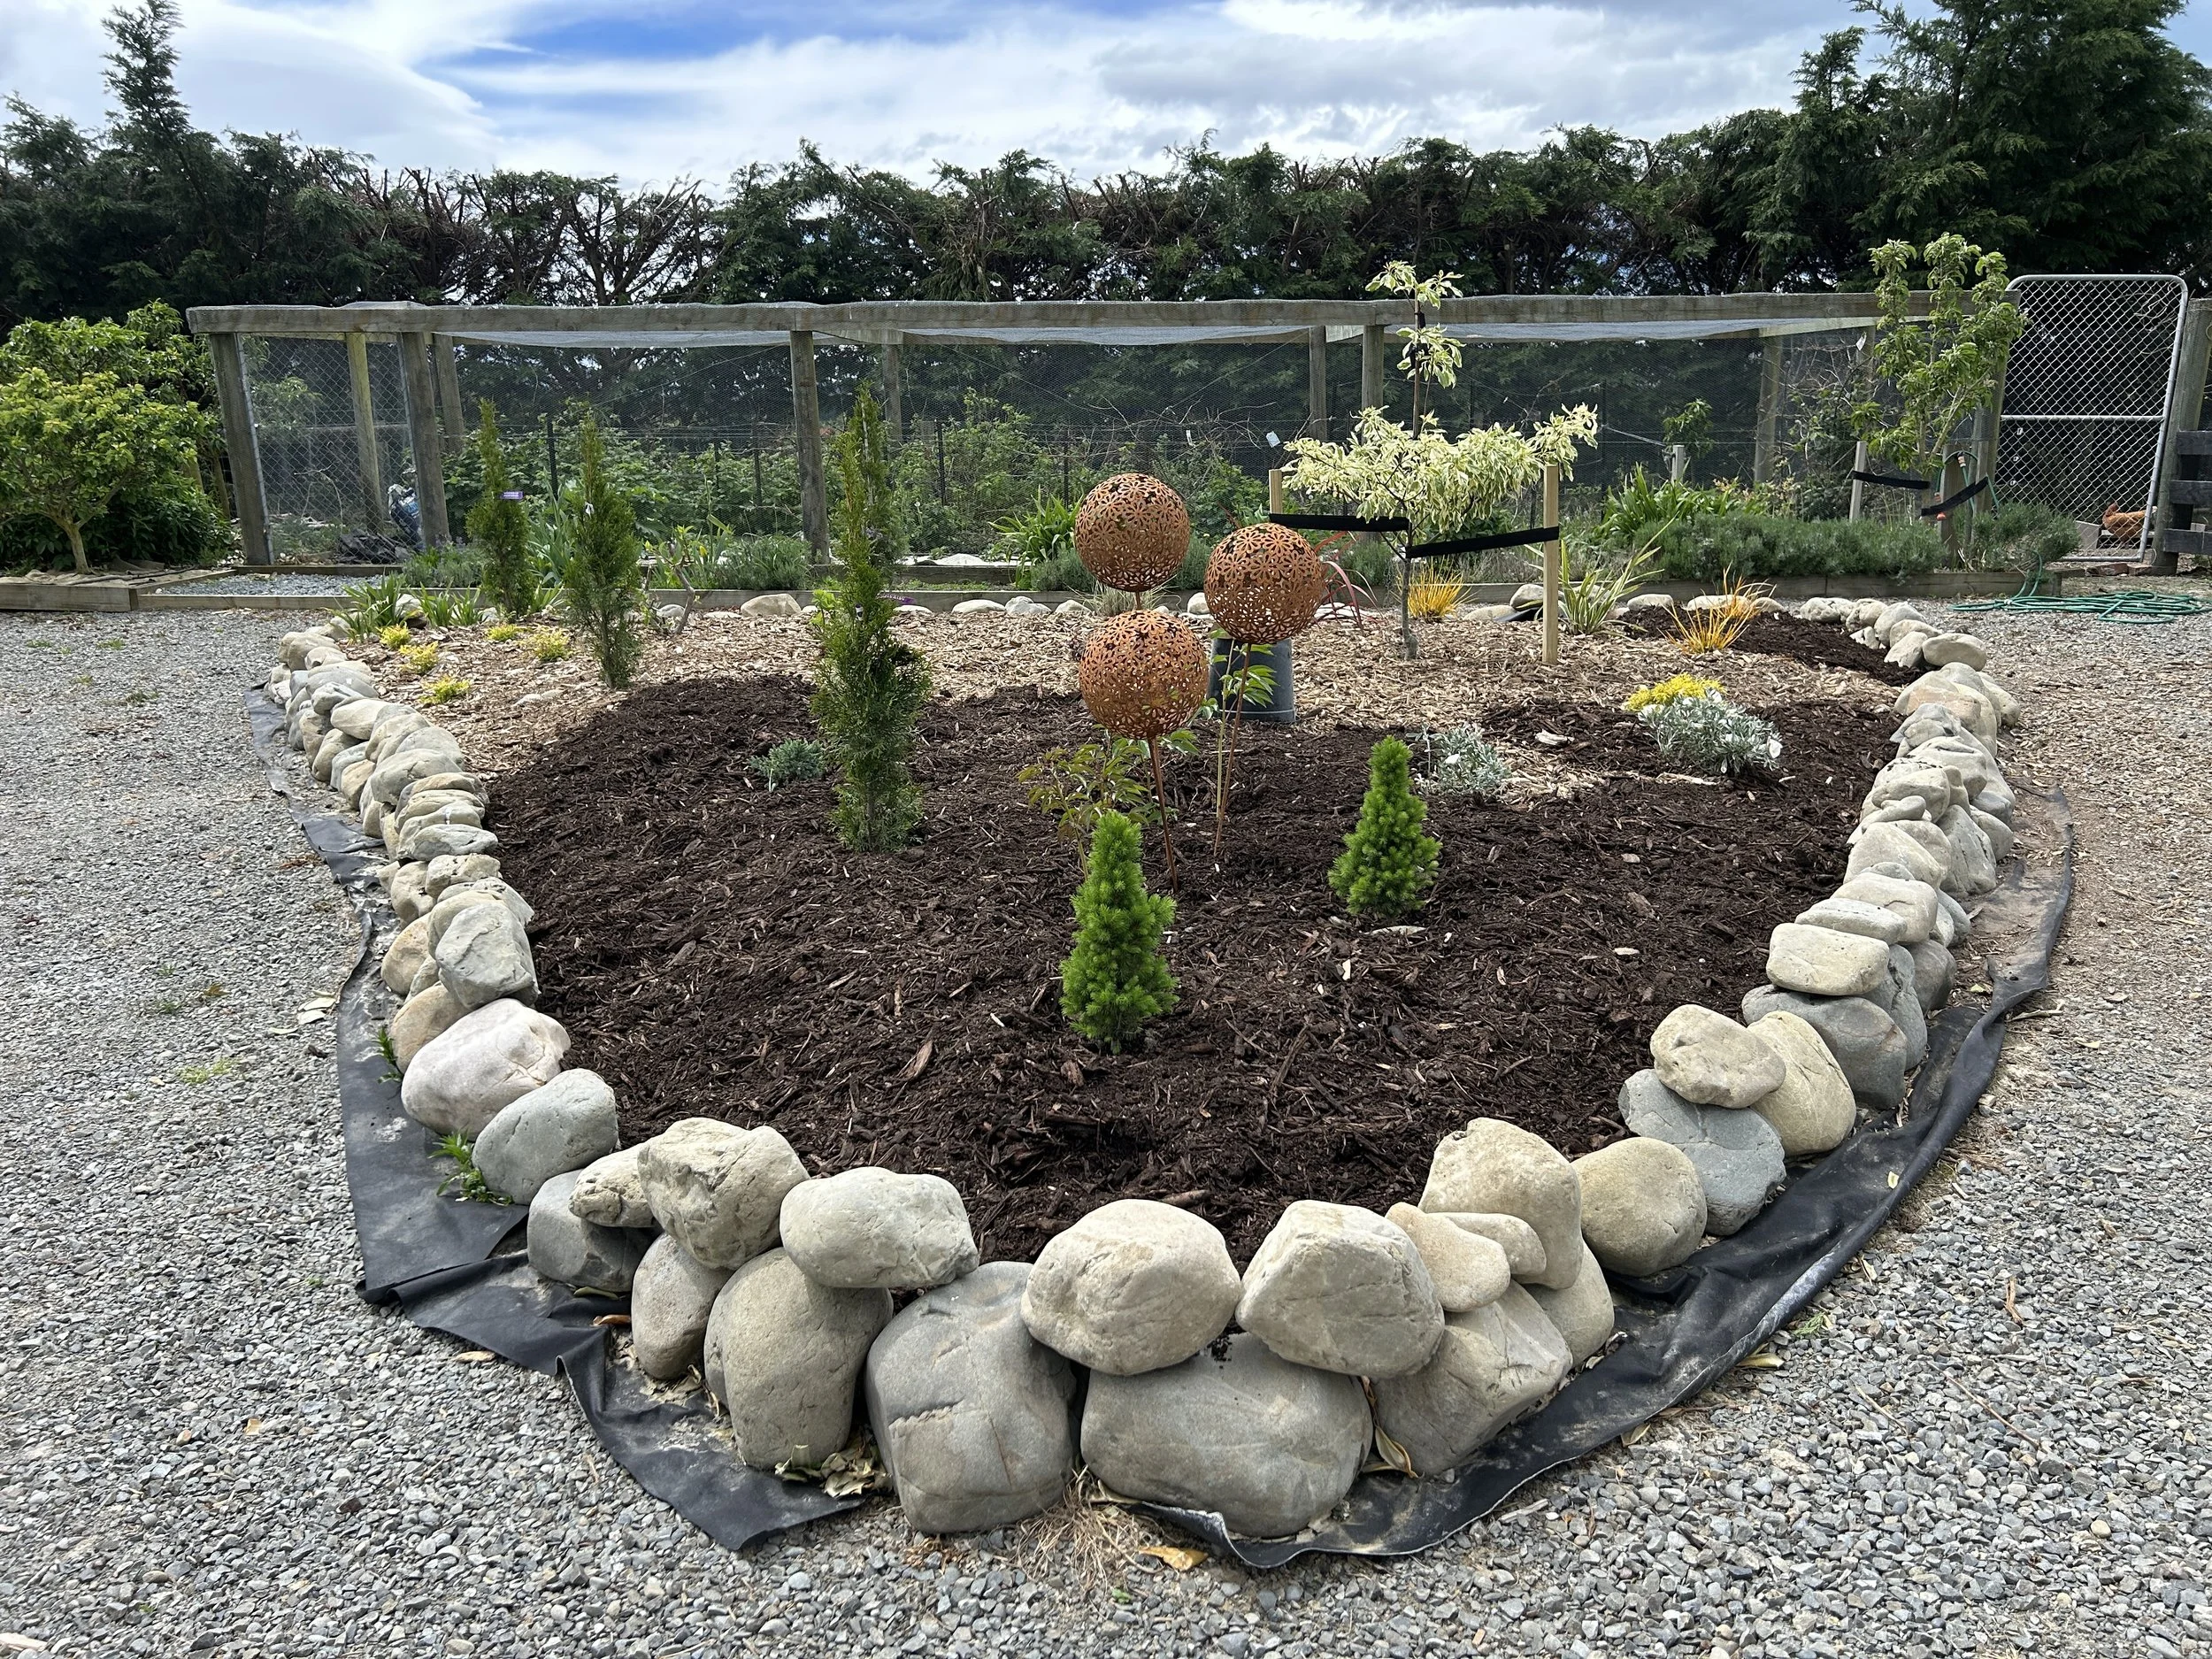
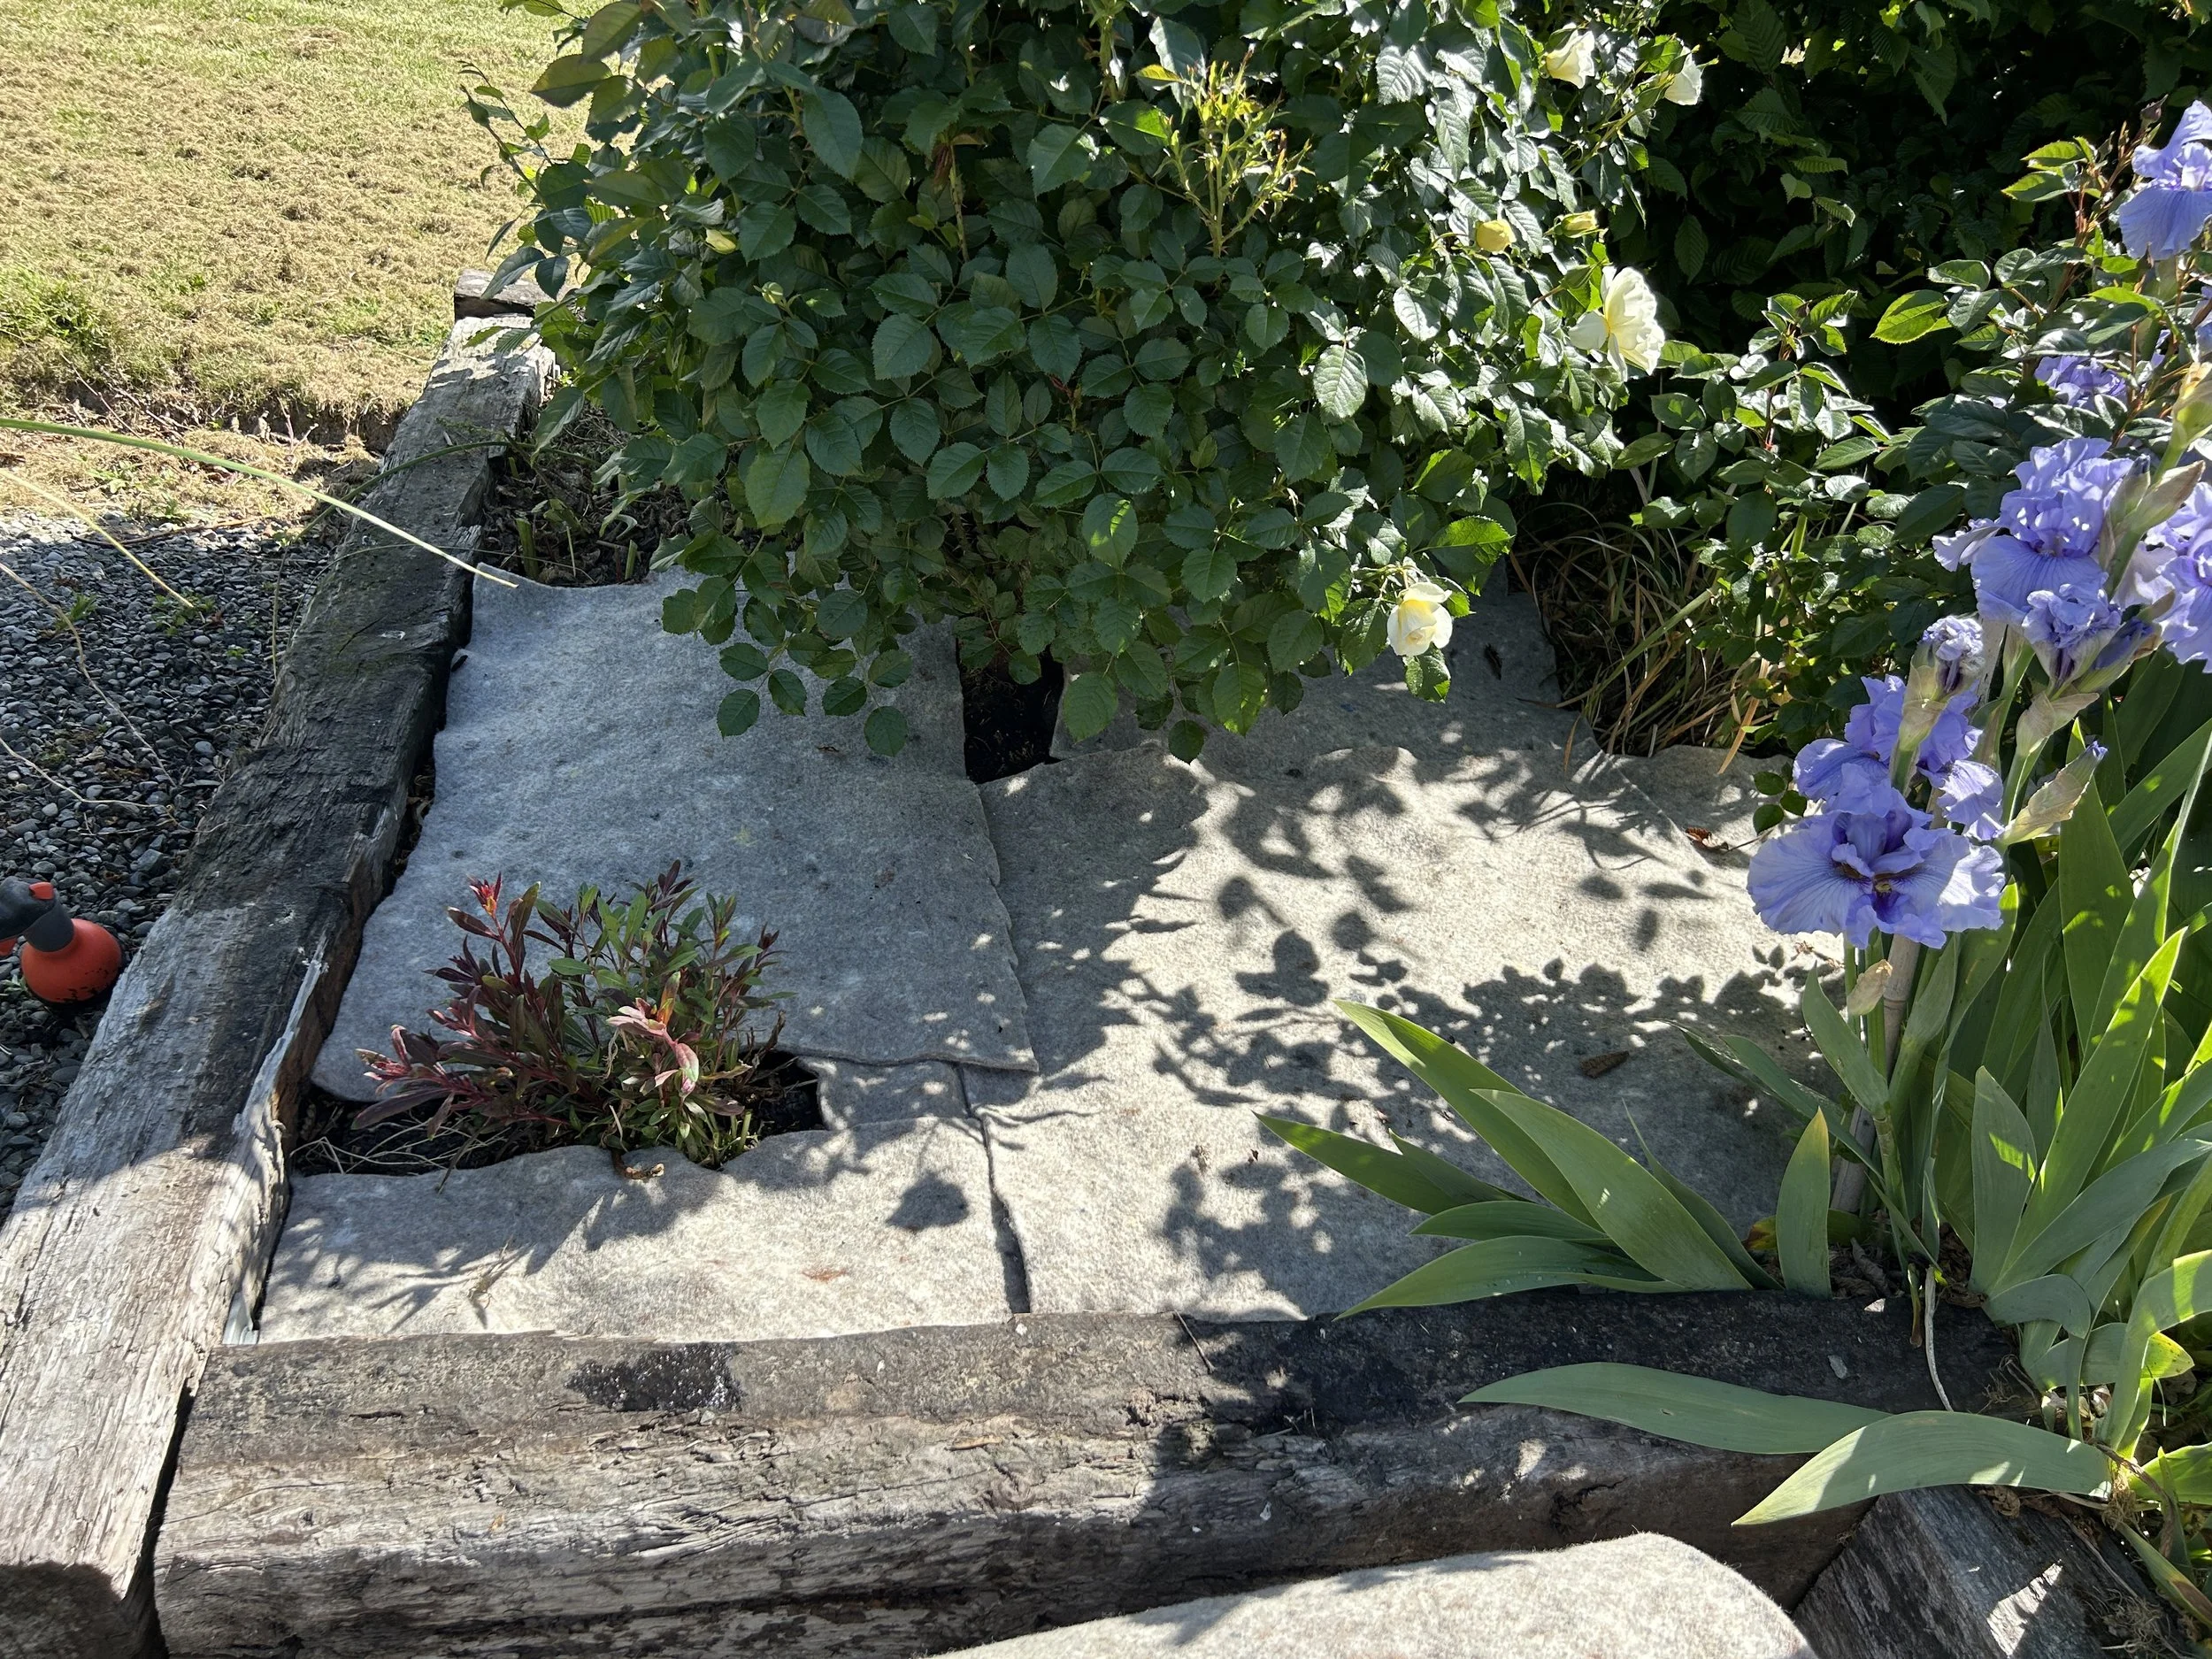
Photos: I’ve used wool mulch and mat in so many places now - in The Whitehouse, around my strawberries and fruit trees, around trees out in the paddock, and under a lot of the mulch on my new shrub borders. I’ve had people ask me questions about the aesthetics of it for flower beds, because who really wants patches of white or grey wool mat showing where you’d normally have the dirt or mulch ‘look’. I agree, so where it’s on my ‘pretty’ beds, it’s under wood chip mulch and where it’s less important to have the right look, I’ve used it on its own because it’ll last longer that way. In the photo on the far right, I’ll add wood chip mulch on top of the mat in the front of the border where I’ll be able to see it, but behind the roses, I’m just going to leave it on its own. Once the roses have filled out and the Gaura is flowering, I won’t be able to see the wool mat at the rear of the beds.
Both methods are working brilliantly. The wool keeps the soil damp, stops weeds in their tracks, and the wool under the wood chip mulch doesn’t get flicked around and ripped up by the birds like cardboard does. It’s also far better than those awful black woven weed mats you find at garden centres. You know, the ones that promise to last forever and unfortunately do, suffocating your soil and starving your plants over time.
Wool, on the other hand, is biodegradable, breathable, and feeds your soil as it breaks down. It’s the rare combination of useful and guilt-free.
I’m often left wondering why I didn’t work it out much sooner than I did. Apparently, I’m a reasonably intelligent person…but sometimes the evidence (me chucking wool on the dump pile) doesn’t completely support that assessment.
Yes, The Whitehouse needs a letterbox!
Because otherwise where would Jebediah and Clementine, the scarecrows, receive their fan mail?
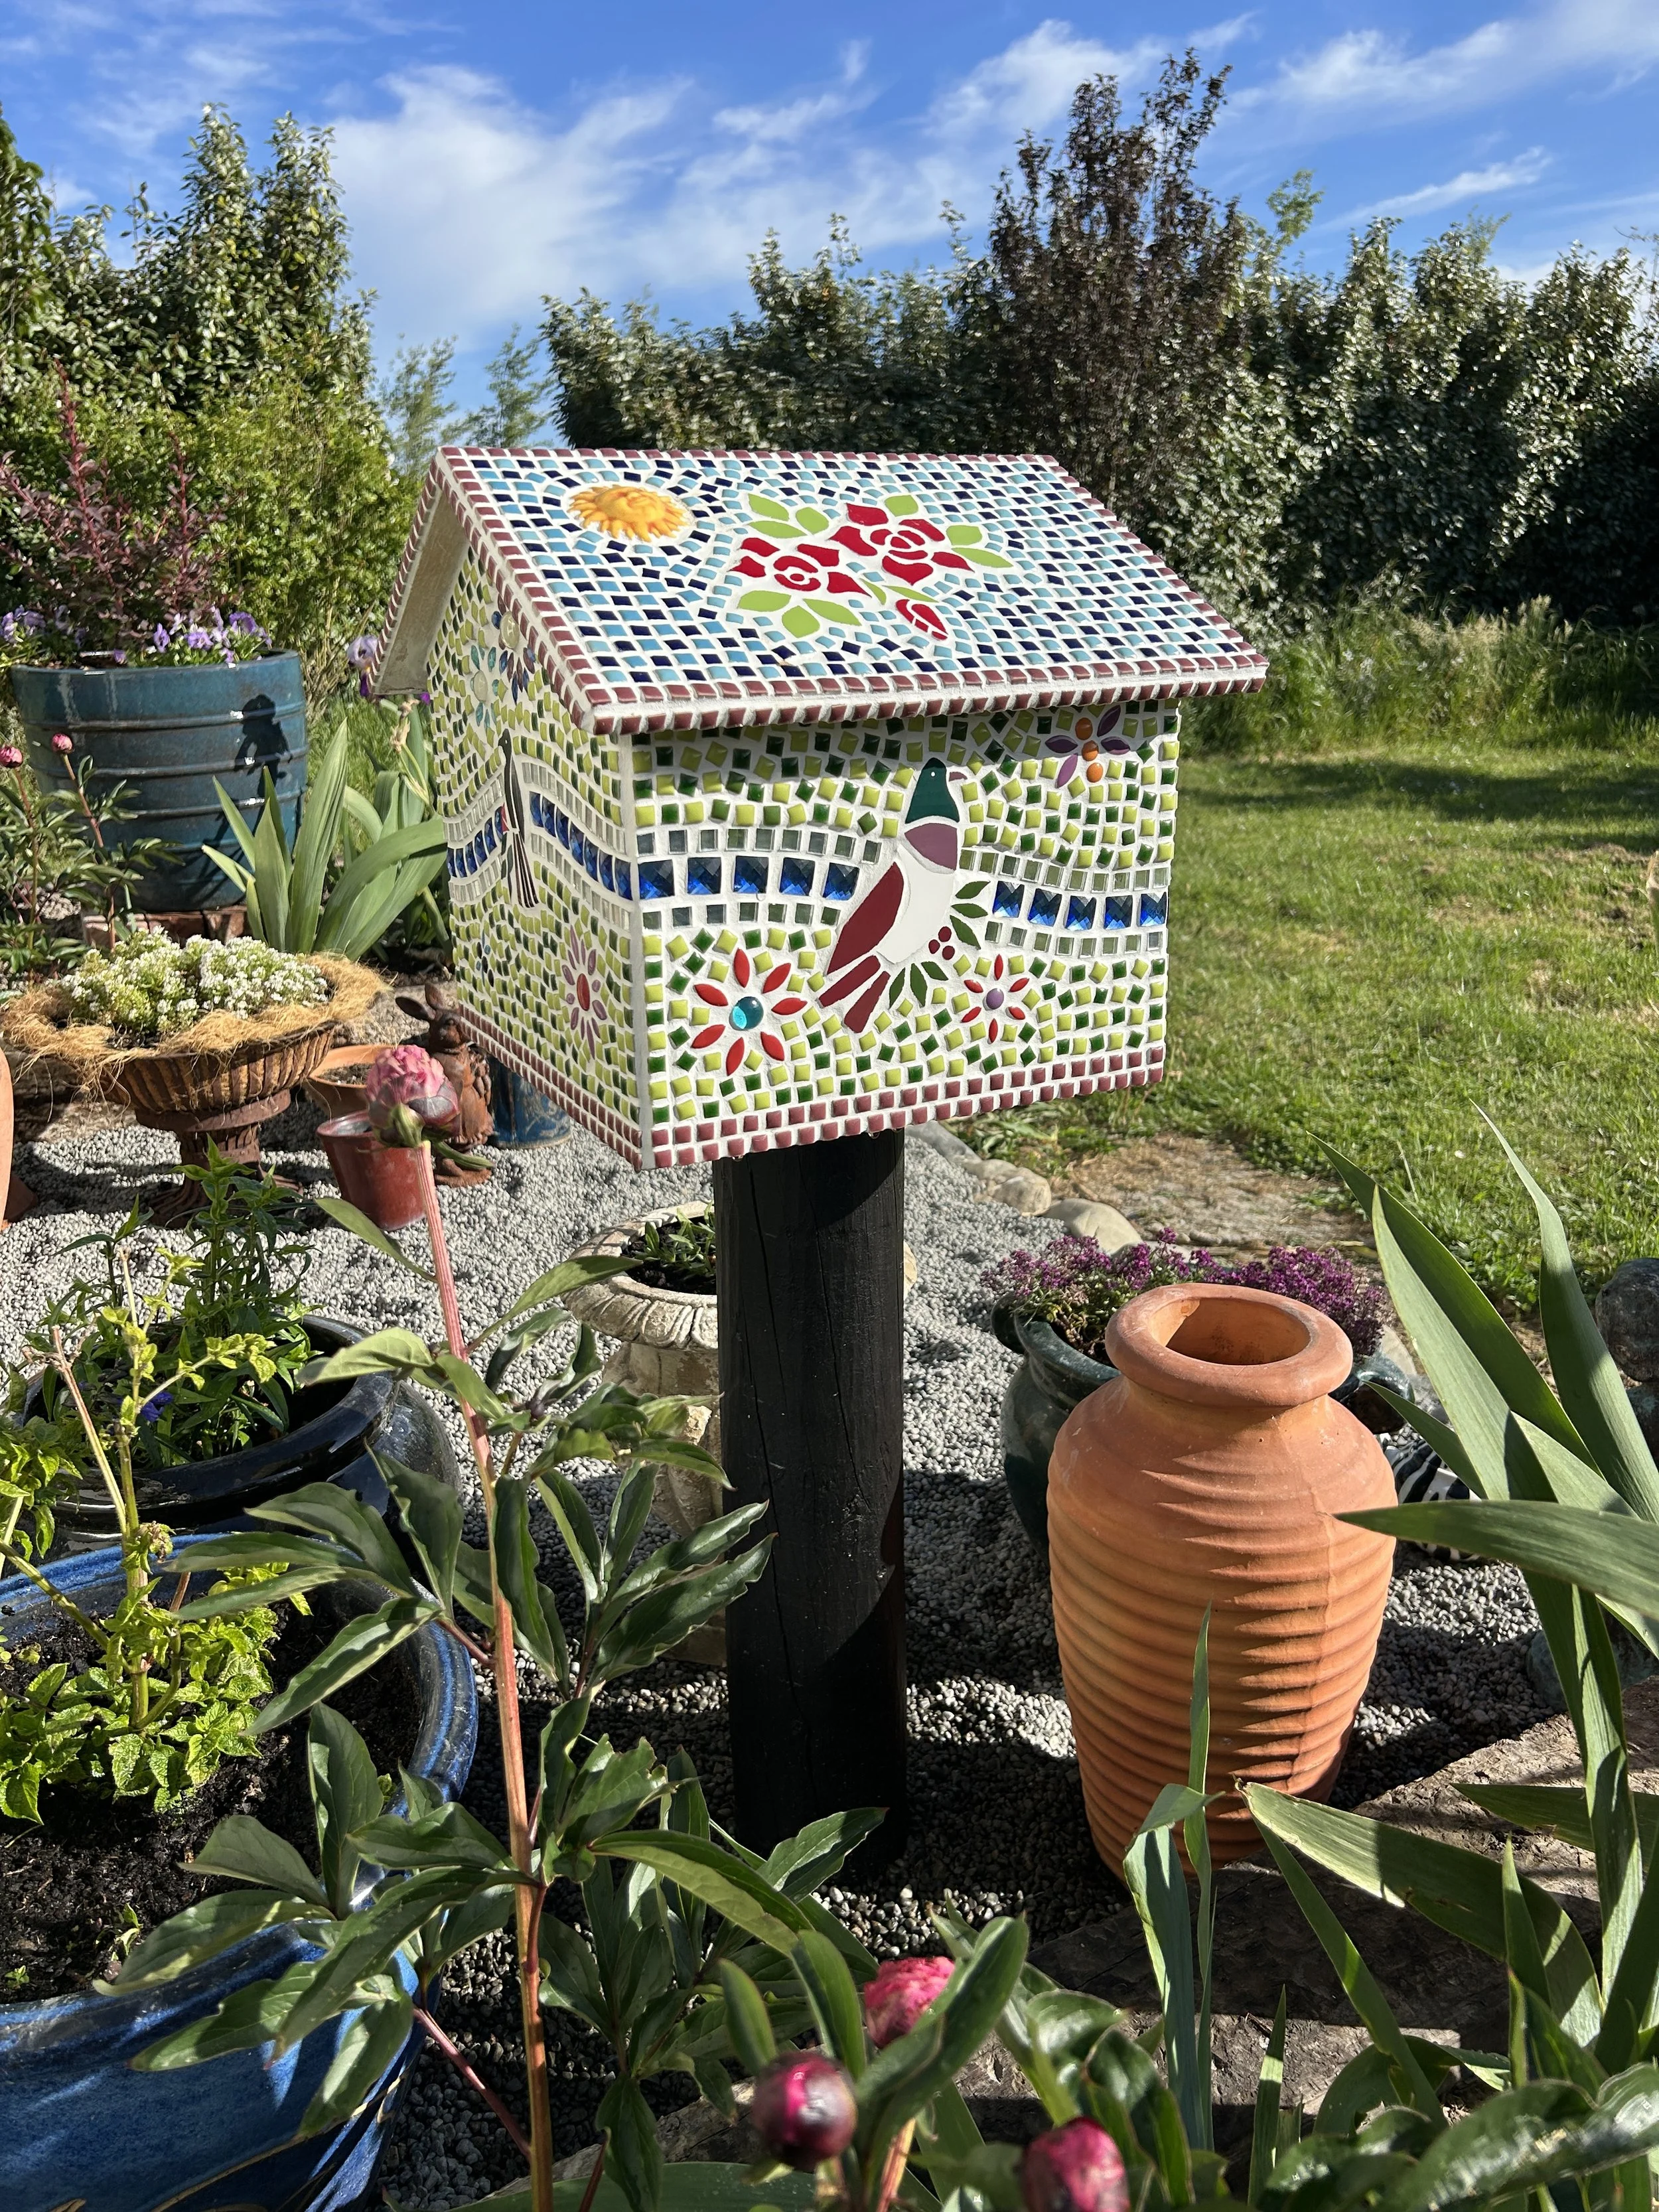
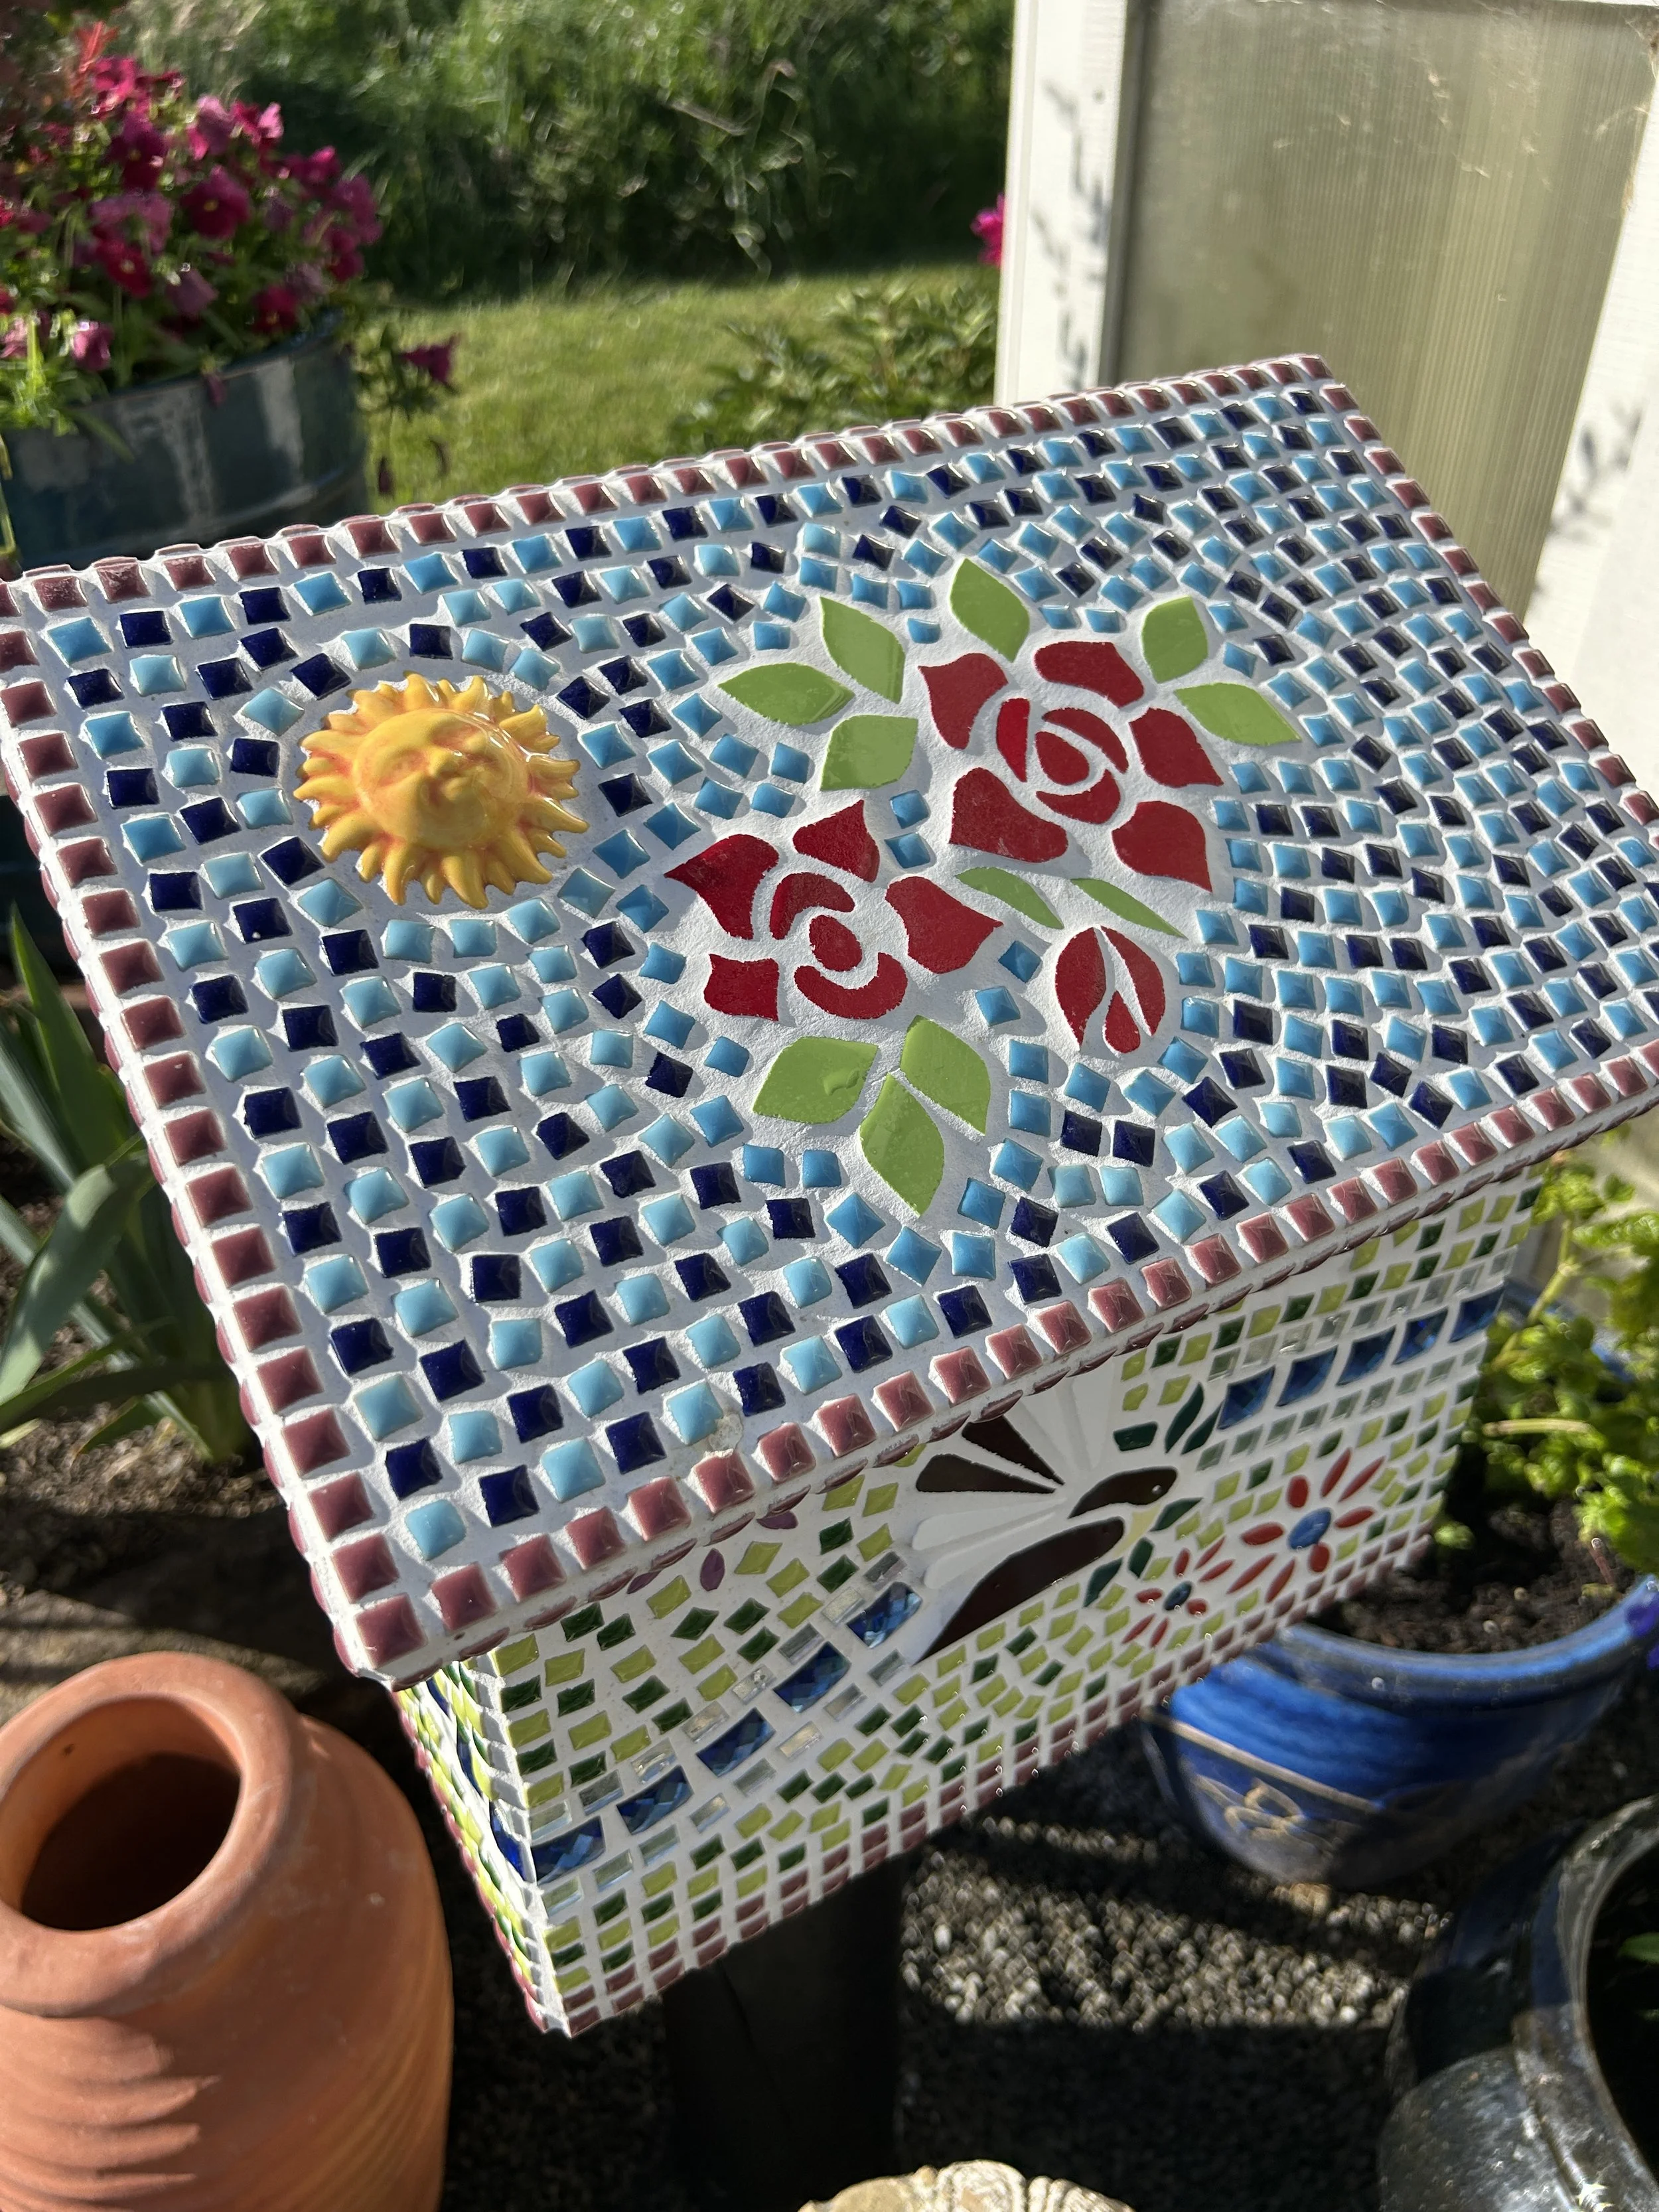
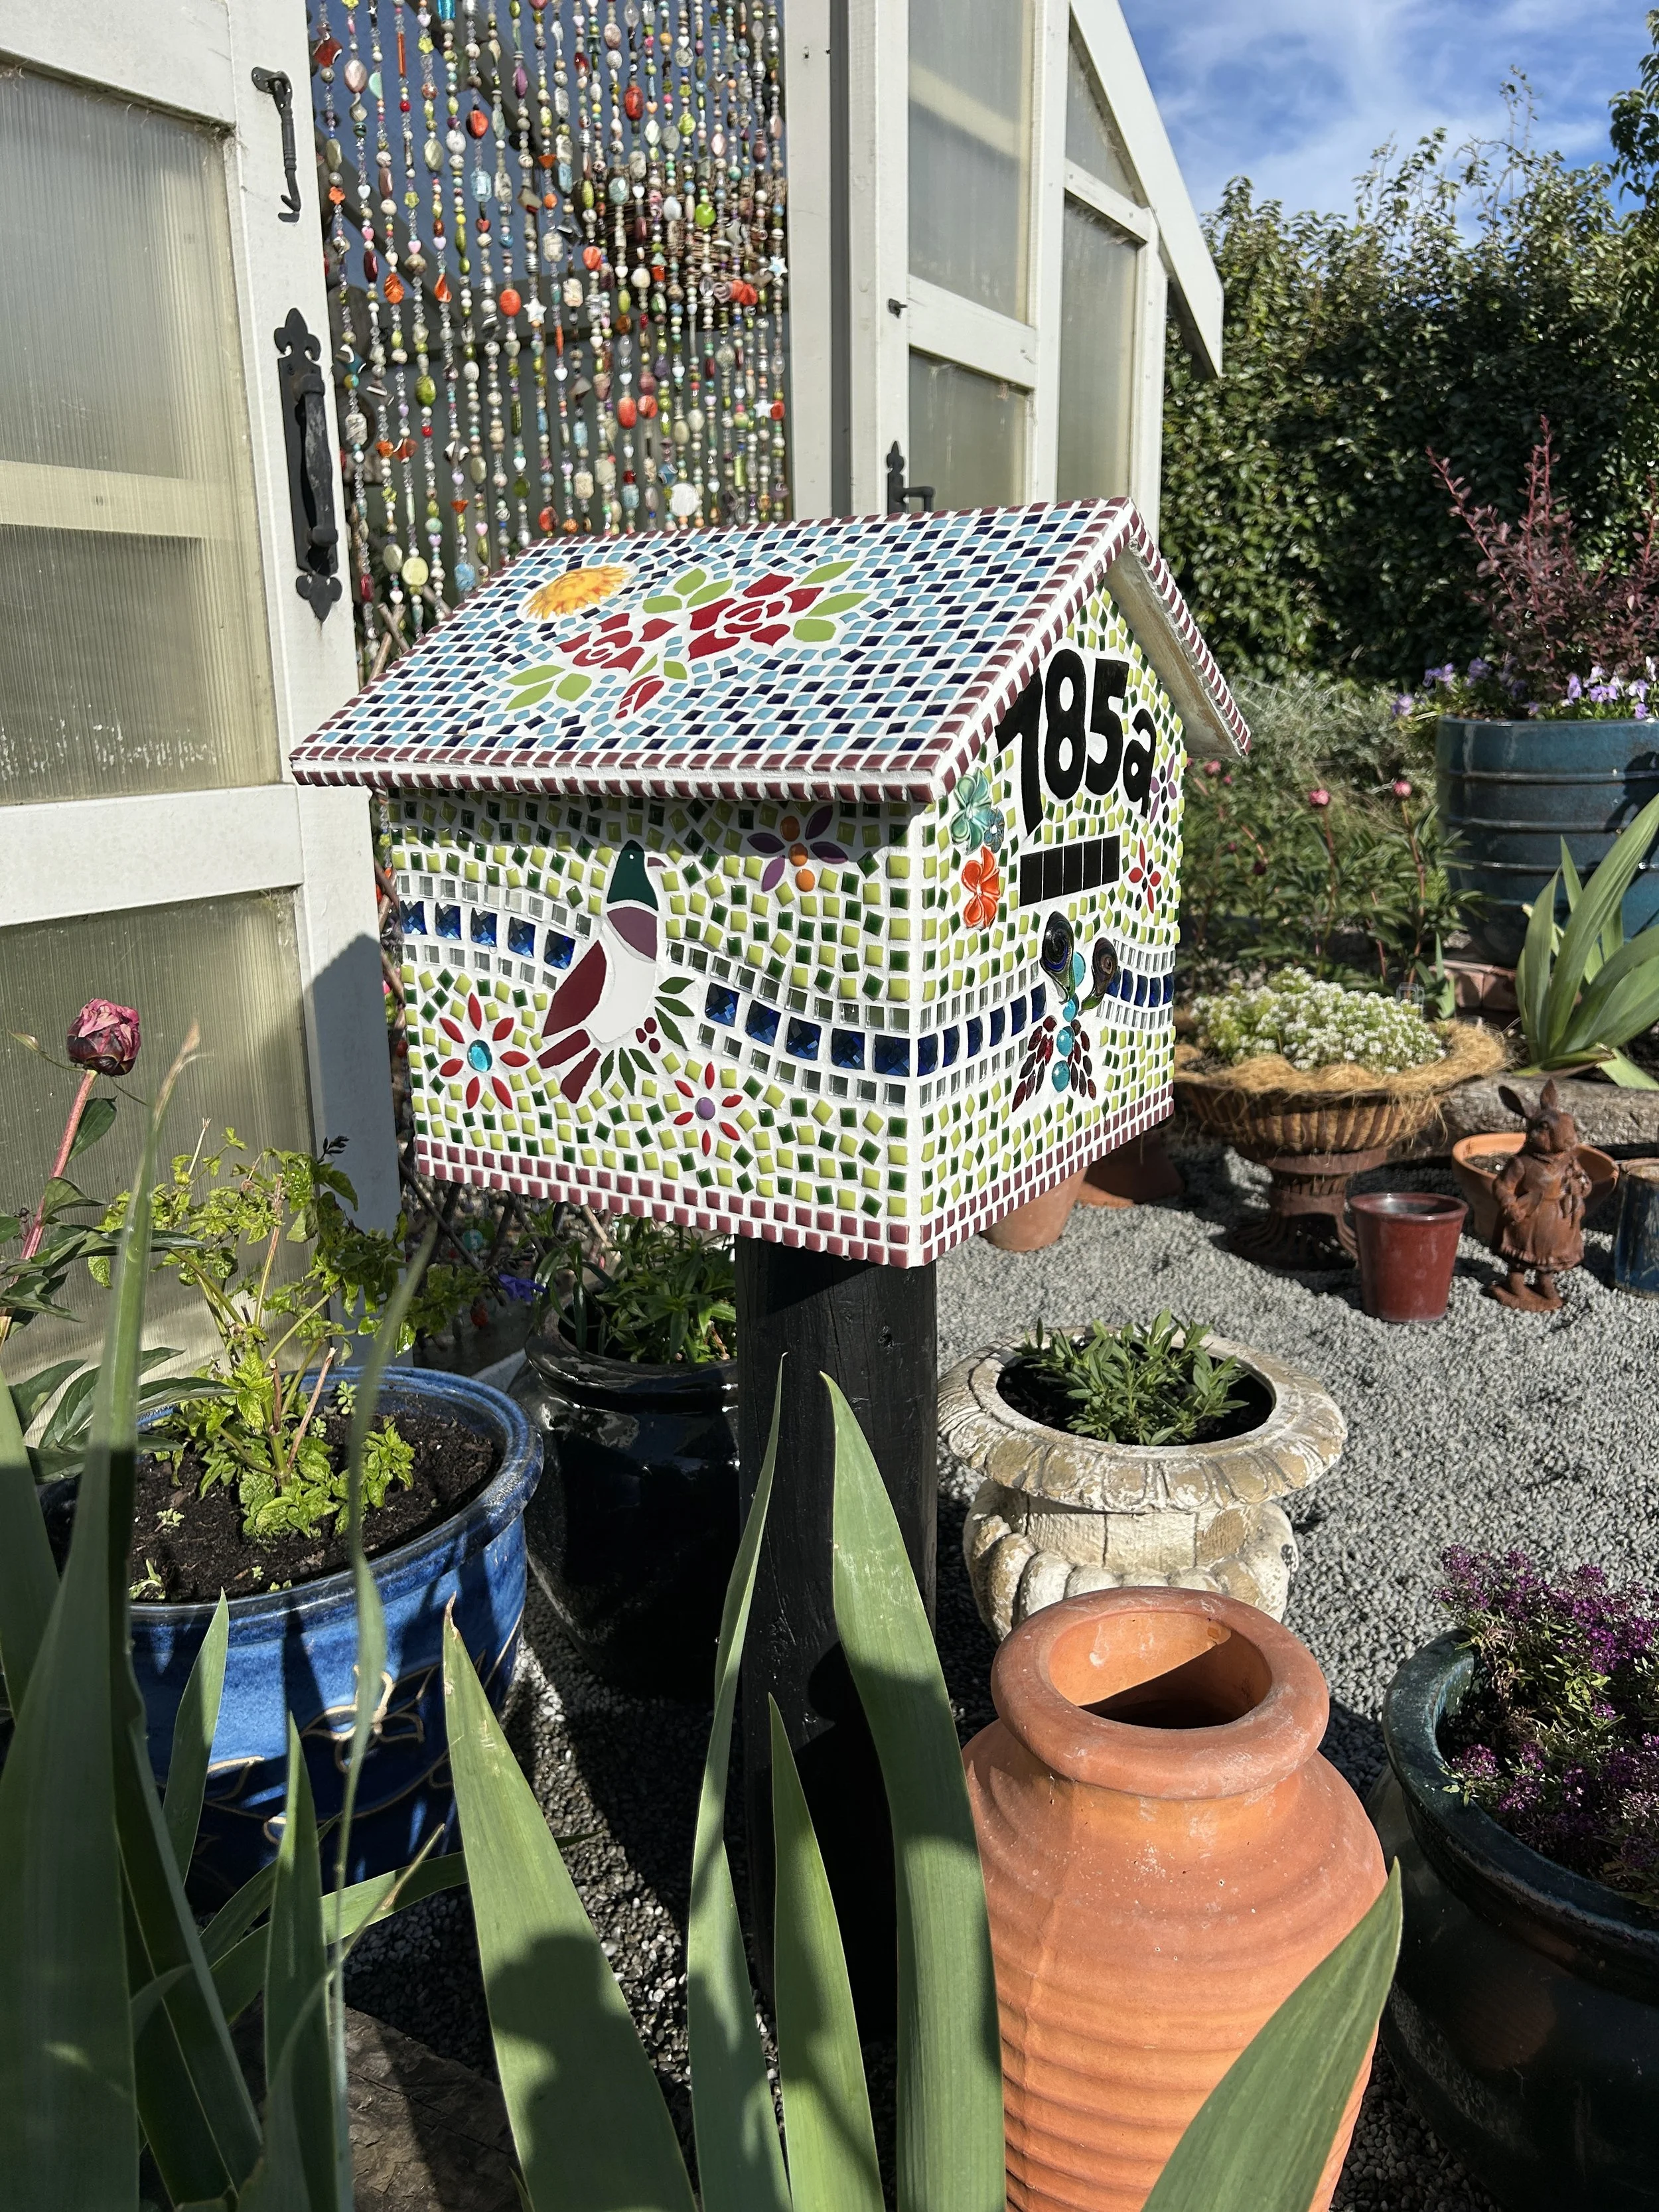
You might have seen my latest garden art project pop up on Instagram….the mosaic letterbox I finally put up in front of The Whitehouse? Because, frankly, every house needs a letterbox…
I actually made it about five years ago, during the Covid lockdowns, because it seemed like a good distraction at the time. They’re fun to make and fairly straight forward. I taught myself how to do it, which is definitely a sign of how easy it is.
It’s taken me this long to install the letterbox - a strong indicator of my world-class procrastination skills!
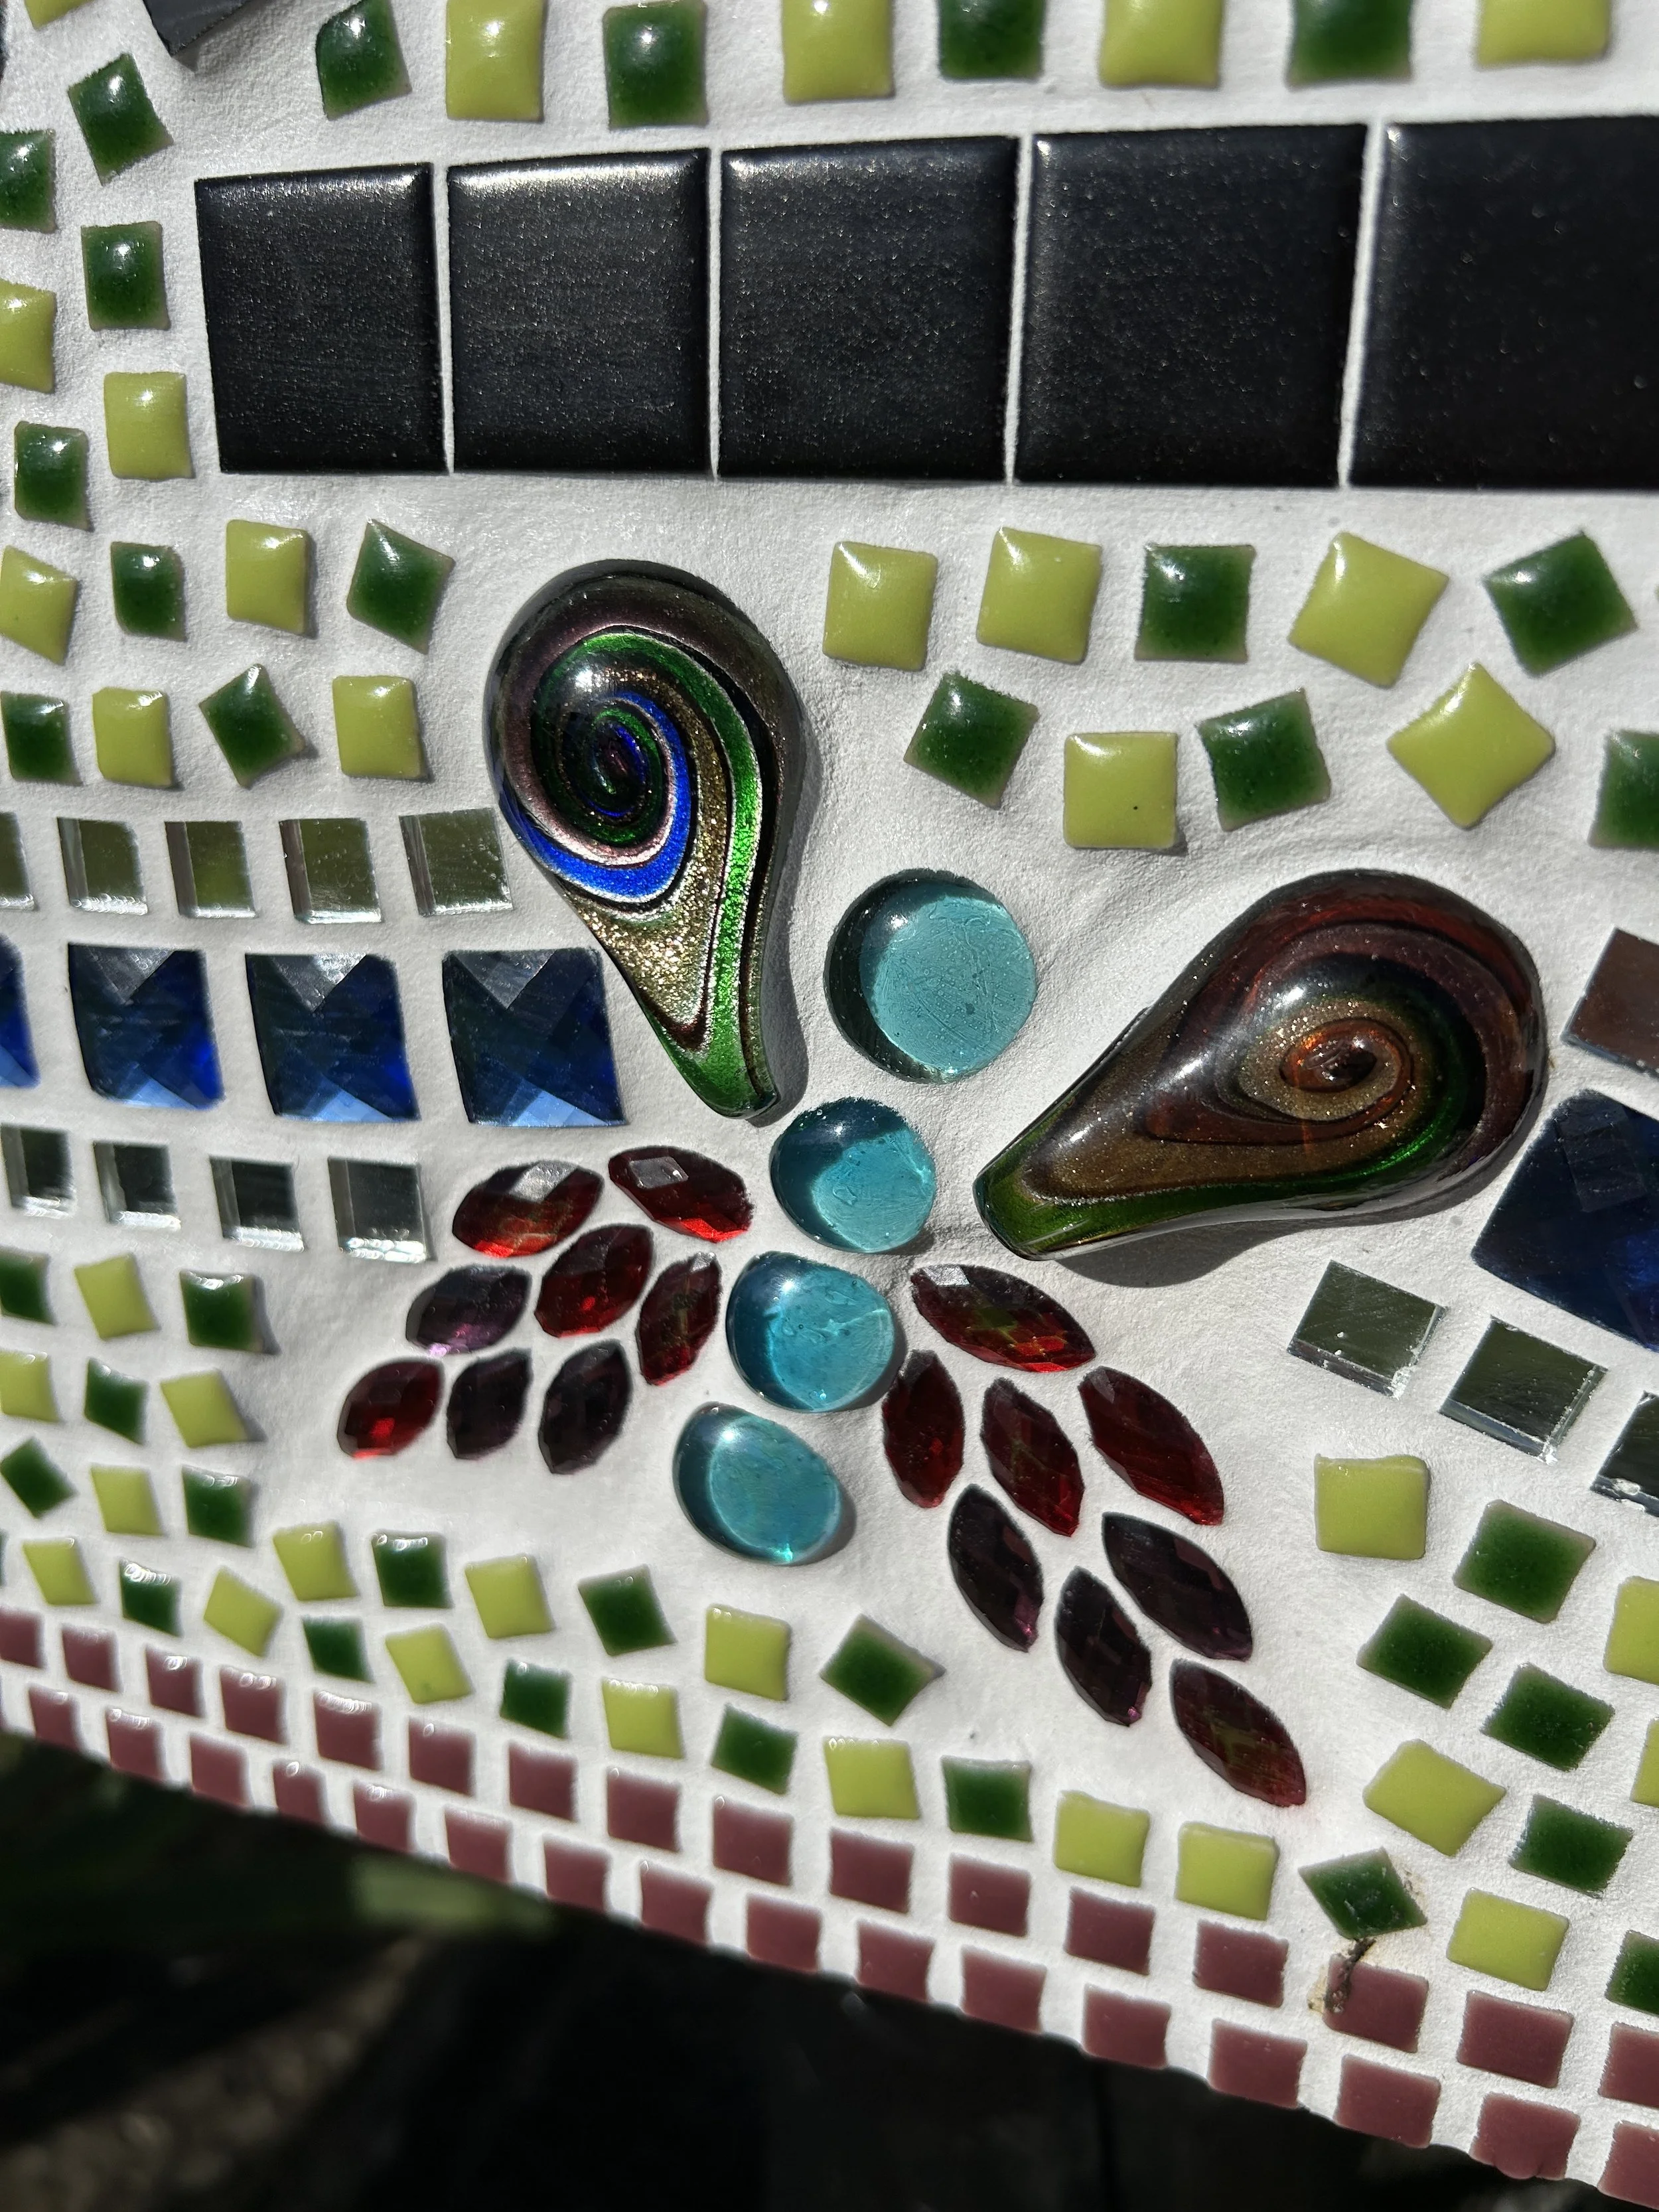
I don’t have step-by-step photos since I wasn’t writing newsletters back then, but if you’re a crafty type and thinking of trying something similar, here are a few quick considerations:
Base: I got my husband to build a simple plywood letterbox - wood gives you a good surface for tiles.
Adhesive: Use an exterior glue with some expansion qualities (recommended by a mosaic supplier). It helps the tiles cope with temperature changes and prevents them popping off as the sub-surface expands and contracts with heat and cold.
Tiles: Mine came from a mosaic supplier, with the birds and numbers custom-cut from a seller on Trade Me (our version of eBay).
Finishing: Once fully dry (two weeks… or five years, in my case), spray with a few coats of tile grout sealer to protect it from the weather.
Installation: We mounted it on a black-stained fence post with a galvanised metal brace underneath - nice and sturdy.
And that’s it. Five years in the making, but it’s finally up, and I have to say, it makes me smile every time I walk past.
Now that the letterbox is complete and my Dr Suessy thing got shown off on Ista on Friday, I’m feeling dangerously productive… which means the next projects are on course for completion around 2030.
If you want an insight into my mind when it comes to projects I’m working out how to create….I’m planning a mosaic wingback chair. I’m currently nutting out how to turn the surface into a mosaicable one. It involves chicken wire, and concrete, and the knowledge that I’ll have to do the work where it’s to live, because imagine trying to move a concrete and mosaic armchair into position! I conjures up visions of ugly crying and tantrums….
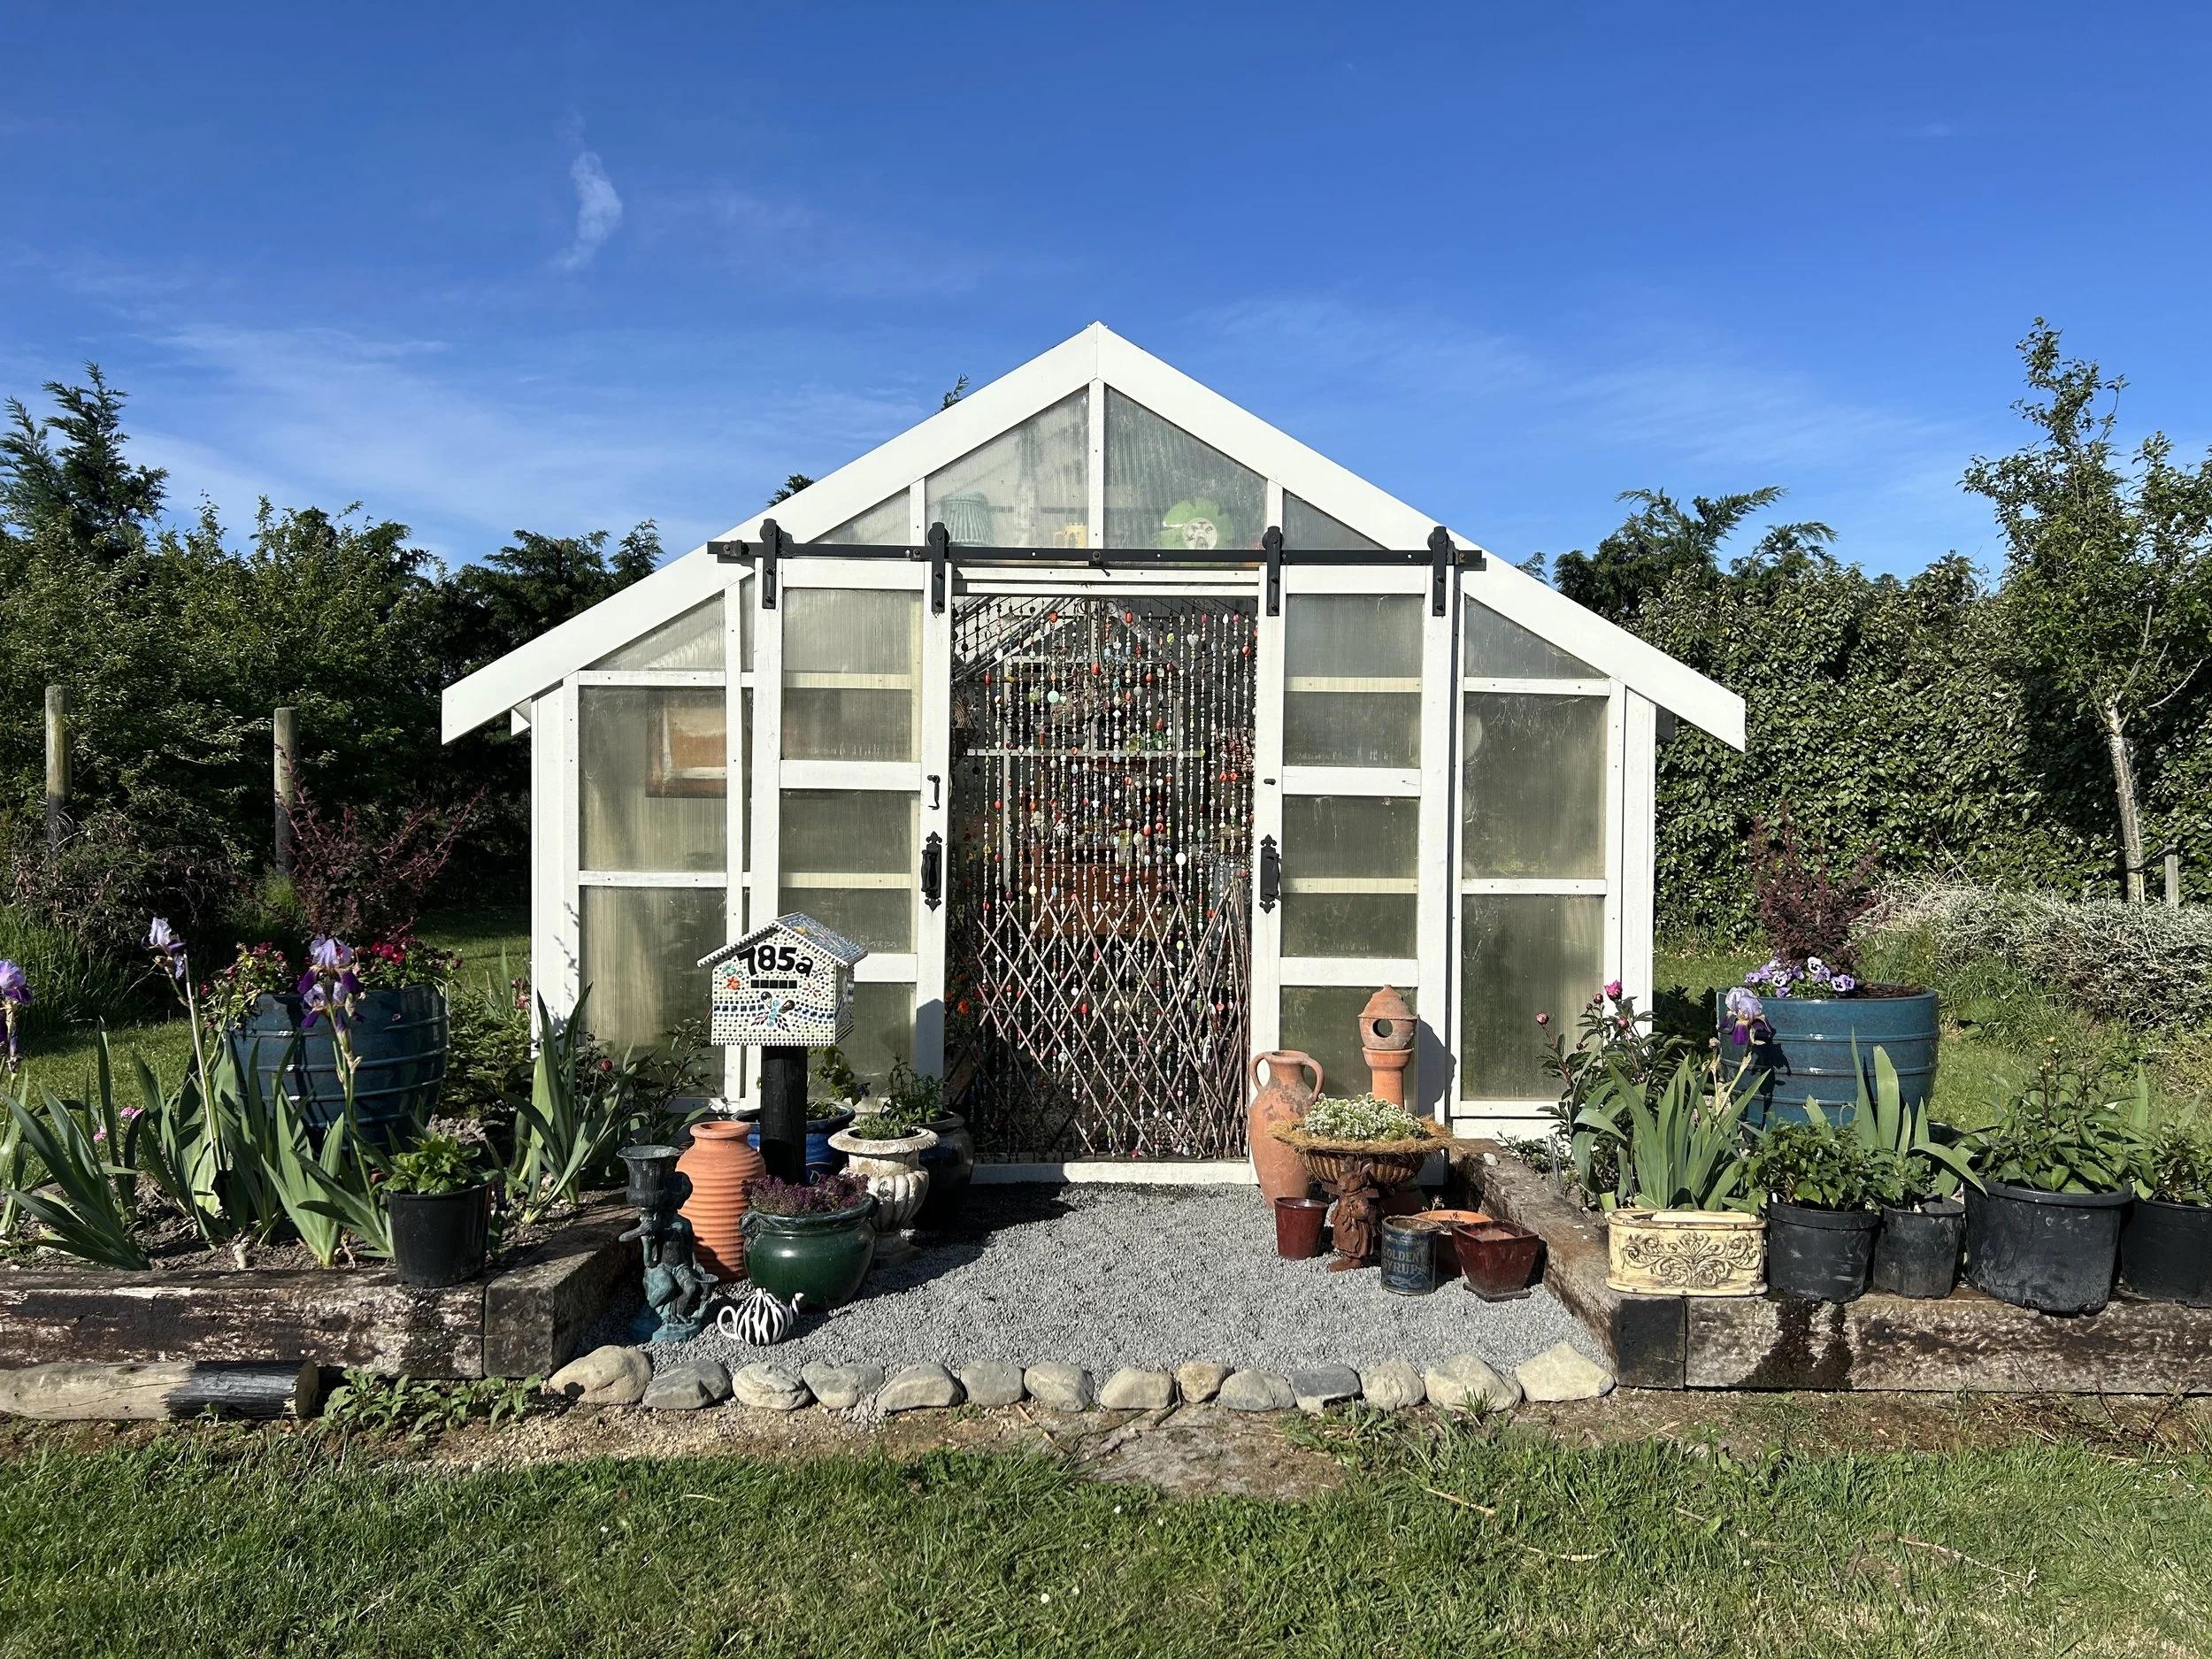
Photo: The landscaping of the area outside The Whitehouse is slowly taking shape. The entire area is to become my cutting garden, so those messy areas to the far left and right are in my line of sight as soon as my new shrub borders are complete. Eventually the whole area will be a series of raised beds and graveled pathways.
What to do in your garden this week
Northern Hemisphere
🍂Rake and mulch - use fallen leaves as mulch around trees and on garden beds to insulate roots and improve soil. Just don’t stack them up against the trunks and stems of plants as that can encourage collar rot from all the trapped moisture.
❄️Tender plants - have you protected them yet, or moved tender potted plants indoors? If frosts and snow are not upon you already, they’ll not be far away. Avoid regret. Act now!
🪻Spring bulbs - in areas where the ground hasn’t frozen yet, you can still plant spring bulbs.
♠️Tools - clean and sharpen your spades, shears and secateurs and give them a good clean and oil before winter storage.
💩Feed the soil - well rotted manure or compost can be added to empty beds now in preparation for spring planting.
Southern Hemisphere
🥀Stake and support tall growers - dahlias, delphiniums and tomatoes all need support. It’s better to get the support in place before they’re already getting tall and starting to flop.
🌸Mulch generously - I’ve been madly mulching my shrub borders in an effort to lock in moisture before summer, and stifle the weeds, and thus maintain my sanity! 5-10cm thick mulch layers do wonders for your garden beds.
🌹Roses are in bloom and it’s time to start thinking about deadheading. Once those blooms end, trim back to just above the first five-leaf node and you’ll be encouraging more beautiful blooms throughout summer.
🫛Sow warm-season crops - beans, corn, cucumbers, zucchini and basil can all be sown now for summer harvests.
🪲Watch out for pests - aphids, caterpillars and whitefly all ramp up their partying behaviour from now on so check the underside of leaves regularly.

Photo: I’m not sure where in the world you are? I live near Christchurch in the South Island of New Zealand, right down here, nearly at the bottom of the world. A good thing about living in NZ? It’s a long way from everywhere. A bad thing about living in NZ? It’s a long way from everywhere! 😄
Coming up next week
I’ll give you an update on my perennial border renovation project, including what I’ve interplanted to create a succession of blooms throughout spring, summer and autumn, all from the same patch of dirt.
What’s new in Behind the Garden Gate this week?
🌸Feature plant: dahlias! A cornerstone of the flower garden, but a tad temperamental. This weeks post has everything you need to know about dahlias.
💲Earn an income from your garden: this week’s post gives you my views on whether it’s worth paying to boost your social media posts.
📷Snapshot shed: more photos of my spring garden to give you some planting inspiration.
😄You know those days when: a cute little memory from the archives which provides a perfect insight into how little people’s brains work.
Happy gardening, friends! May your mulch be fluffy, your weeds few, and your sheep cooperative. 🐏🌱
Thank you for following along with my gardening adventures. I enjoy writing about them and sharing them with you. I hope you enjoy reading about my garden as much as I enjoy creating it.