Mulch ado about nothing…
Welcome back, gardeners!
It’s that time of year when the weeds are plotting, the soil’s drying out faster than we’d like, and we’re all probably playing catch-up. I know I am. So, in this week’s newsletter, I’m tackling two garden game-changers: mulching and building raised beds. Both are simple ways to make your garden not just look good, but work smarter for you (and save your sanity while you’re at it).

Photo: the wisteria has been looking gorgeous this year. This one is Black Dragon, a Japanese wisteria. It looks fairly plain the rest of the year, but the spring blooms and the autumn colour make it worthwhile.
Mulching 101: your garden’s best friend
Mulching is one of those unglamorous but utterly essential garden habits. The three biggest reasons to mulch are simple:
Maintaining your sanity (also known as weed suppression) – Mulch acts like a blanket that smothers weed seeds and stops them from getting the light they need to germinate. You’ll still get the odd stray, but pulling them out is much easier.
Moisture retention – It slows evaporation, keeping your soil consistently moist for longer. That means less watering and happier roots.
Soil temperature - It keeps the soil at a more consistent temperature, eliminating the extreme variations that can cause plants to struggle.
Plants that aren’t competing with weeds or gasping for moisture grow stronger, and you get to spend less time battling chaos.
Keep your mulch organic – things like bark chips, leaf mulch, straw, pine needles, wool or composted forest floor mulch are great options. Each one breaks down over time, feeding the soil and improving its structure.
What to avoid: that black woven weed mat from garden centres. It might look like an easy fix, but over time it does your soil no favours. It blocks air and water movement, prevents mulch from breaking down into the soil, and ultimately reduces soil health. Save it for paths or under gravel if you must (I use it this way), but not for your planting beds.
I’ve provided probably my ‘most extensive yet’ blog post in my members-only Behind the Garden Gate this week on everything to do with mulching. If you’re interested in subscribing, the link is at the bottom of this newsletter.
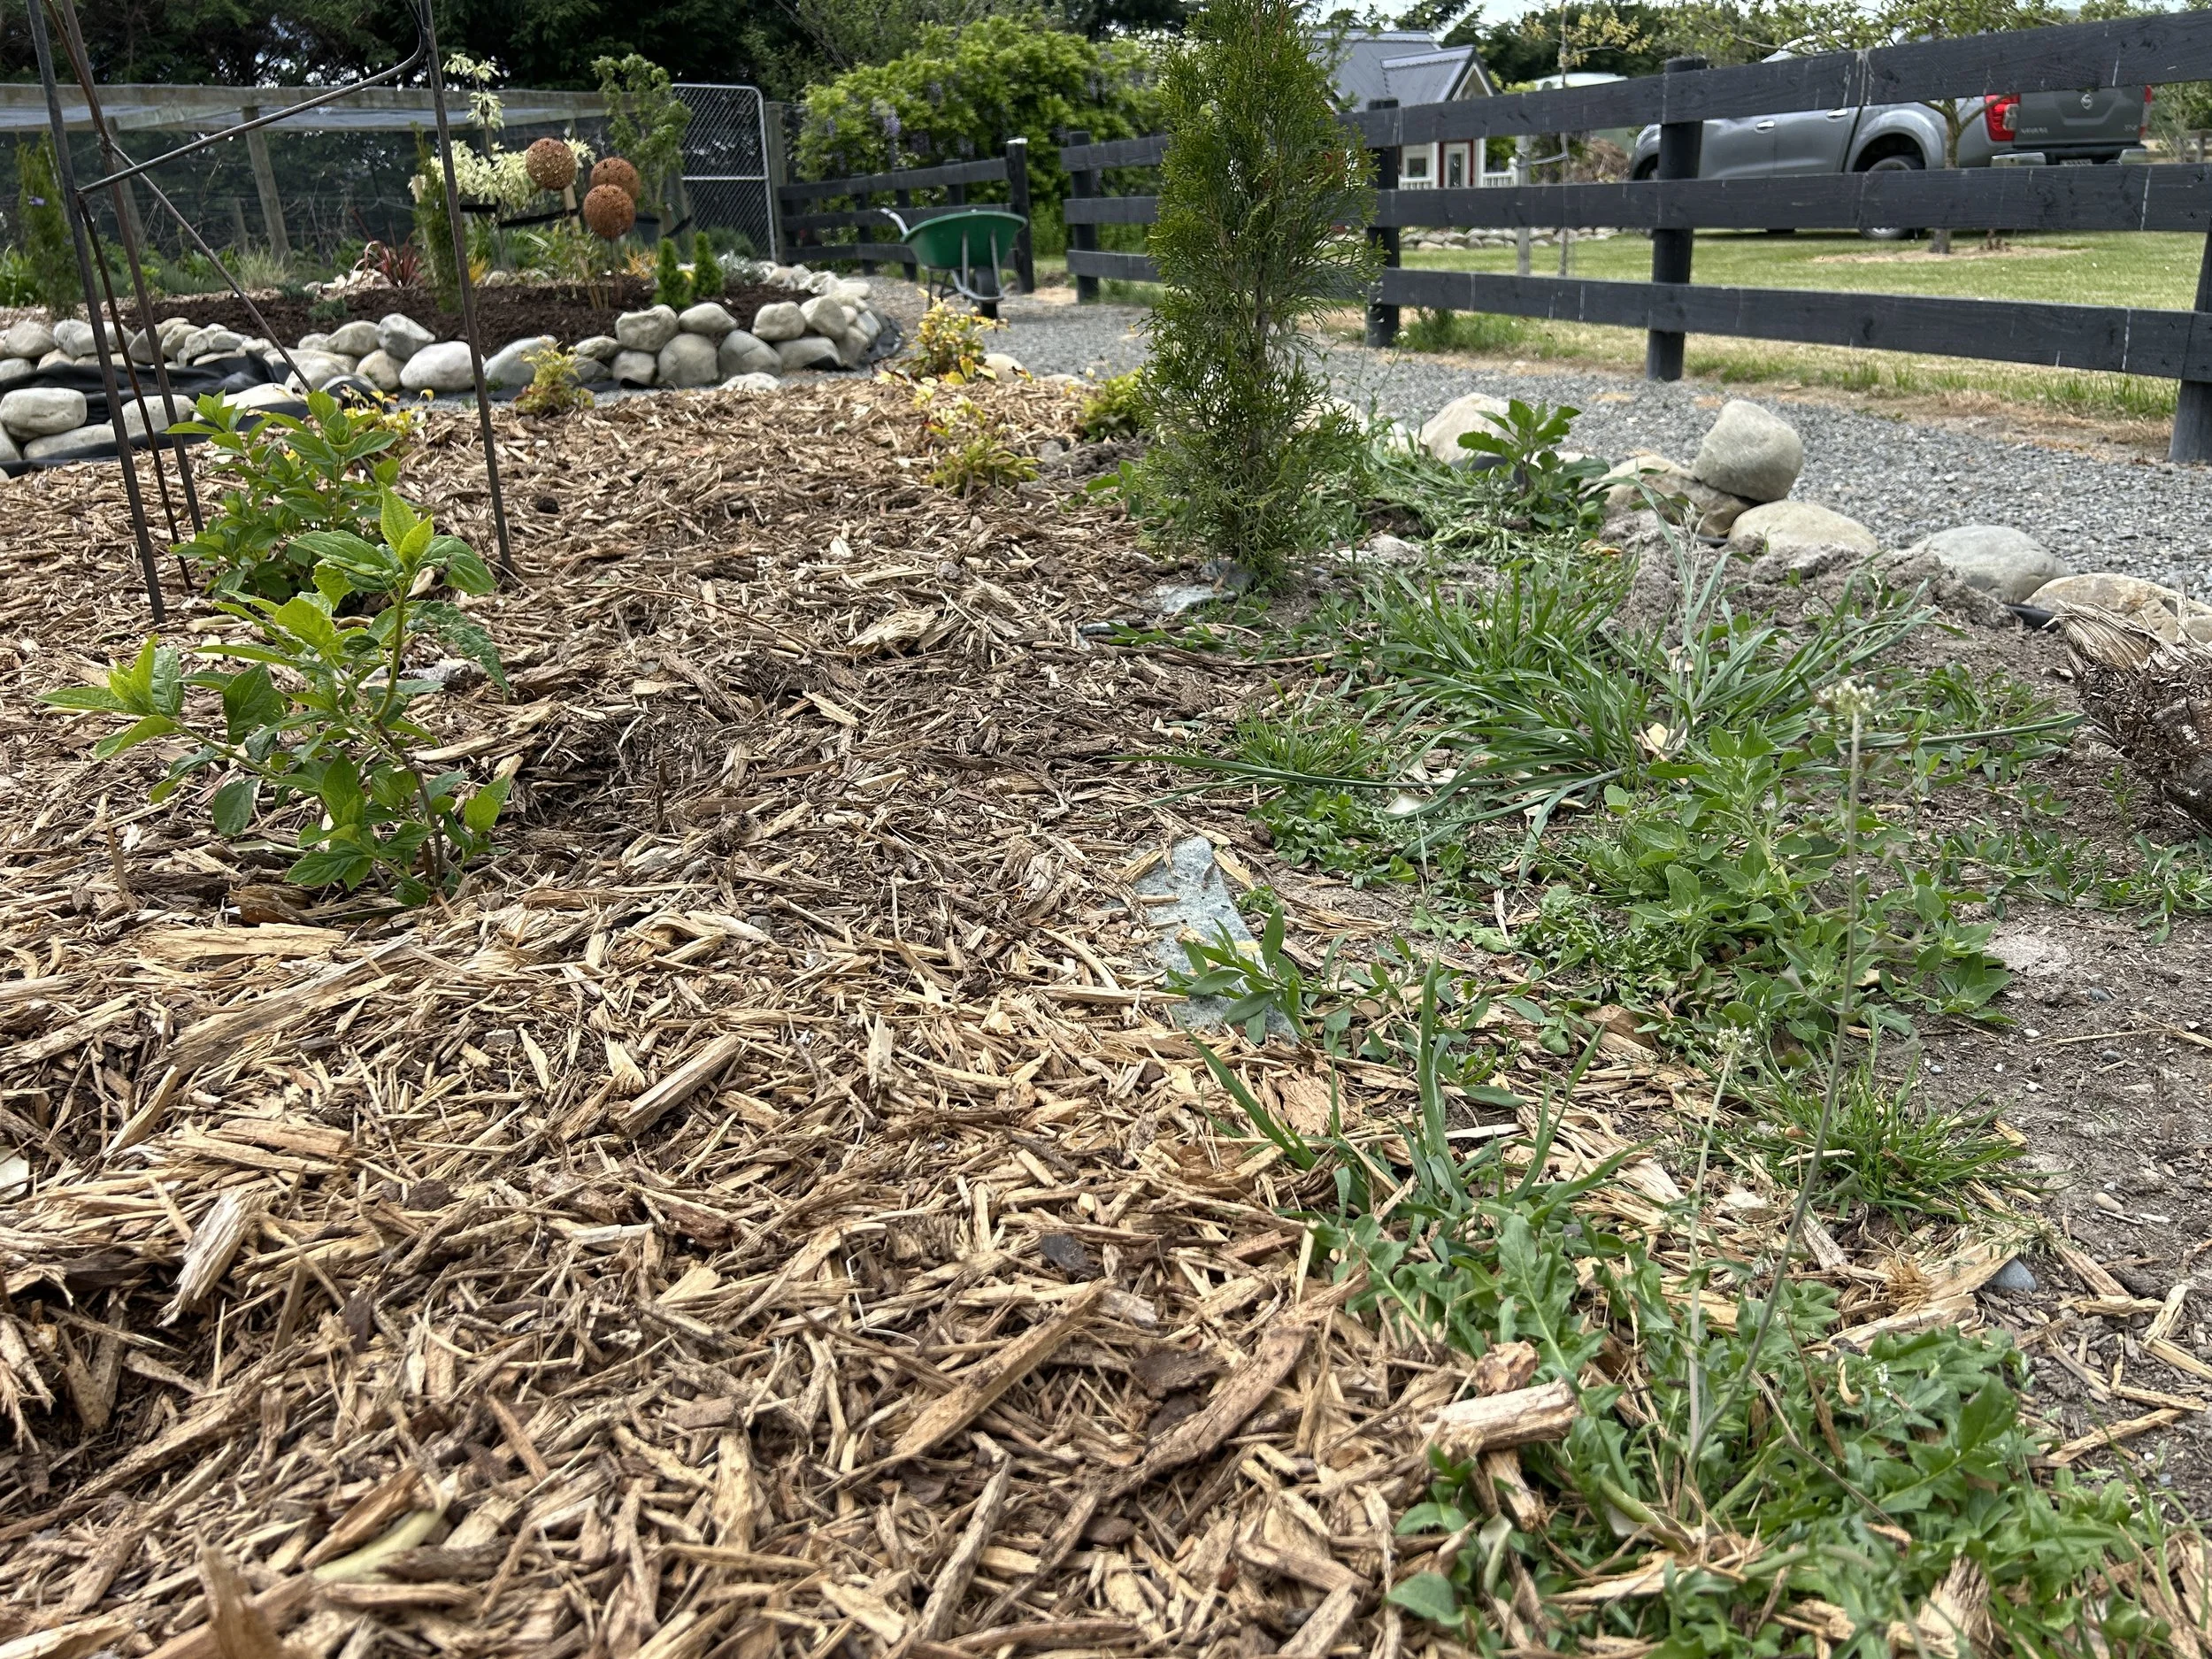
Photo: You may have seen this on a recent Instagram post. If not, then this is a clear message on the difference between mulched and unmulched garden beds! I tried to get them all completed before spring hit, however, it wasn’t to be. BUT, the majority of the new shrub borders are mulched, so it shouldn’t be too much of a hard task to get these pockets of weeds under control and covered in mulch soon.
Raising your game: the beauty of raised beds
If you’re working with challenging soil – heavy clay, compacted patches, or ground that never seems to drain properly – building raised beds is one of the smartest things you can do.
I’ve built my perennial border beds from rustic old railway sleepers. I love the look but I’m less keen on trying to bend them into curves, so in my latest shrub gardens, I’ve used river rocks, which are perfect for soft, flowing lines. But there are plenty of other options depending on your taste and budget:
Standard timber
Bricks
Corrugated iron
Corten steel for a modern, rusted look
Concrete blocks or plastered brickwork if you want something more formal.
The benefits?
Better drainage: No more soggy roots in winter.
Warmer soil: Raised beds warm up faster in spring, getting your plants growing sooner.
Easier gardening: Less bending, better control over soil quality, and a neater, more structured look.
It’s a bit of work upfront*, but once it’s done, you won’t regret it. Raised beds can completely transform a garden that’s been fighting against its soil for too long.
* A blatant, bald-faced LIE! In the case of my garden, it’s been an effort of epic proportions. But most people reading this will have smaller gardens, so 'a bit of work’ is possibly less of a blatant lie and more of a small fib.
I’ve provided deep-dive details on the building of my perennial border, Secret Garden and berry enclosure raised beds, including instructions on how we hold it all together, on my Behind the Garden Gate pages.
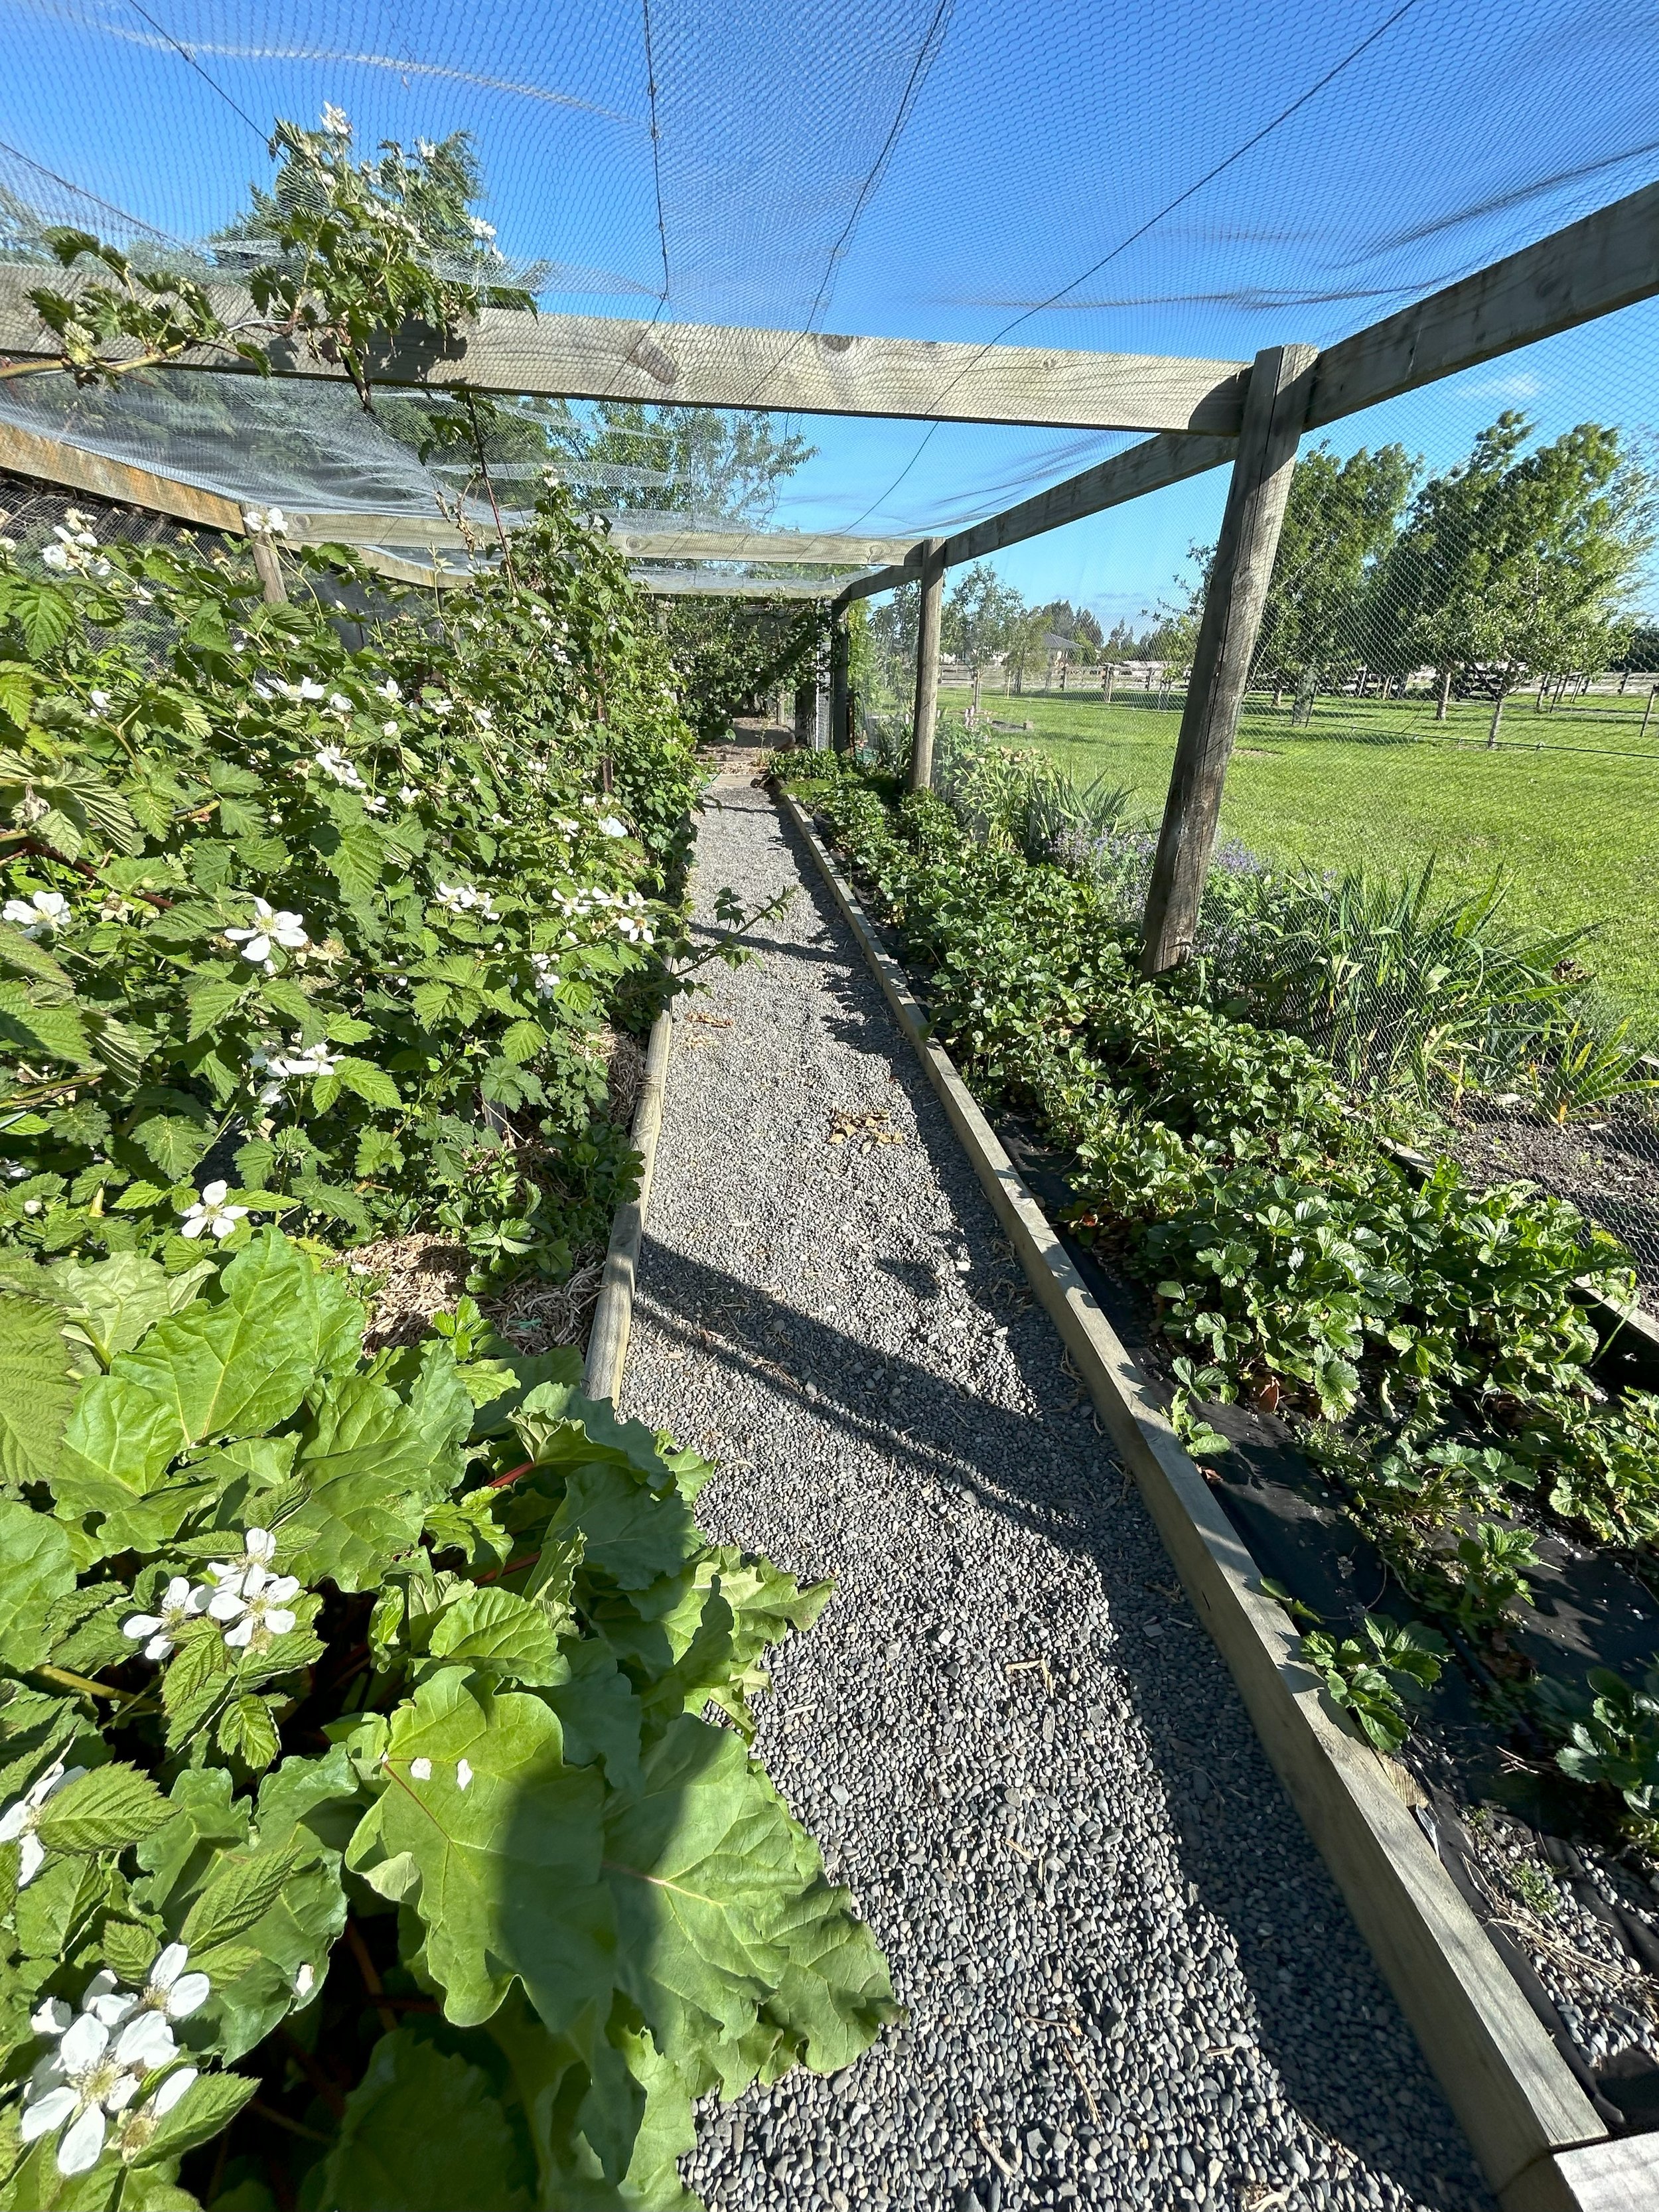
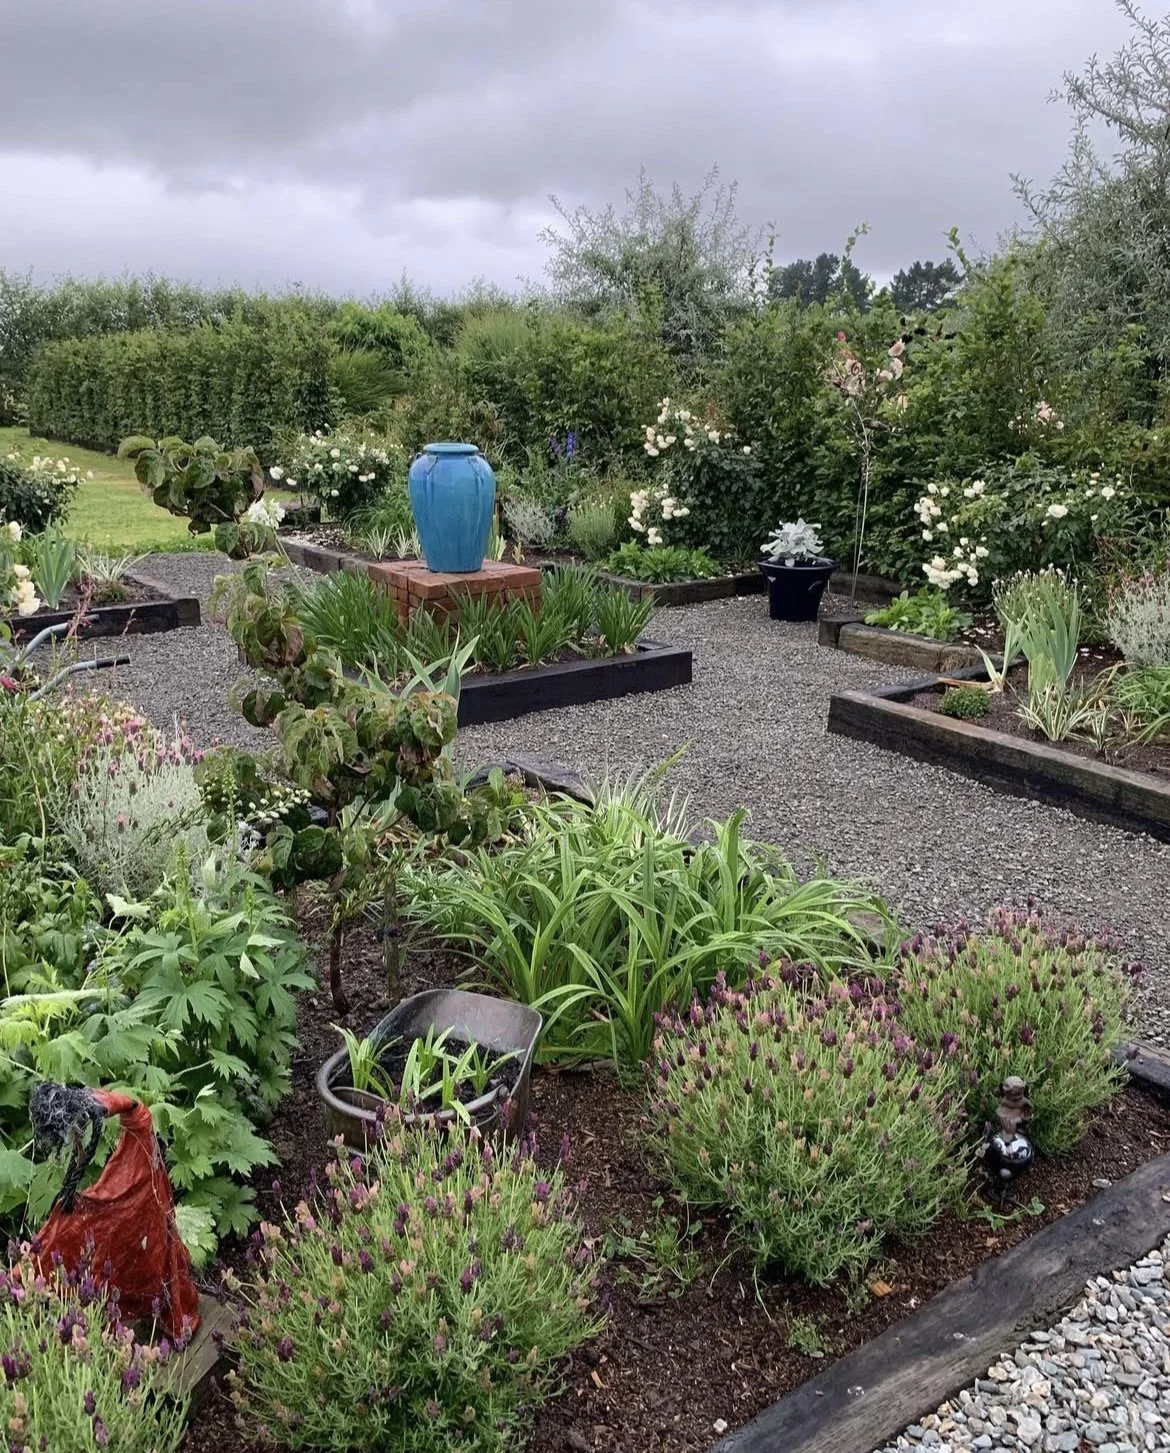
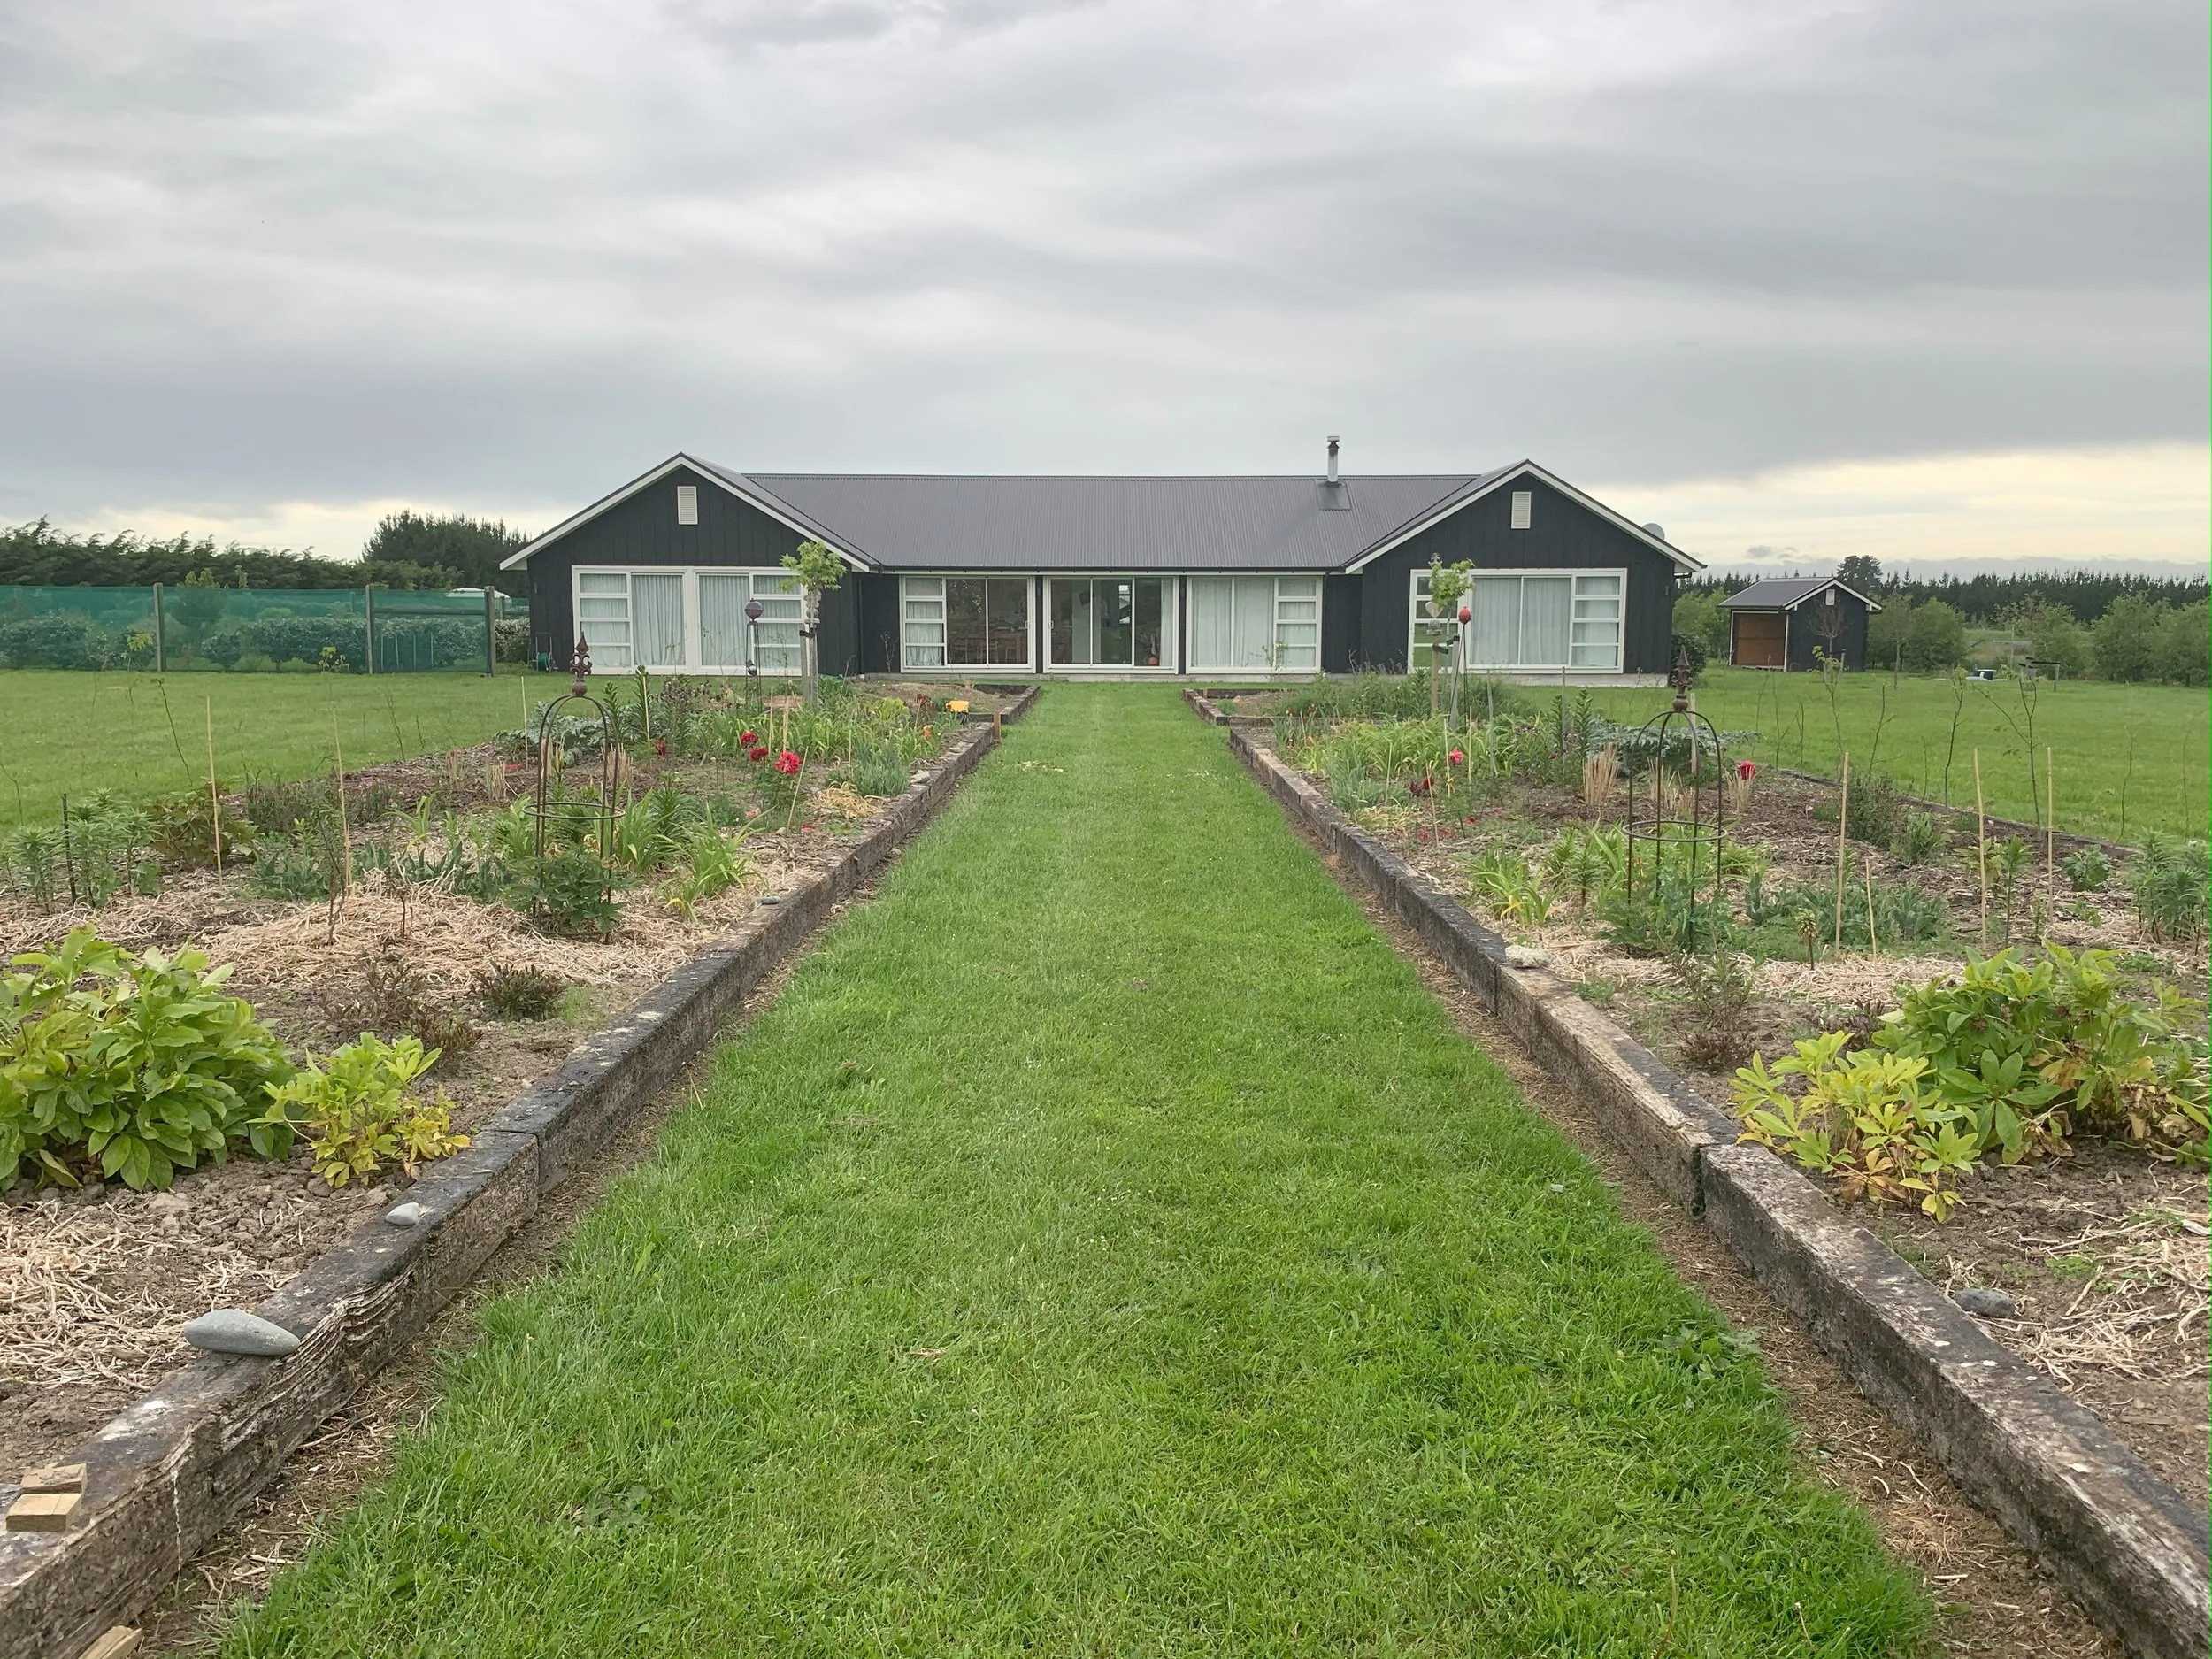
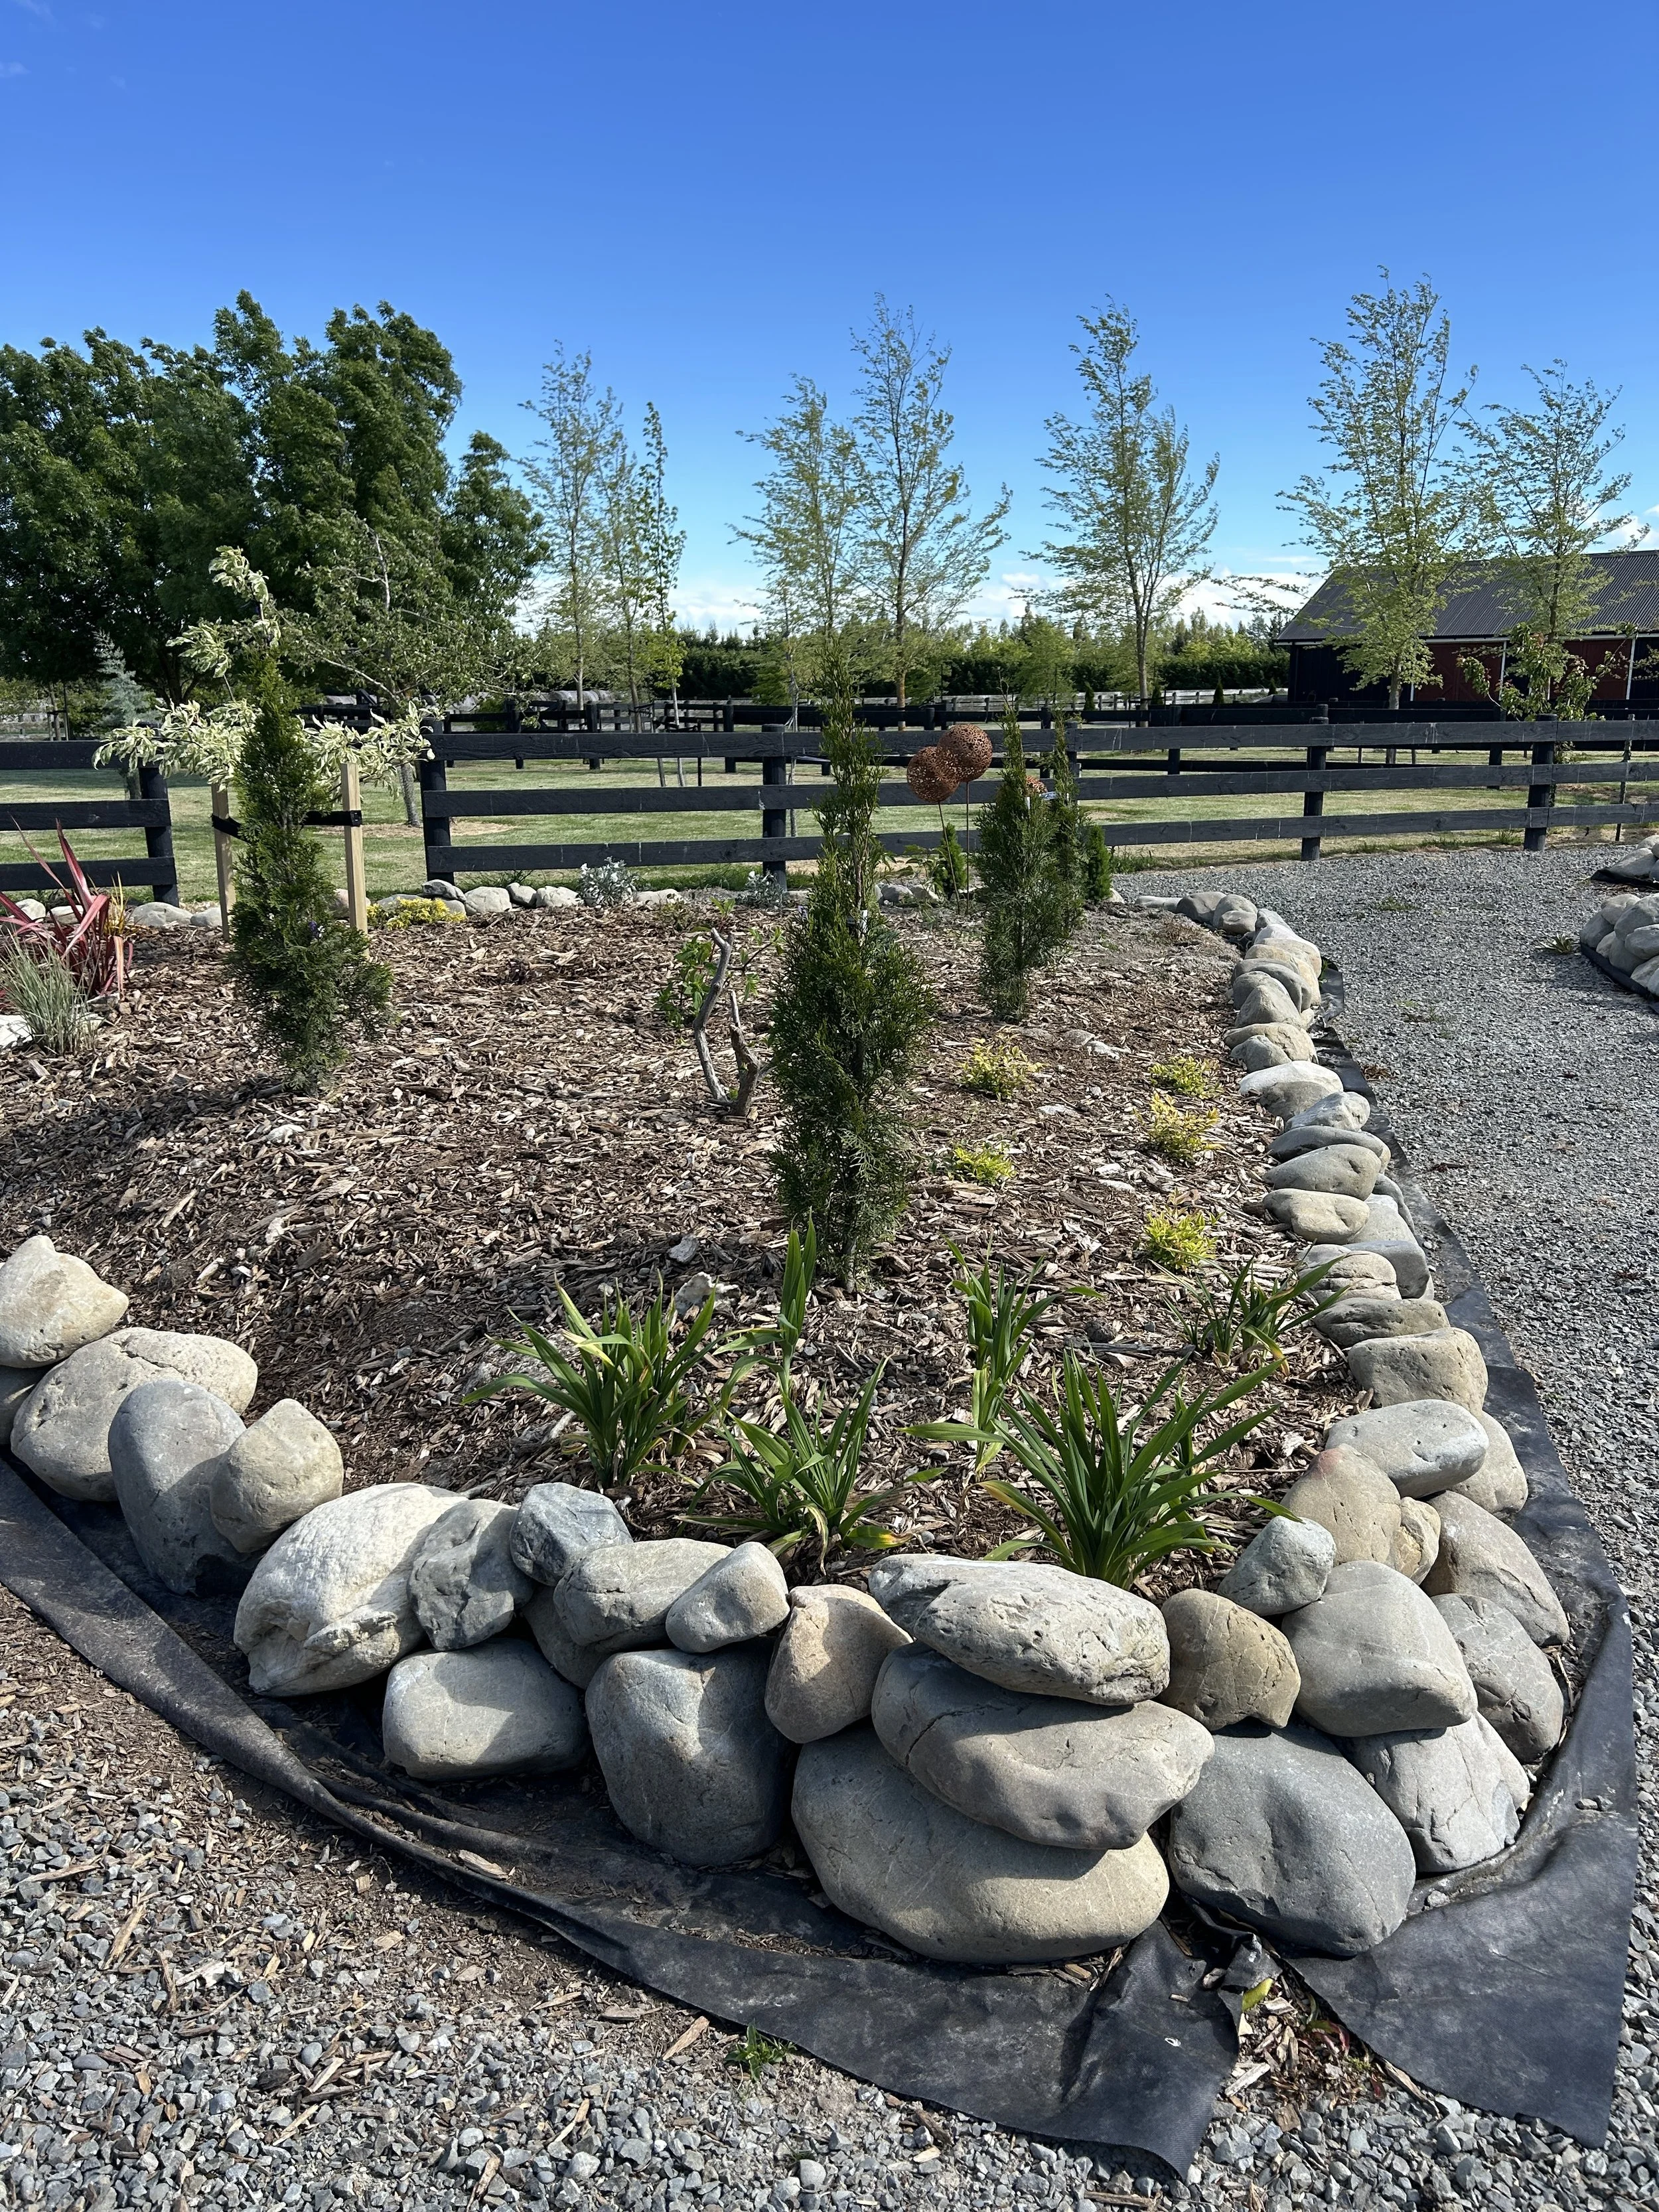
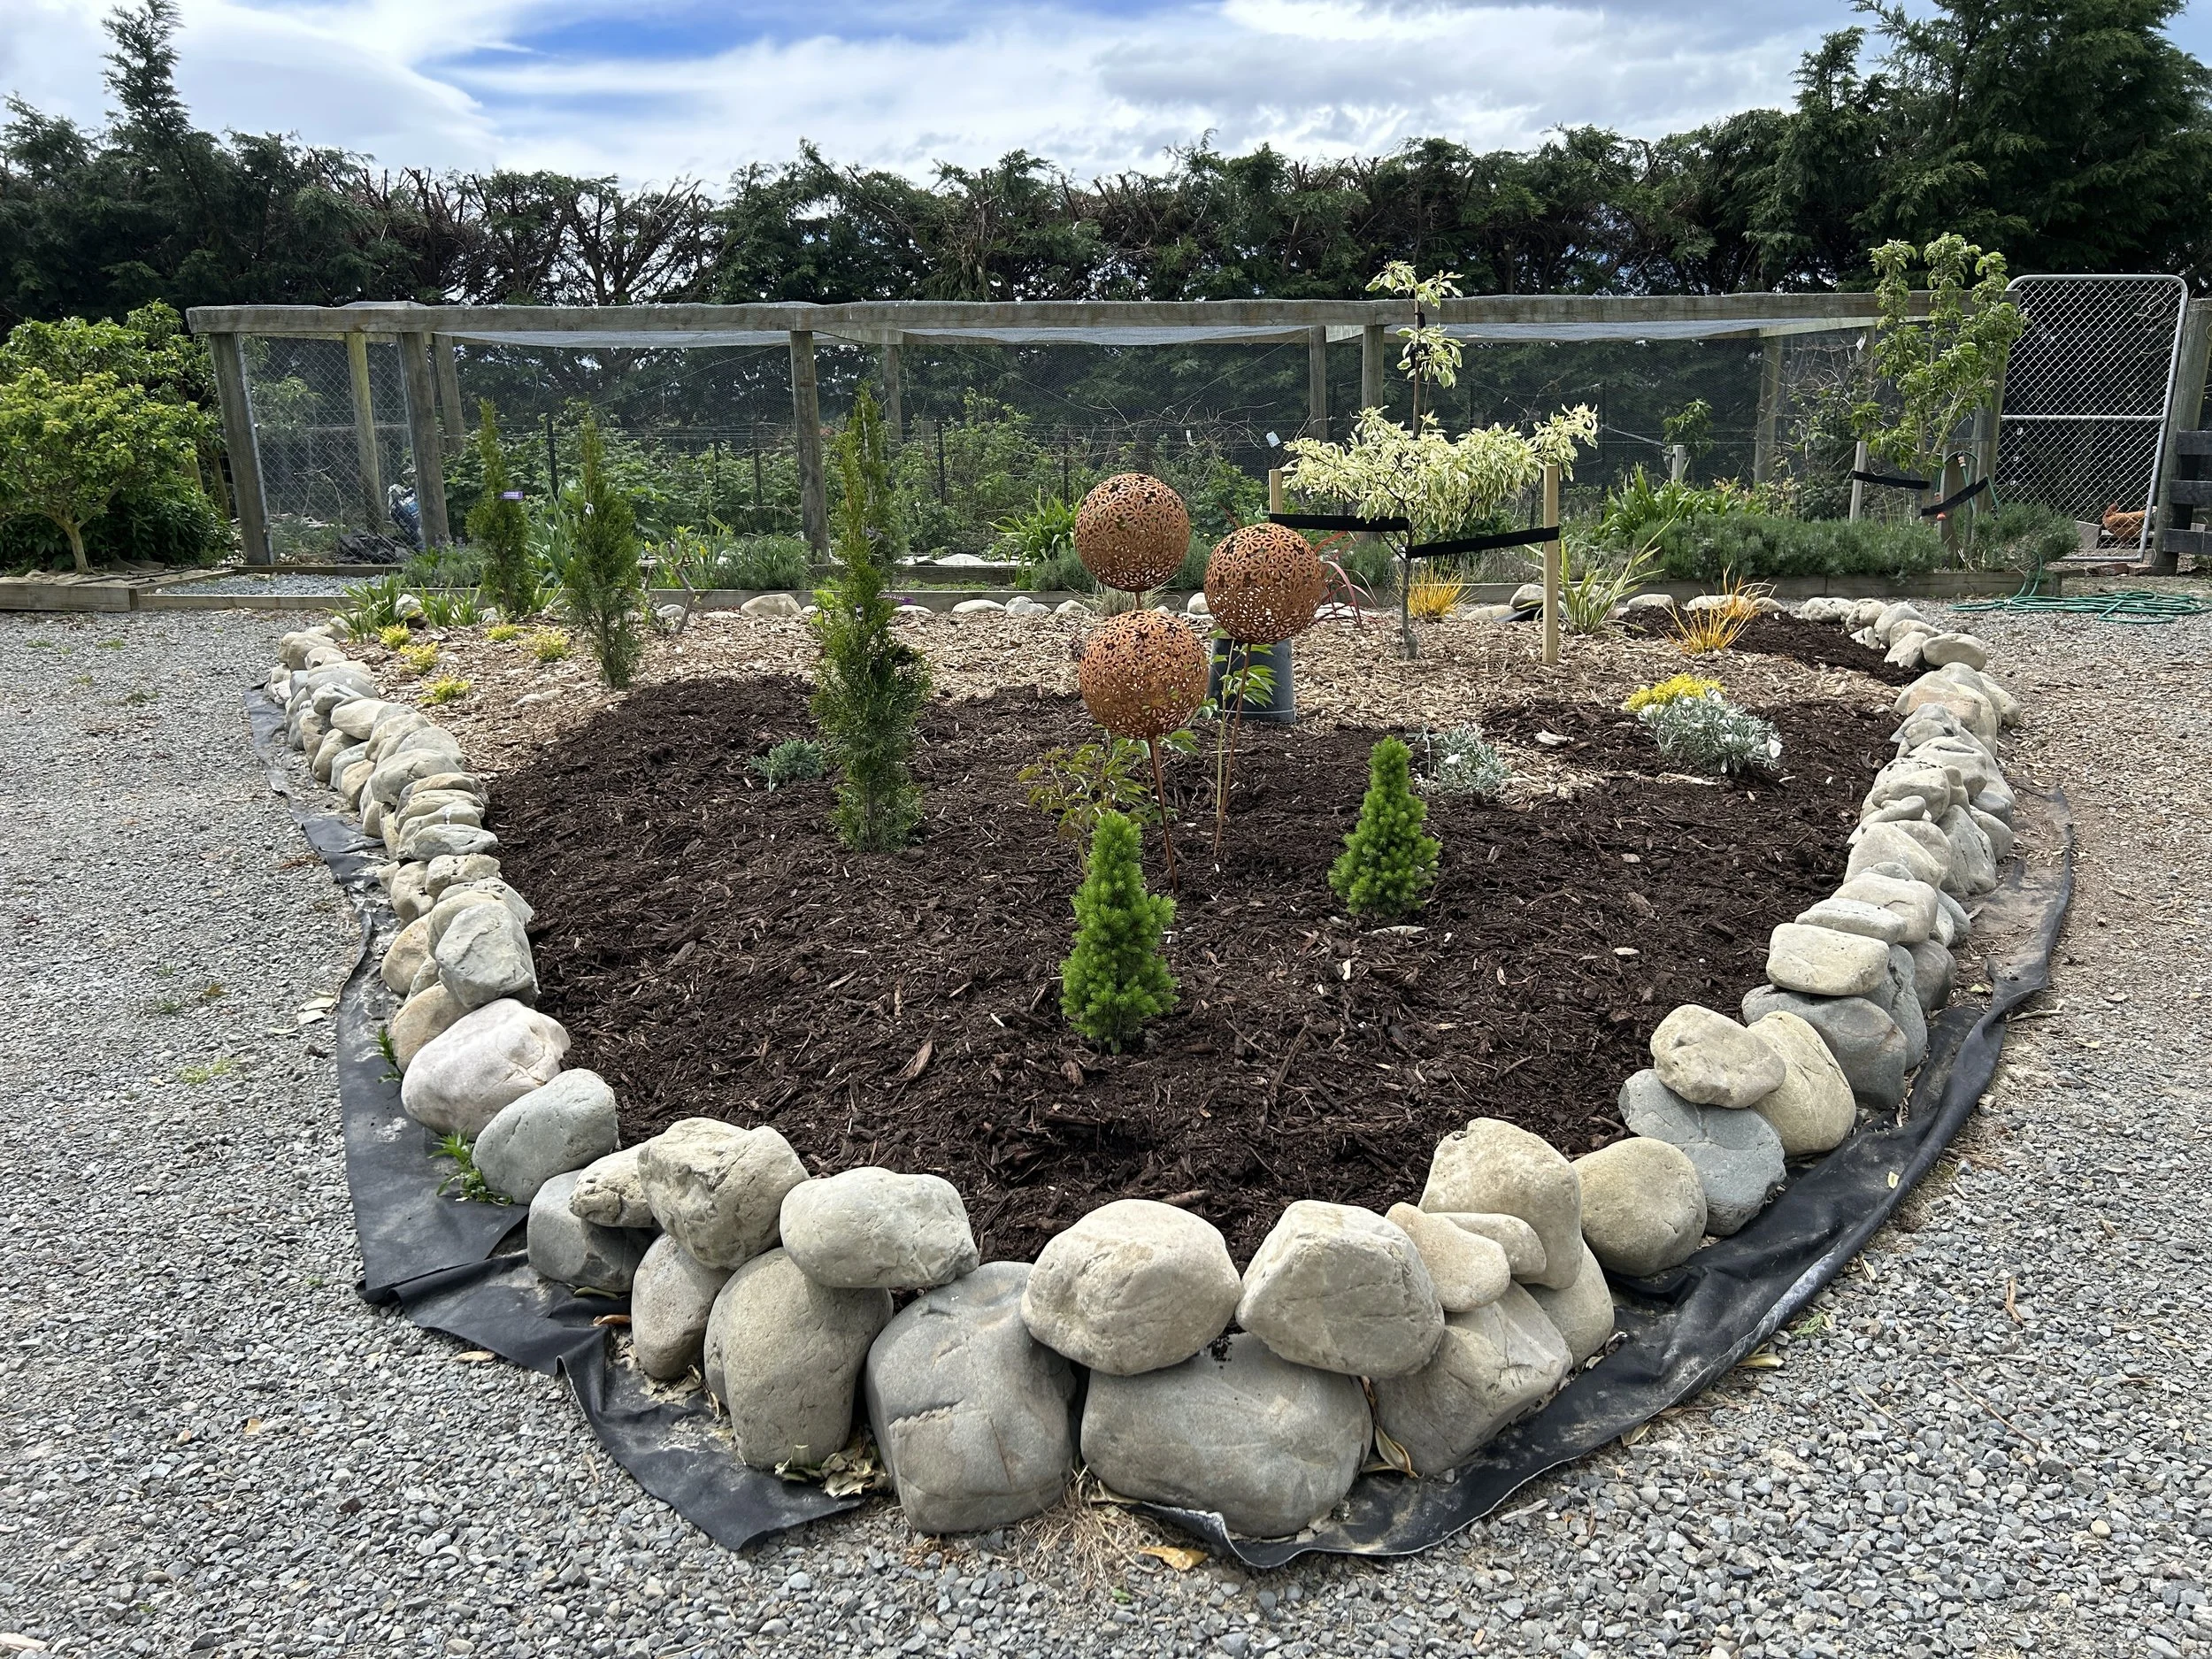
Photos: railways sleepers have served us well for our formal perennial borders and the Secret Garden (which is not yet very secret at all). But for my new shrub borders, I wanted curving lines, meandering paths, and less formality. There’s still quite a way to go to turn these new beds into something pretty, and unfortunately it involves a whole lot more shoveling of gravel to top the paths with something prettier. I’m currently in denial about how bad that is going to be and just how much it’s going to hurt my muscles. I also have to wait for several years for the plants to grow too! I wish I could fast forward my garden without fast-forwarding my life!!😄 Other than rocks and railway sleepers, you can see we’ve also used standard timber framing in the berry enclosure where ‘pretty’ wasn’t such a requirement.
What to do in the garden this week
Northern hemisphere
I feel I’m repeating myself here for you northerners, but autumn is pretty much a whole lot more of the same each week…protecting, tidying and prepping for the dormant season:
Rake and compost fallen leaves (or use as mulch).
🌷 Plant spring bulbs before the ground freezes.
✂️ Cut back perennials that have finished flowering (leave some seed heads for wildlife).
🪴 Bring tender plants indoors or insulate containers.
🌳 Prune deciduous trees and shrubs once dormant (avoid spring bloomers).
🧤 Clear out annuals and tidy veggie beds. Add compost or manure.
🌾 Protect newly planted beds with mulch or leaf litter.
🐦 Clean bird feeders and set them up for winter visitors (keep an eye out for an update on my new bird feeder in coming weeks. Dr Suess anyone?)
Southern hemisphere
🍅Sow warm-season veggies (tomatoes, beans, cucumbers, pumpkins).
🌽 Feed hungry crops and flowering plants.
🌱 Keep up with weeding before they go to seed.
💧 Mulch garden beds to lock in moisture and keep soil cool.
🌞 Stake tall or fast-growing plants before they flop.
✂️ Lightly prune spring-flowering shrubs after bloom.
🍅 Harden off seedlings and plant out frost-tender veggies.
🐌 Keep an eye out for slugs, snails, and aphids as temperatures rise.
![IMG_7521[1].JPG](https://images.squarespace-cdn.com/content/v1/68a501cca58fdb69735e8c43/1761933640492-P55QCX7E8Y5V0SJRXBGM/IMG_7521%5B1%5D.JPG)
![IMG_7528[1].JPG](https://images.squarespace-cdn.com/content/v1/68a501cca58fdb69735e8c43/1761933661298-R56VT21X12I3AR84MS4R/IMG_7528%5B1%5D.JPG)
![IMG_7546[1].JPG](https://images.squarespace-cdn.com/content/v1/68a501cca58fdb69735e8c43/1761933682776-PVMBOHRWMXJOF0NHZKUN/IMG_7546%5B1%5D.JPG)
![IMG_7628[1].JPG](https://images.squarespace-cdn.com/content/v1/68a501cca58fdb69735e8c43/1761933702465-52UG3OCEWE5JAODVCMFH/IMG_7628%5B1%5D.JPG)
Photos: It’s bearded iris time! These are one of my favourite spring blooms. I especially love the tall varieties and have been trying to expand my collection over the last few years. Bearded irises grow from what’s known as a rhizome, which you plant with the top of the rhizome above the soil line, so they get plenty of sun and to prevent rot. They’re fairly easy-care and produce gorgeous, flouncy blooms. Over time, each rhizome multiplies and you’ll end up with lots of beautiful spring colour in your garden.
🌸 Coming up next week
I’ve had a week off work this week, and I’ve spent it almost exclusively in my garden. For me, this is a perfect holiday. I always get lots done, hence the name ‘The Manic Botanic’…. it’s definitely fitting! So next week, I’ll update you on all my garden progress.
🌿 What’s new in Behind the Garden Gate this week
🌹Nitty gritty: I’ve gone a bit manic on the topic of mulching. Everything you ever needed to know about mulching is contained in this new blog-style post, expanding on the basics I’ve outlined above, and including things that took me years to work out, which you may not be aware of.
🌿Garden to table: Mint! The superhero of companion planting, and somewhat of a thug at the same time. I’ve provided all the must-have knowledge about mint - believe me…you won’t want to put mint in your garden without knowing all this info. Many a grower of mint has suffered terminal regret after learning all this the hard way. And just for good measure, I’ve thrown in a cheeky wee cocktail recipe to help you use up that mint over summer.
📷Earn an income from your garden: a new blog-style post on what to do when you’ve run out of content ideas.
🌸Snapshot shed: as usual, more photos to inspire you in your gardening journey (such a corporate word isn’t it! “Journey”…but I can’t think of another one, so journey it is).
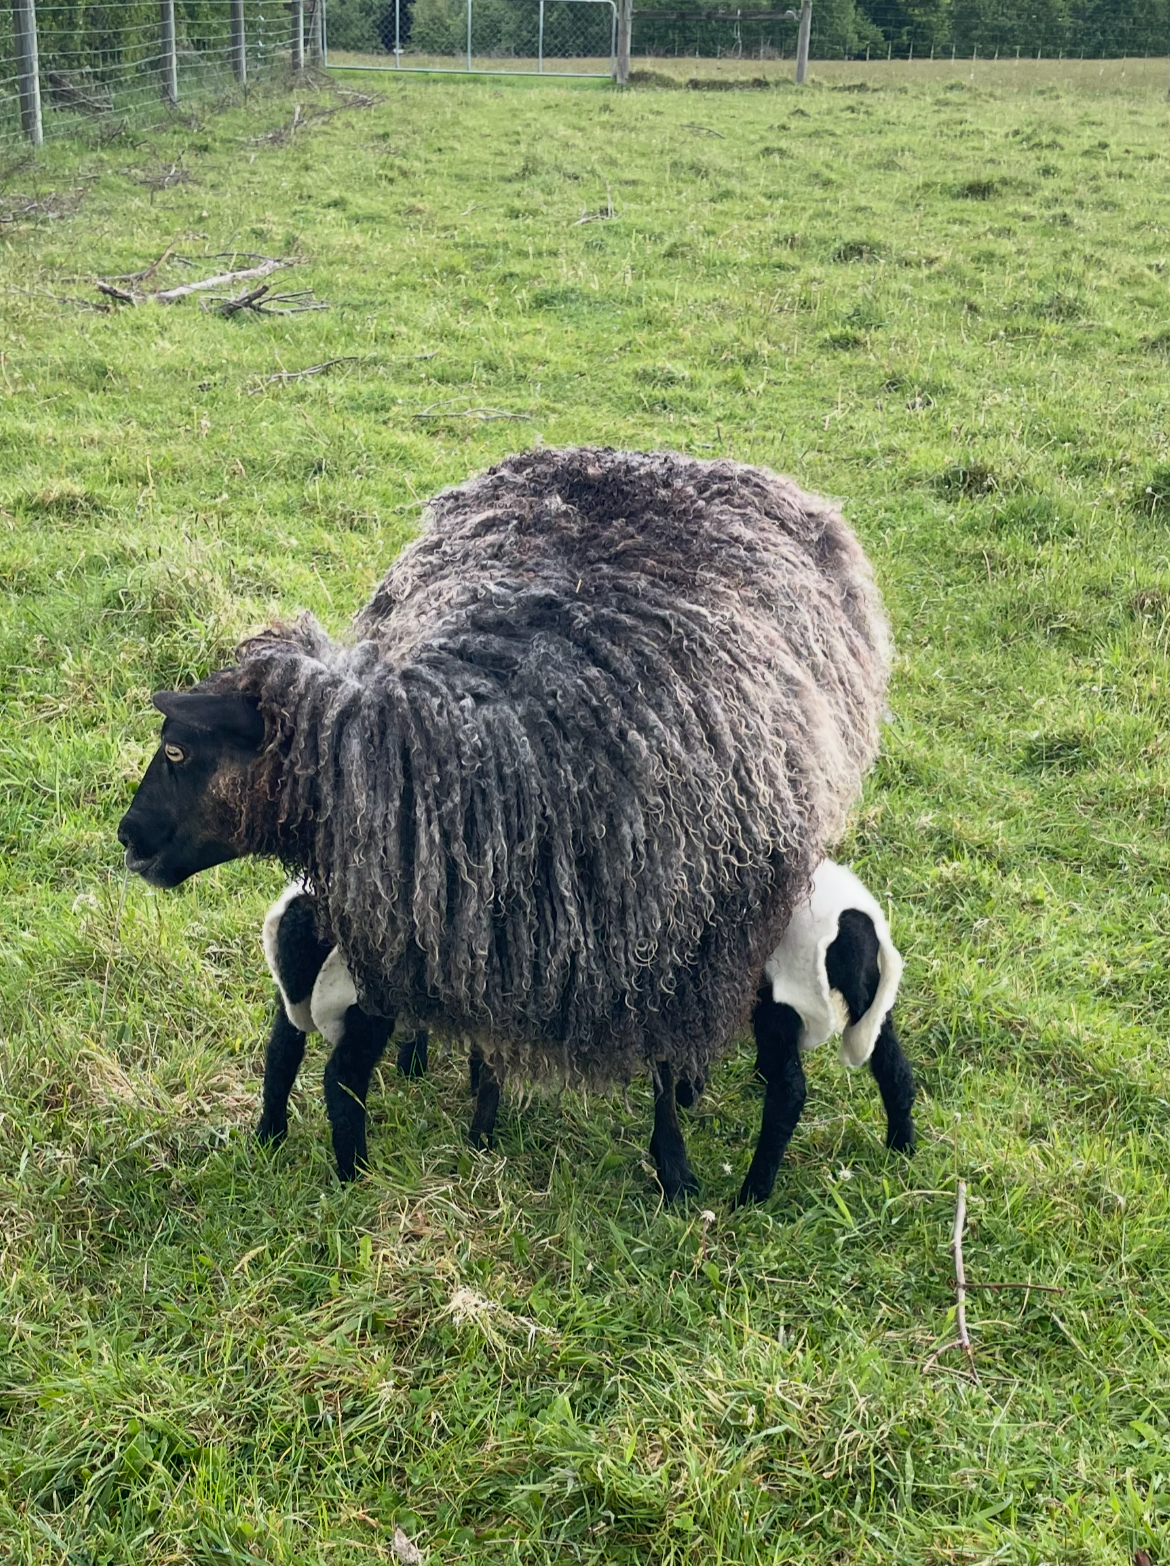
Photos: The ladies and gents have had their spring trip to the salon and are now sporting fancy new hairdo’s. I use the wool to mulch the gardens. I usually get about two years out of it before it’s completely broken down. We only have 17 adult sheep (and five future mulch providers happily spronking about in the paddock), so the wool doesn’t really go that far. But I found a perfect solution in manufactured wool weed mat and mulch, which I’ve featured on my Instagram page before. Keep an eye out for a couple of upcoming posts about it. I’ll be putting them up soon to show you all how I use wool in its raw form, and it’s manufactured weed mat form, to keep my plants happy and healthy. If you’re into a spot of sustainable gardening, then consider wool.
![IMG_7599[1].JPG](https://images.squarespace-cdn.com/content/v1/68a501cca58fdb69735e8c43/1761934073533-18VMZUM1P50TU73404PS/IMG_7599%5B1%5D.JPG)
![IMG_7602[1].JPG](https://images.squarespace-cdn.com/content/v1/68a501cca58fdb69735e8c43/1761934130002-JVAGFQLL0QK4ABLSVWDB/IMG_7602%5B1%5D.JPG)
![IMG_7561[1].PNG](https://images.squarespace-cdn.com/content/v1/68a501cca58fdb69735e8c43/1761934426005-2X2BYMJURMO4ALRC9CEI/IMG_7561%5B1%5D.PNG)